Getting started with Heat Transfer Vinyl may look very intimidating, but I promise you that it’s far from that. Today we’re going to discuss everything you need to know to get started with Heat Transfer Vinyl. Make sure to read till the end as we also show you how to put everything together for a successful application!
Heat Transfer Vinyl is commonly shortened by using the acronym HTV, so we will be using HTV frequently throughout this blog.
There are 3 things that you need to get started with HTV:
- The HTV (of course!)
- Vinyl Cutter
- Heat Press
Choosing Heat Transfer Vinyl (HTV)
HTV comes in all sorts of colors, textures, finishes, and sizes. There is really an HTV for all intended uses! We always suggest figuring out what garment you intend to use before choosing an HTV, as that will be the main determining factor. For example, if a high percentage of polyester is in the garment of choice, you would want to look at an HTV that can be applied at a low temperature and quick press time. The reasoning behind this is polyester materials can burn very easily, creating unwanted “press marks” on your garments if you are not careful. The lower the temperature and quicker the pressing time, the less likely the polyester is to burn.
Most HTV comes in length sizes starting with a sheet (12x12 inches) all the way up to large rolls of 50 yards in length. HTV also usually comes in varying widths. The most common include 12”,15” and 20”. Just keep in mind how big your vinyl cutter is when choosing a width for your HTV!
We understand that as a beginner, selecting a brand of HTV can initially be a hard decision. Three great brands that we recommend and offer include: Siser, ThermoFlex, and WALAKut. Specifically, Siser EasyWeed, ThermoFlex Plus, and WALAKut-Express are great choices for beginners!
Now, we also understand that it can still be difficult selecting HTV if you’ve never done so before. That’s why we have formulated Heat Transfer Bundles. These are essentially sample packs that we’ve put together for you! These also provide the perfect color combinations for holiday-related events.
Choosing a heat press
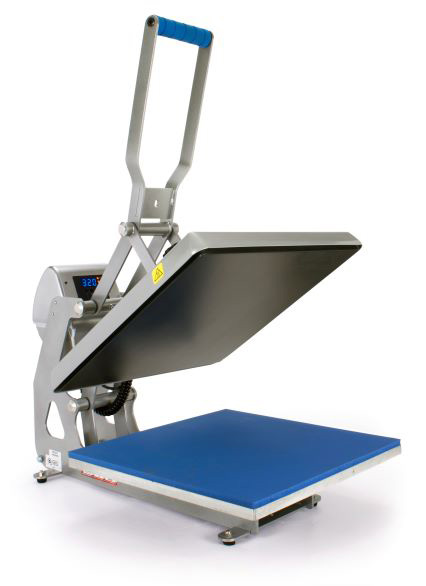
The heat press is probably the most important piece of equipment! If you have a limited budget when shopping for all your equipment, we recommend starting with the best heat press that you can afford.
The 3 biggest factors when applying HTV are: Time, Temperature and Pressure. These factors are dependant on a good heat press. In fact, lacking in any one of these factors can and will lead to a failed application. It’s very important to have a heat press that can accurately measure all of these factors, and a high-quality heat press such as Hotronix, HIX, Siser or Geo Knight will greatly assist in this.
Think of the heat press as the “oven” for your HTV. Then the HTV that you are using provides the “recipe” for how you should set the “oven”. For example, if you got a frozen pizza, all the different brands will vary in how you cook it. This same scenario applies to HTV. The HTV dictates how to set your heat press for that specific application.
A high-quality heat press will have a coiled heating element in the upper platen, which helps create consistency when pressing. Some lower quality presses will not have this and can result in “cold spots” on the heated platen. A heat press with digital time and temperature readouts is also really helpful and will reduce variance in your transfers.
Now let’s talk about pressure. Pressure refers to the amount of force that is being pressed down or exerted on the HTV by your heat press. Pressure is a crucial factor of heat pressing! In fact, inadequate pressure is the most common cause of failed application and is the reason why HTV peels or falls off - even after washing!
All HTV will (or at least should) give you what pressure is recommended for best application results. For example, they will indicate whether to use light, medium or firm pressure. To assist with this, some heat presses have a digital pressure readout. For heat presses with this feature, 1-3 is light, 4-6 is medium and 7-9 is firm pressure.
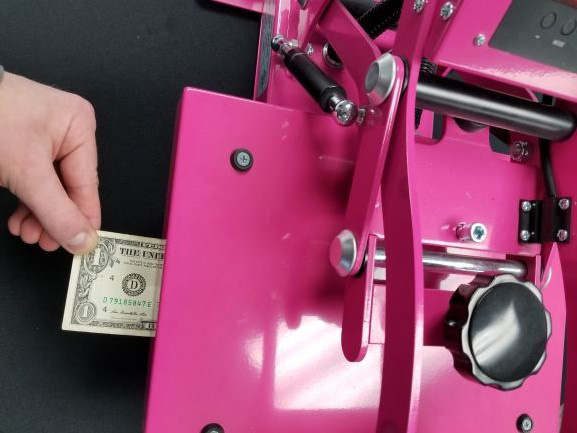
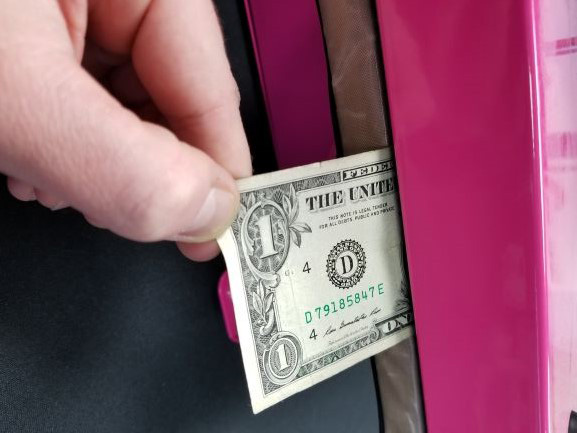
Other heat presses just have an over-the-center pressure adjustment knob. We recommend using the dollar bill test to find good medium pressure for heat presses with this knob. This test entails putting a dollar bill in your heat press and adjusting the pressure until you can no longer move it or pull it out.
A good rule of thumb is you should be able to slightly see the texture of the garment through the HTV after you are done pressing. This applies to standard HTV such as EasyWeed or ThermoFlex and not necessarily thicker types of vinyl such as Glitter.
All this being said, what heat press should you start out with? To determine this, you really need to have a vision of what you plan on creating. An excellent heat press to start with is the Hotronix Craft Heat Press. However, it only offers a 9x12 inch platen size, which could produce some limitations depending on what you are using it for.
The best-recommended size heat press to start with is a 15x15 inch heat press. This is going to be the most versatile size to start with for apparel decoration. Siser heat presses are the most affordable high-quality heat press that we offer in a 15x15 inch. However, if you’re looking for even higher quality, the MAXX Clam Heat Press or any other heat press from Hotronix is going to offer an excellent bang for your buck! If you're just getting started, check out our blog, "Best Heat Presses for Beginners".
Choosing a vinyl cutter
When shopping for a vinyl cutter, the biggest thing to look at is how large of a transfer you can cut with that specific cutter.
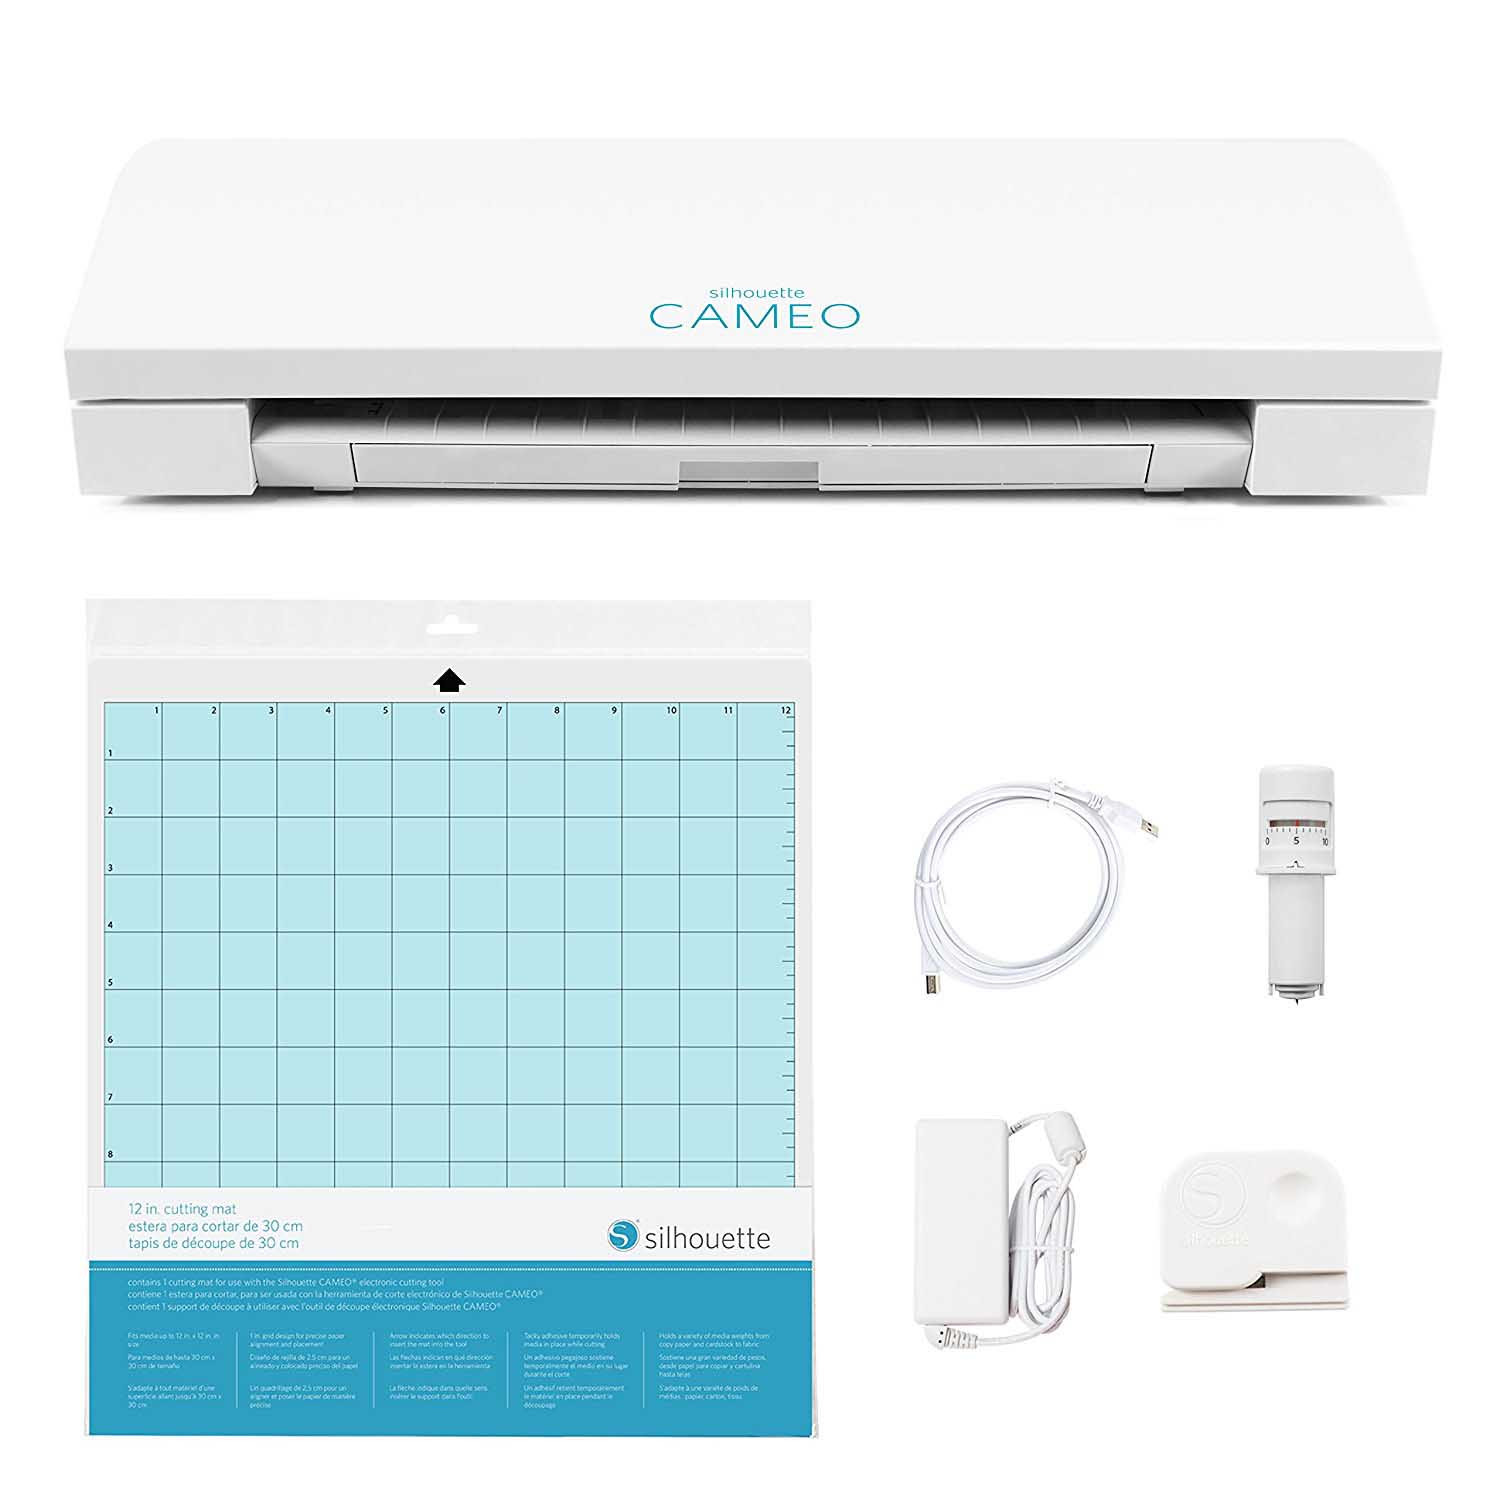
Most smaller cutters, which are commonly referred to as craft cutters, can only cut up to a 12 inch width. A great crafting sized cutter that many people start out with is the Silhouette Cameo 3. This cutter is relatively cheap and for beginners, a 12 inch craft vinyl cutter usually is sufficient.
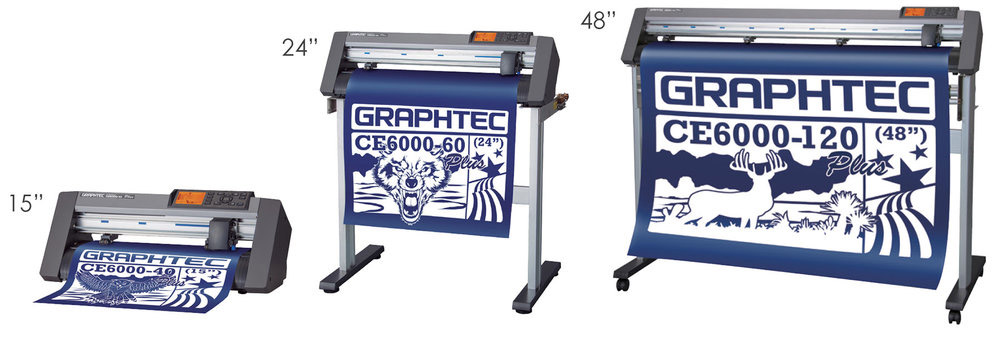
For those who are using HTV for more than just crafting purposes, we suggest using a larger cutter such as a Graphtec. The smallest Graphtec cutter, the Graphtec CE6000-40 Plus, can cut up to a 15 inch width and is considered a mid-sized vinyl cutter. In our opinion, this is a perfect cutter to start with if you suggest you might be using HTV for business purposes. However, there are many larger Graphtec cutters. In fact, the largest industrial Graphtec cutters can reach up to 60 inch cutting width.
Most vinyl cutters will come with their own software for designing transfers. However, larger cutters such as Graphtec brand will also allow plugins which enable you to use more advanced software for designing, including Adobe Illustrator and Corel Draw.
The size of your cutter is going to dictate the size of transfers you can create (mainly in terms of width). As already stated, a Silhouette Cameo 3 is great to start; however, you might find that it can limit you due to the 12 inch maximum cutting width. That being said, the best overall vinyl cutter brand that we can recommend is Graphtec.
Complete HTV Application
Now that we’ve discussed HTV, vinyl cutters and heat presses, let’s put it all together in how to successfully complete an HTV application!
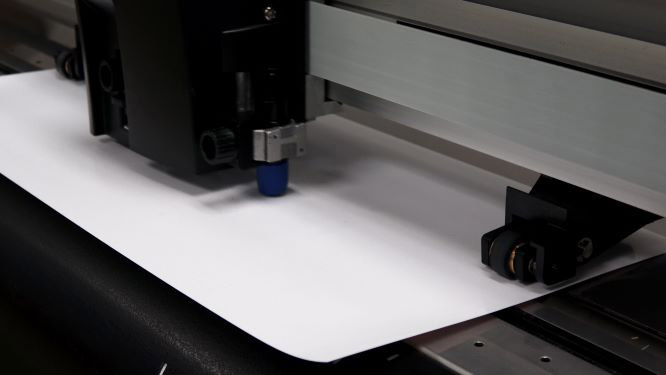
1) The first step in using HTV is to cut out your desired design. To do this, you must use a vinyl cutter.
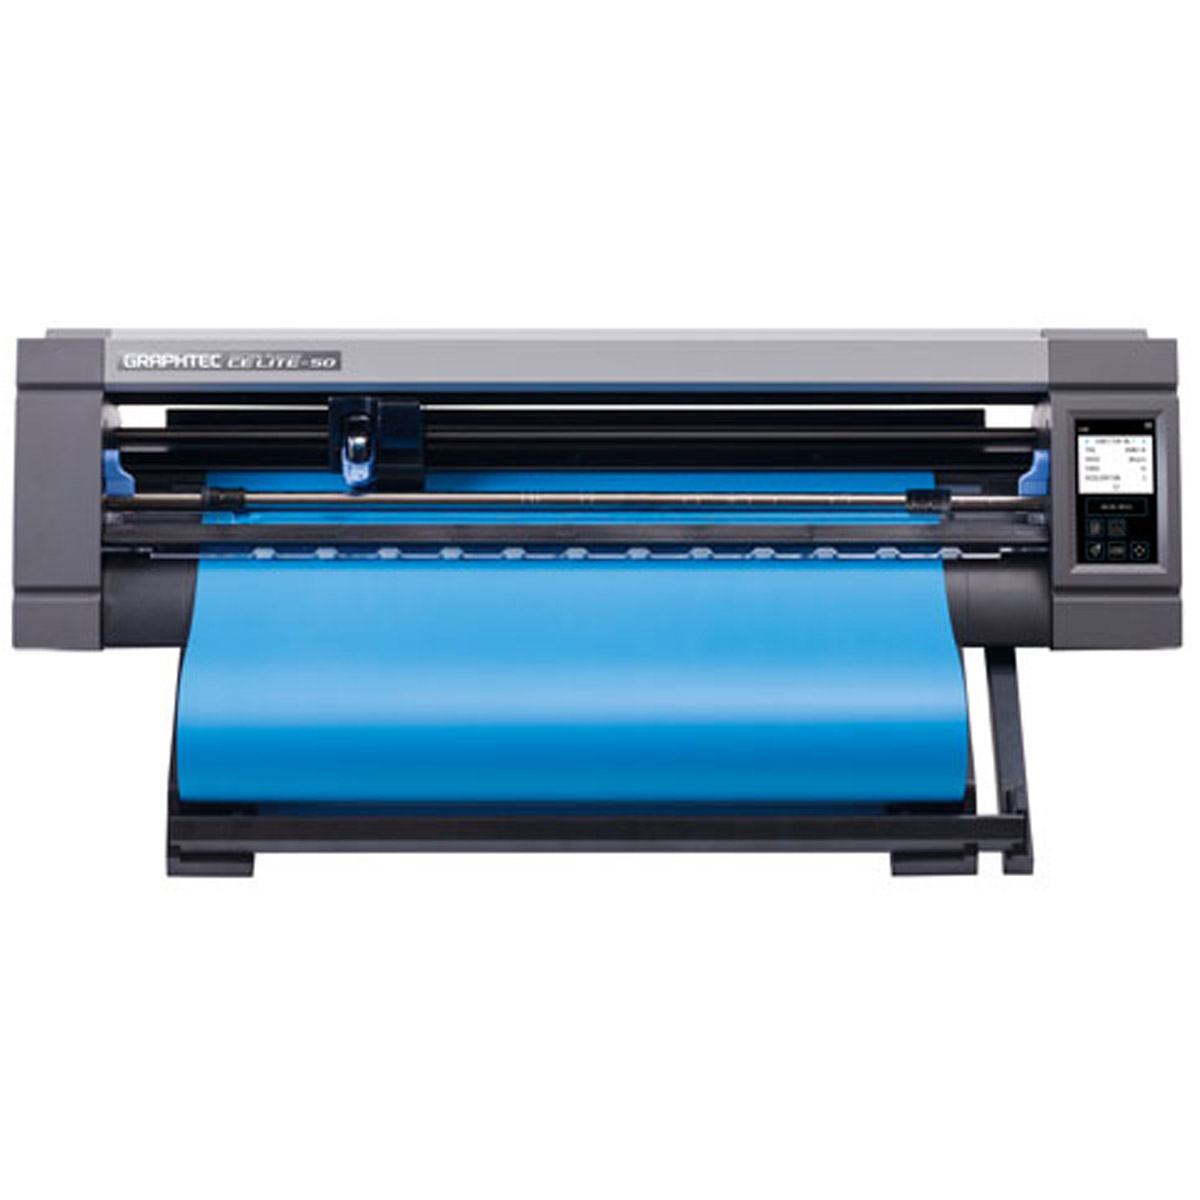
2) For this demonstration, we are using Siser EasyWeed HTV with the Graphtec CE LITE-50 cutter.
3) Like most HTV, Siser EasyWeed has a shiny plastic-like covering over the top to protect it. This is commonly referred to as a carrier sheet or a liner.
4) We don’t want to cut through this liner, so we are going to insert it into the cutter with the shiny side down.
5) When you do this, you are cutting on the backside of the HTV. So, keep in mind that you need to cut your design so it is mirrored!
6) The cut settings vary depending on what HTV you are using and what vinyl cutter you have. The HTV that you are using should provide some cut settings for popular vinyl cutters. Check the “Application Instructions” tab on our website for the vinyl you are using to see the cut settings that are available.
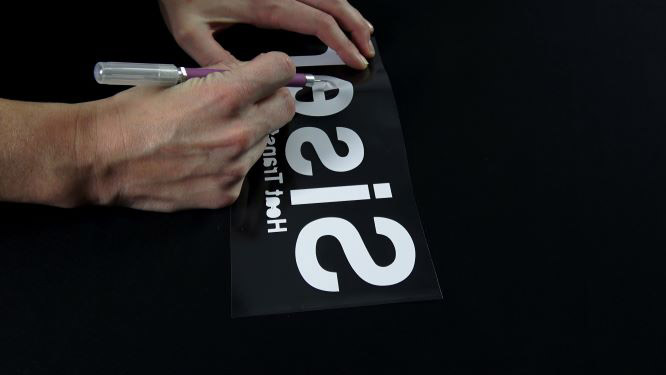
7) Once you have your HTV cut, you will need to remove the excess vinyl around your design. This is referred to as “weeding”.
8) This HTV also has a pressure sensitive backing, meaning that this part (sticky liner) is sticky and you can place anything back down that accidentally comes up. Most HTV has this, but not all! This should be listed in the “Description” tab on the product page on our website.
9) Once the HTV is weeded, it’s time to apply it!
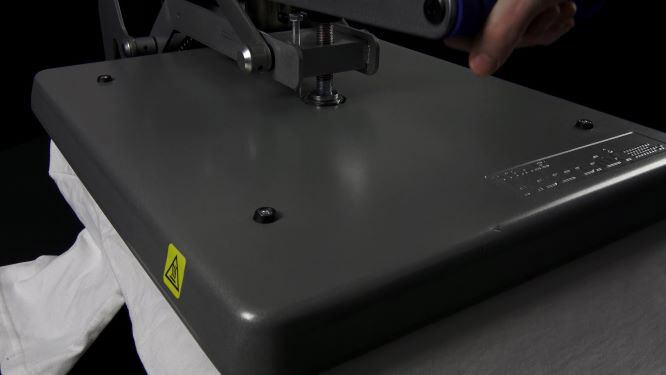
10) We highly recommend using a heat press. This will help ensure that you are using the proper heat and pressure.
11) The heat, pressure and time settings all vary depending on what HTV you are using. You can find this information under the “Application Instructions” tab on the product page on our website.
12) For Siser EasyWeed, the recommended temperature is 305 for 10-15 seconds.
13) Pressure is very important when using HTV. When designs fall off, it is almost always due to inadequate pressure. Siser EasyWeed uses medium pressure.
14) After the temperature, time, and pressure are all set, you are ready to press!
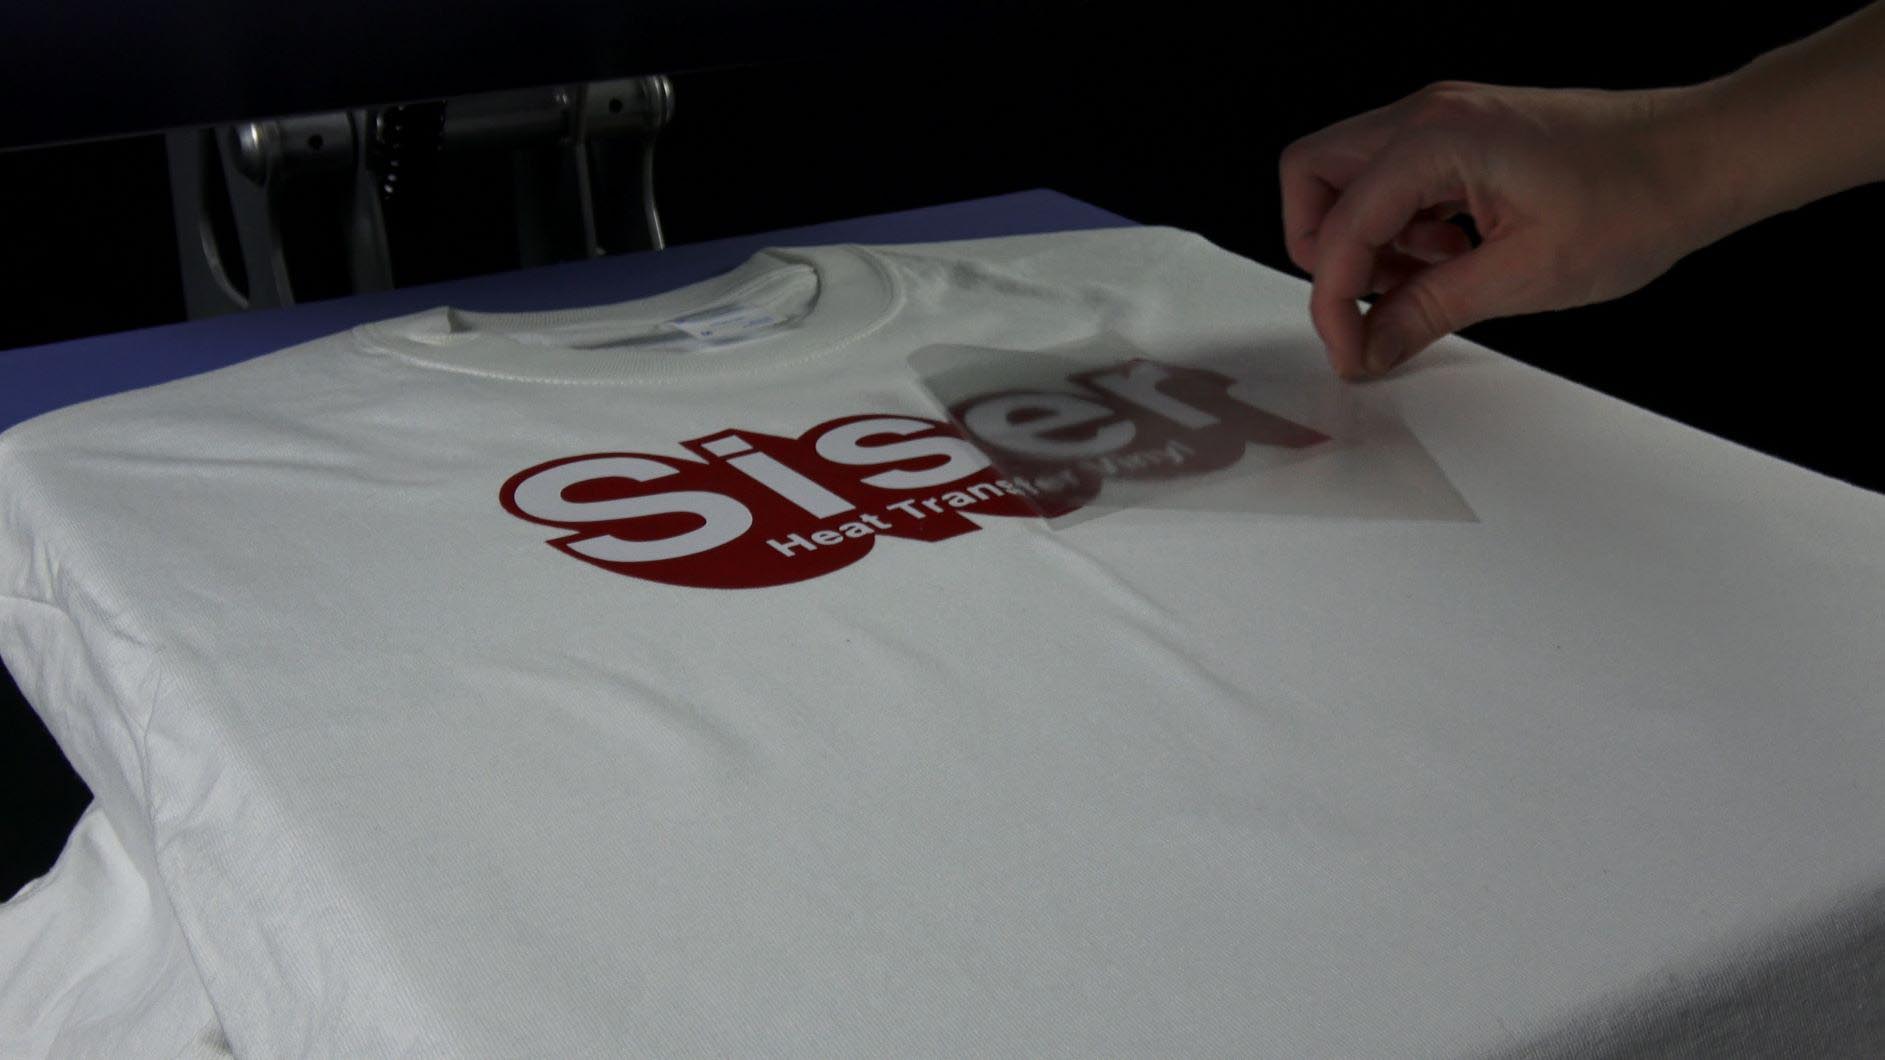
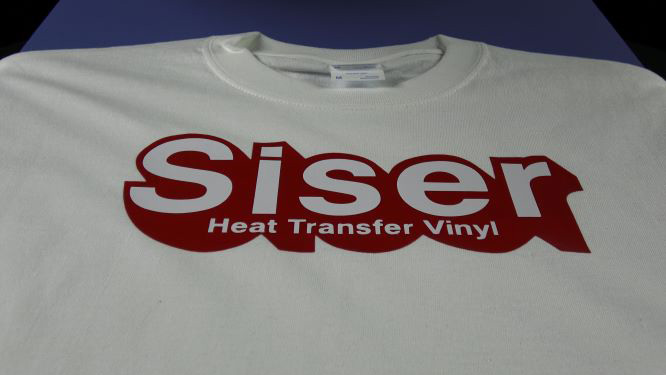
15) Like most HTV, Siser EasyWeed will adhere to common materials such as cotton, polyester, and poly/cotton blends. A 100% cotton shirt is being used for this application.
16) Before you press your HTV, it also helps to pre-press your shirt for about 2-3 seconds to get rid of any moisture.
17) Once done pressing, you can peel the liner (carrier sheet) of Siser EasyWeed either hot or cold. The HTV that you choose to use should include instructions on how to properly peel the liner.

 Custom Printed Apparel
 Custom DTF Apparel
 Embroidered Apparel
 Full Service Customization
 Rhinestone Apparel
 Sublimated Apparel
 Custom Drinkware/Photo Panels
 Siser Sanmar Decoration
 Seasonal Items
 DTF Transfers
 Supacolor Transfers
 Sublimation Transfers
 Rhinestone Transfers
 HTV Transfers
 Custom Patches, Stickers, & Magnets
 Custom Screen Print Transfers
 Artwork & Services
 Custom Banners