
Last updated 6/12/23
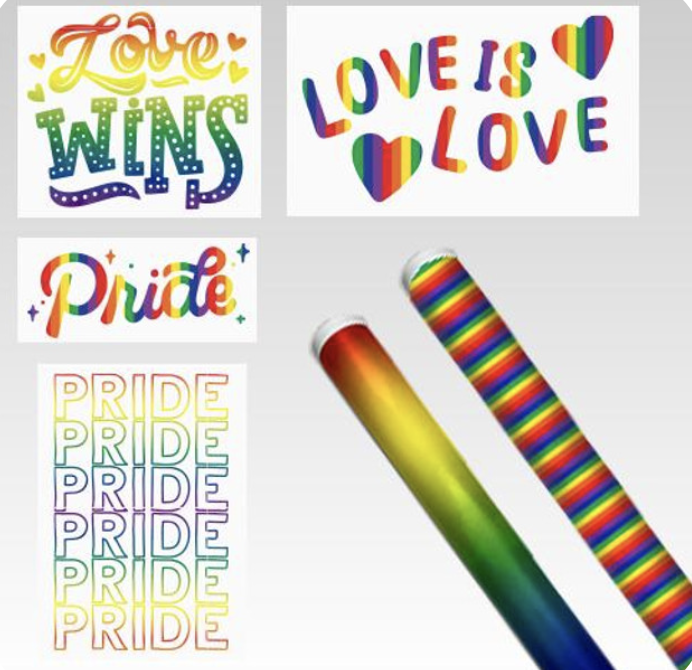
"I see your true colors shining through" ...with the rainbow pride patterns and SVG designs in our new Pride Bundle! This bundle is perfect for customizing apparel and accessories with stylish designs representing LGBTQ+ communities. From flags to symbols (and more!), it’s an easy way to promote visibility and celebrate Pride in your own unique style. Below, we will walk you through the steps to show your true colors using our Rainbow Ombre and Stripes Rainbow Pride pattern HTV.
Equipment/Materials Used
- Pride SVG Bundle
- BELLA+CANVAS Cropped Hoodie
- Port & Company® - Essential Tee
- Squeegee
- Silhouette Cameo
- HTW Pro Auto Drawer 16x20
Steps
Step 1:
Cut the heat transfer vinyl using a vinyl cutter of your choice. Remember: in this case, DO NOT mirror the design in your design software, as we are using patterned HTV.
Note: If you are using a Cricut cutter, you will want to attach your design together before cutting. For more tips on using a Cricut cutter and Cricut Design Space, check out this blog "How to Cut HTV on Cricut Using Cricut Design Space“.
Step 2:
Weed the excess vinyl from your sheet. We typically trim our sheet before weeding so we can save the scraps for future projects.
Step 3:
Once the design is weeded, lay down the KTM transfer mask on top of the design. Use the “taco method,” (folding the mask end-to-end so that the middle touches down first), then slowly drop the edges down to ensure an even lay on the design.
Use a squeegee to push out any air bubbles on your design, starting from the center and pressing outwards until the bubbles escape out the side.
Flip over the design and peel away the original liner.
Step 4:
We chose to put our first design on a Bella+Canvas Cropped Hoodie, so we warmed up our heat press to 300 F and did a 5 second pre-press to smooth out any wrinkles and remove moisture. Then we lined up the “Love is Love” design that we made using the Striped Rainbow Pride HTV. We pressed it for 5 seconds since it was our only layer. When the 5 seconds finished, we peeled the liner warm and admired our completed hoodie!
Step 5:
We put our second design on a Port & Company T-shirt. First, we did a pre-press of our shirt at 300 F for 5 seconds to smooth out any wrinkles and remove moisture. Then we lined up the stacked pride design we made using the provided Rainbow Ombre HTV. We pressed it for 5 seconds since it was our only layer. When the 5 seconds finished, we peeled the liner warm and the shirt was finished!
These are the final results:
This bundle shows off two of our MANY pride patterns. For more options of all kinds of patterns, check out our Patterned HTV page! If you need more help using our patterned HTV, our blog HTV Pattern Vinyl: A Step-by-Step Guide might be an excellent resource to check out!