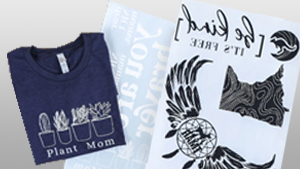
Looking for heat transfer vinyl with a lot more variety and personality? Heat Transfer Warehouse’s pattern htv vinyl is a great accent to any heat transfer vinyl design. We have over 1000 patterns to choose from with new patterns being added monthly! Our stock patterns come in a 12” width (11” wide printed space) and 1 yard or 5 yards long making these accessible for all cutters from the Cricut Maker, Silhoutte Cameo 4 to the Graptec CE7000. Pattern heat transfer vinyl is similar to your normal HTV, however there are a few different steps you need to do and a couple of additional products you'll need to use with pattern vinyl. But don't let that scare you! We have you covered in this step by step guide!
One great thing about our pattern vinyl is we are able to create and print new patterns fast. Since we print on the vinyl side that will show on the garment, the adhesive is on the liner side unlike normal heat transfer vinyl. Our pattern htv vinyl requires a squeegee and a high tack mask, such as 850 or KTM, in order to expose the adhesive on the HTV.
How to use our pattern vinyl:
- When you are ready to cut the pattern vinyl, you will load the vinyl pattern side up.
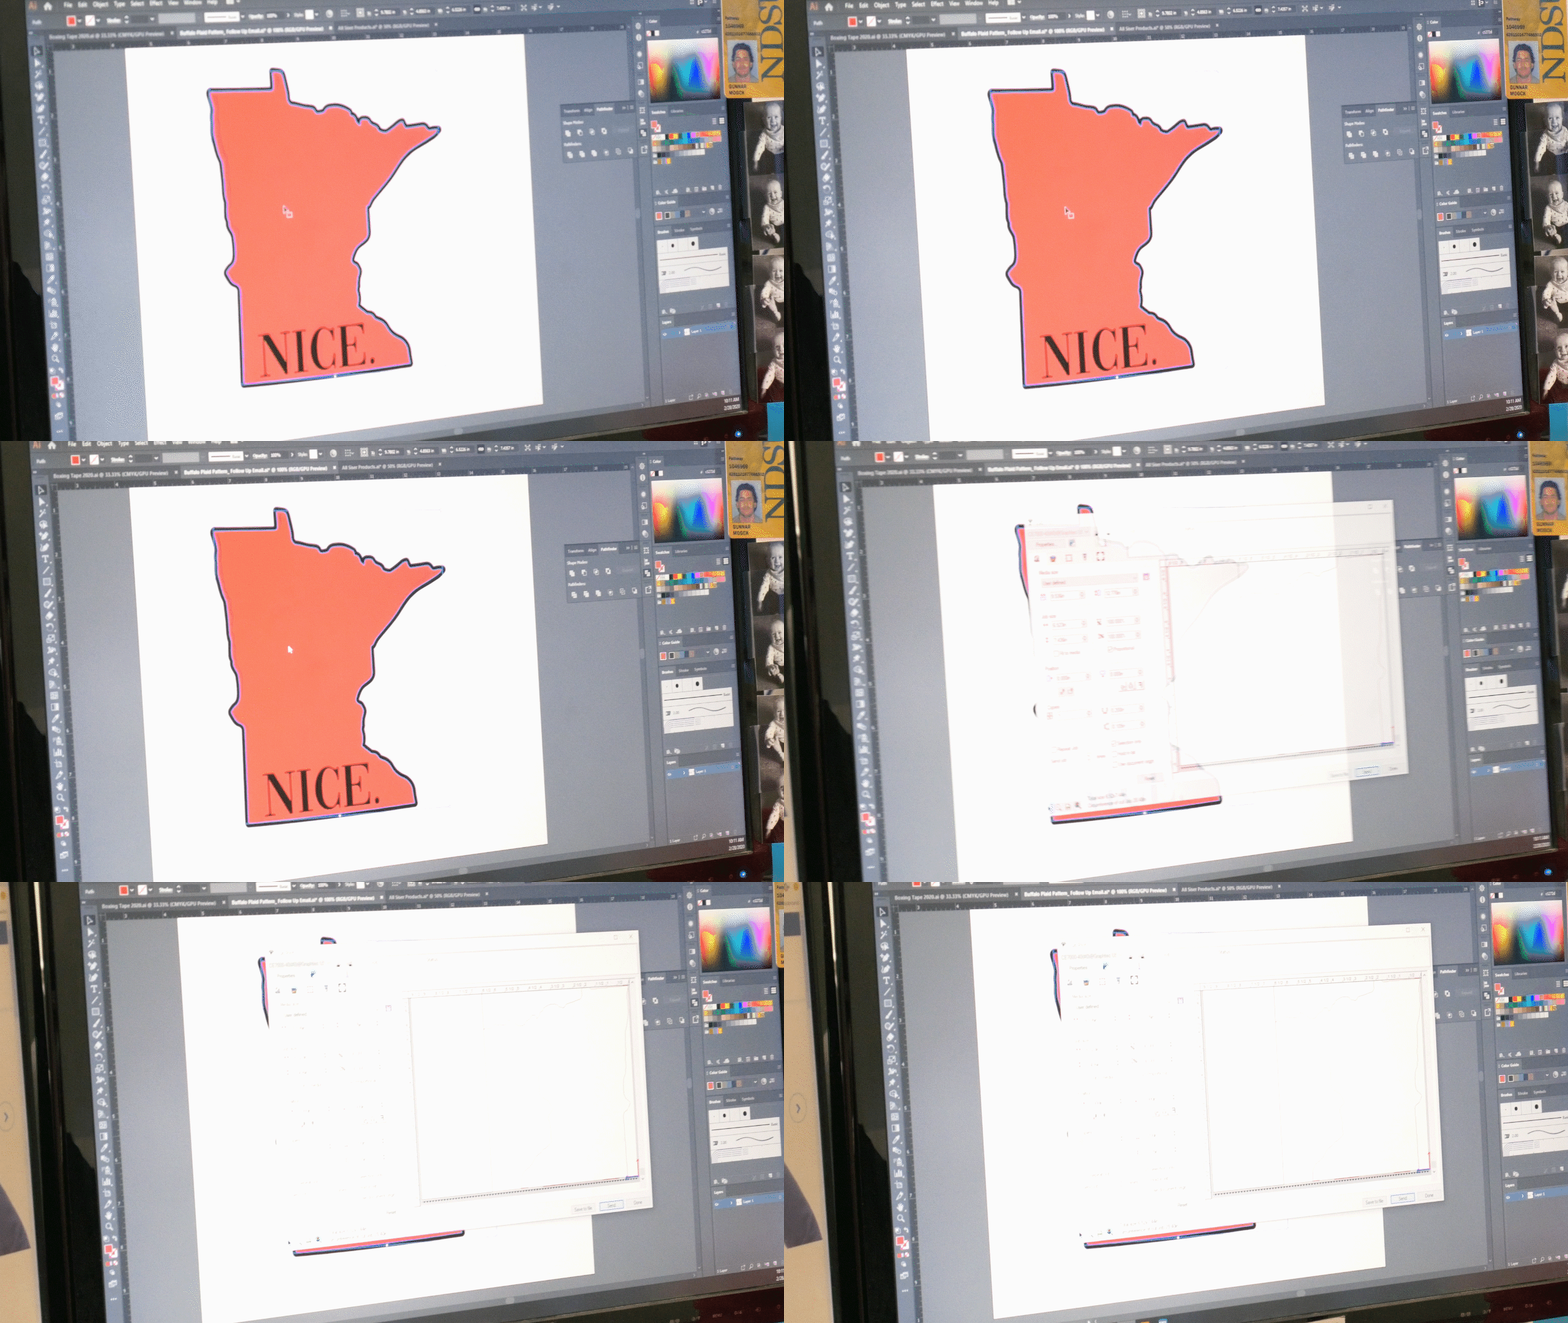
- Cut the artwork right reading. Do NOT mirror the design.
- Weed the material.
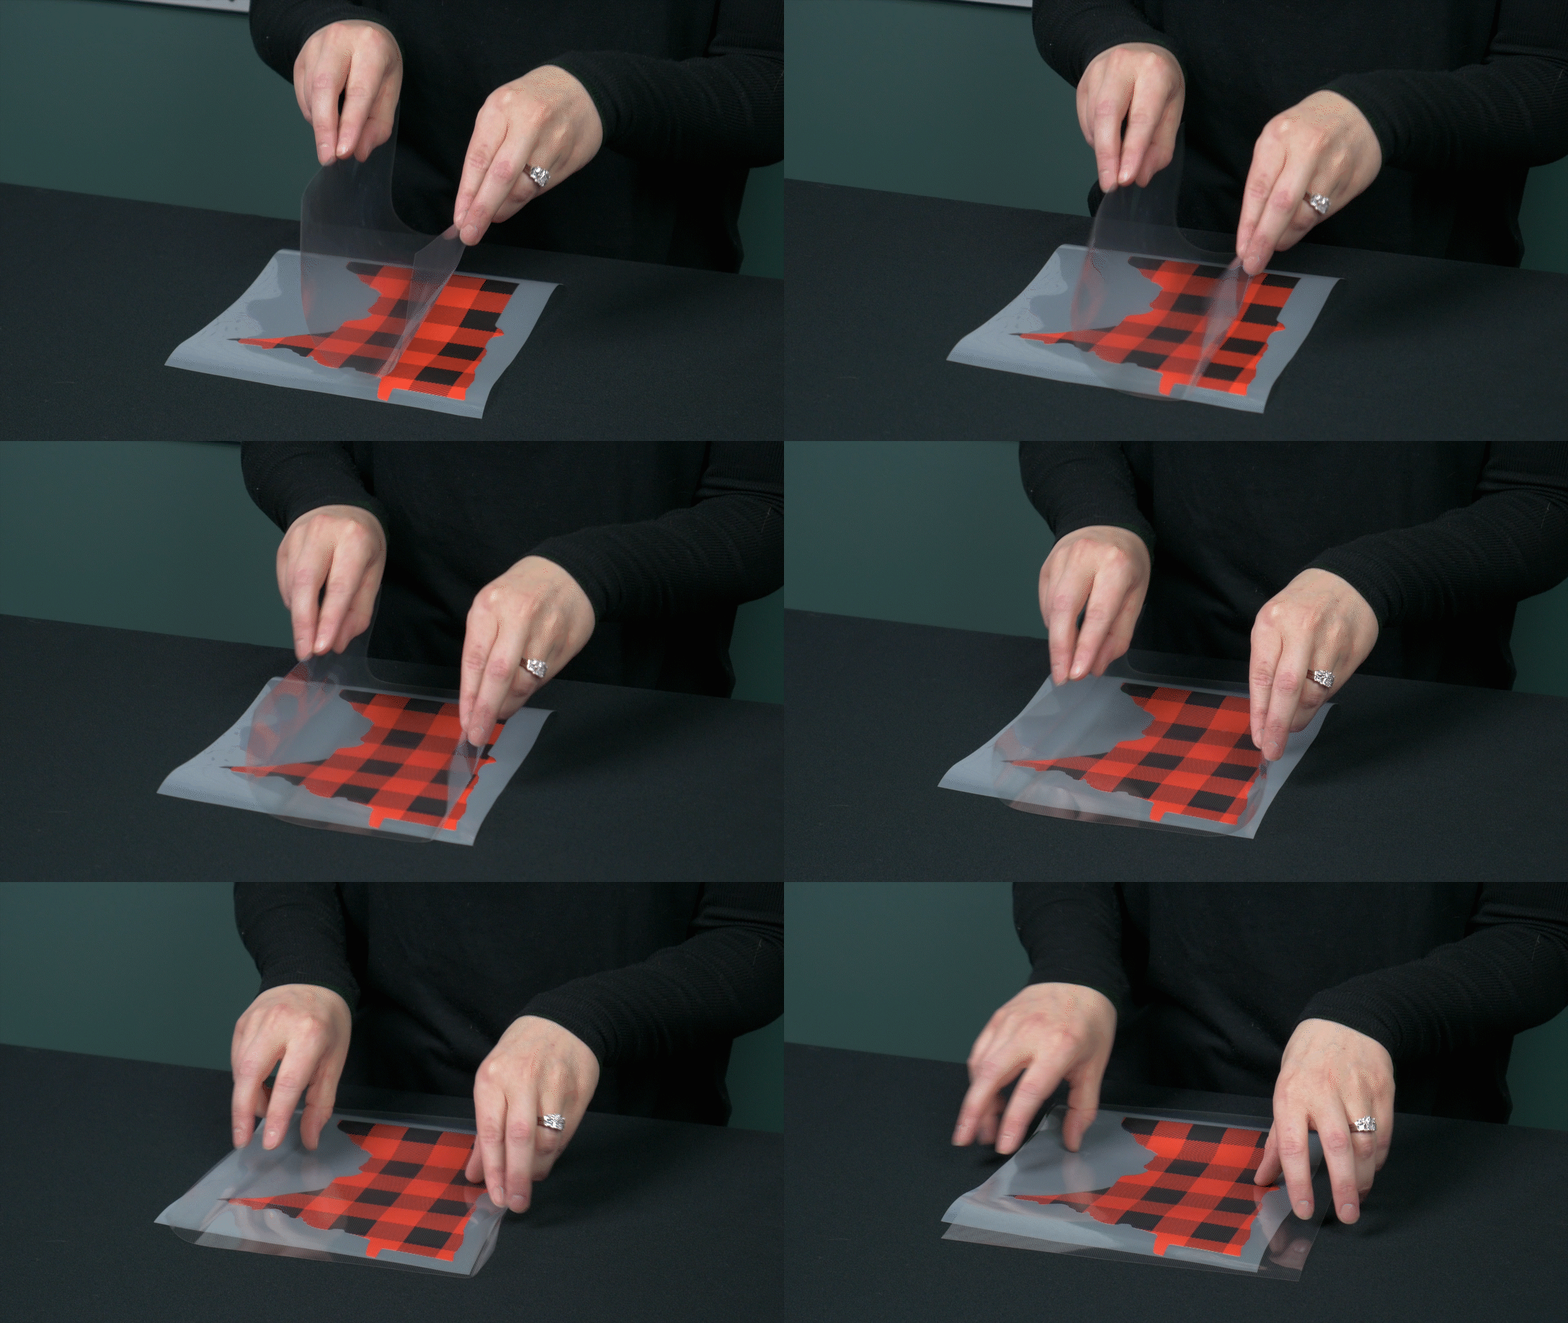
- Take the high tack mask of your choosing, remove that white milky backing, hold the clear mask sticky side down in the technique I like to call "taco style" over the cut design and gently lay the mask down over the design.
- Take your squeegee, start in the middle of the design and with a gentle back and forth motion squeegee down the high tack mask to the pattern vinyl. If there are air bubbles, you can carefully poke them out on the mask side with a hobby knife.
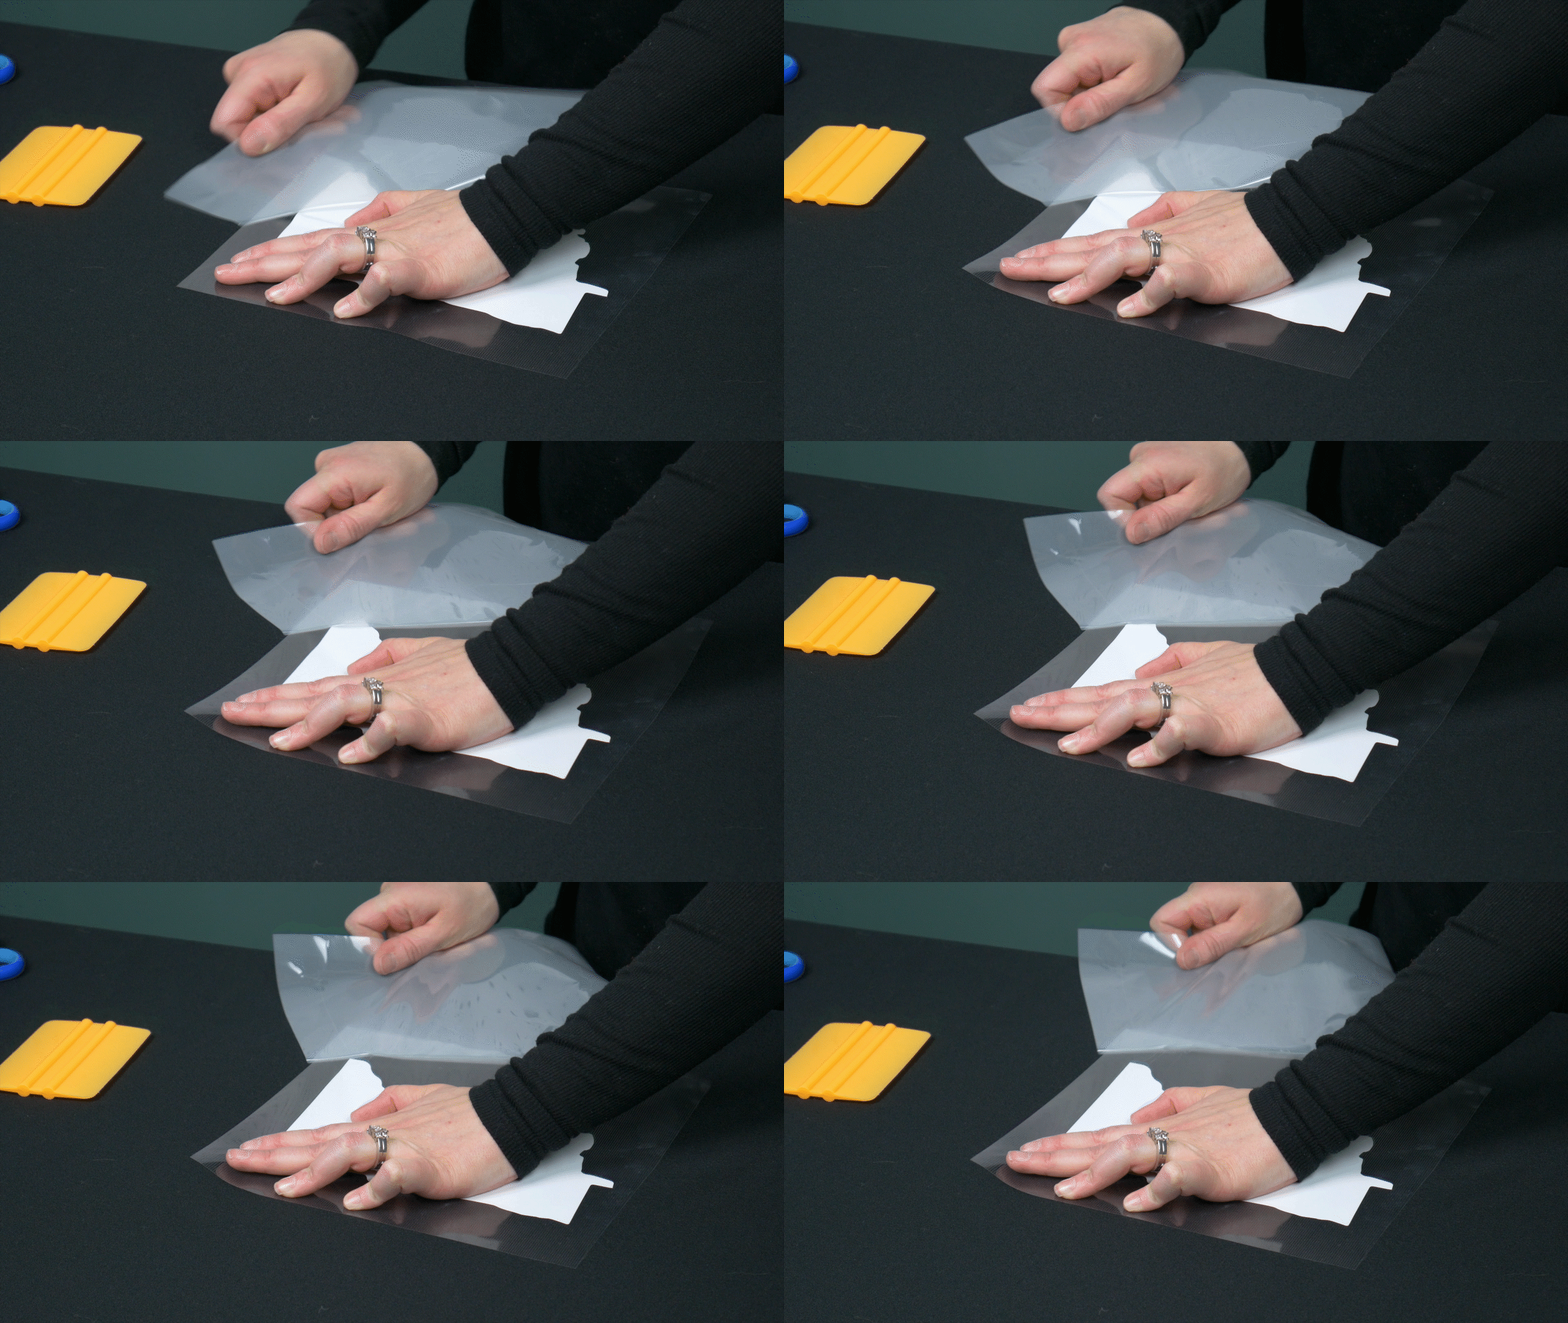
- Flip the transfer over so the liner side is up. Gravity is very important when transferring the vinyl to the high tack mask.I like to start at the corner, hold the mask down on the table and start removing the liner from the vinyl. Your pattern vinyl adhesive shall now be exposed and the pattern side is on the mask side.
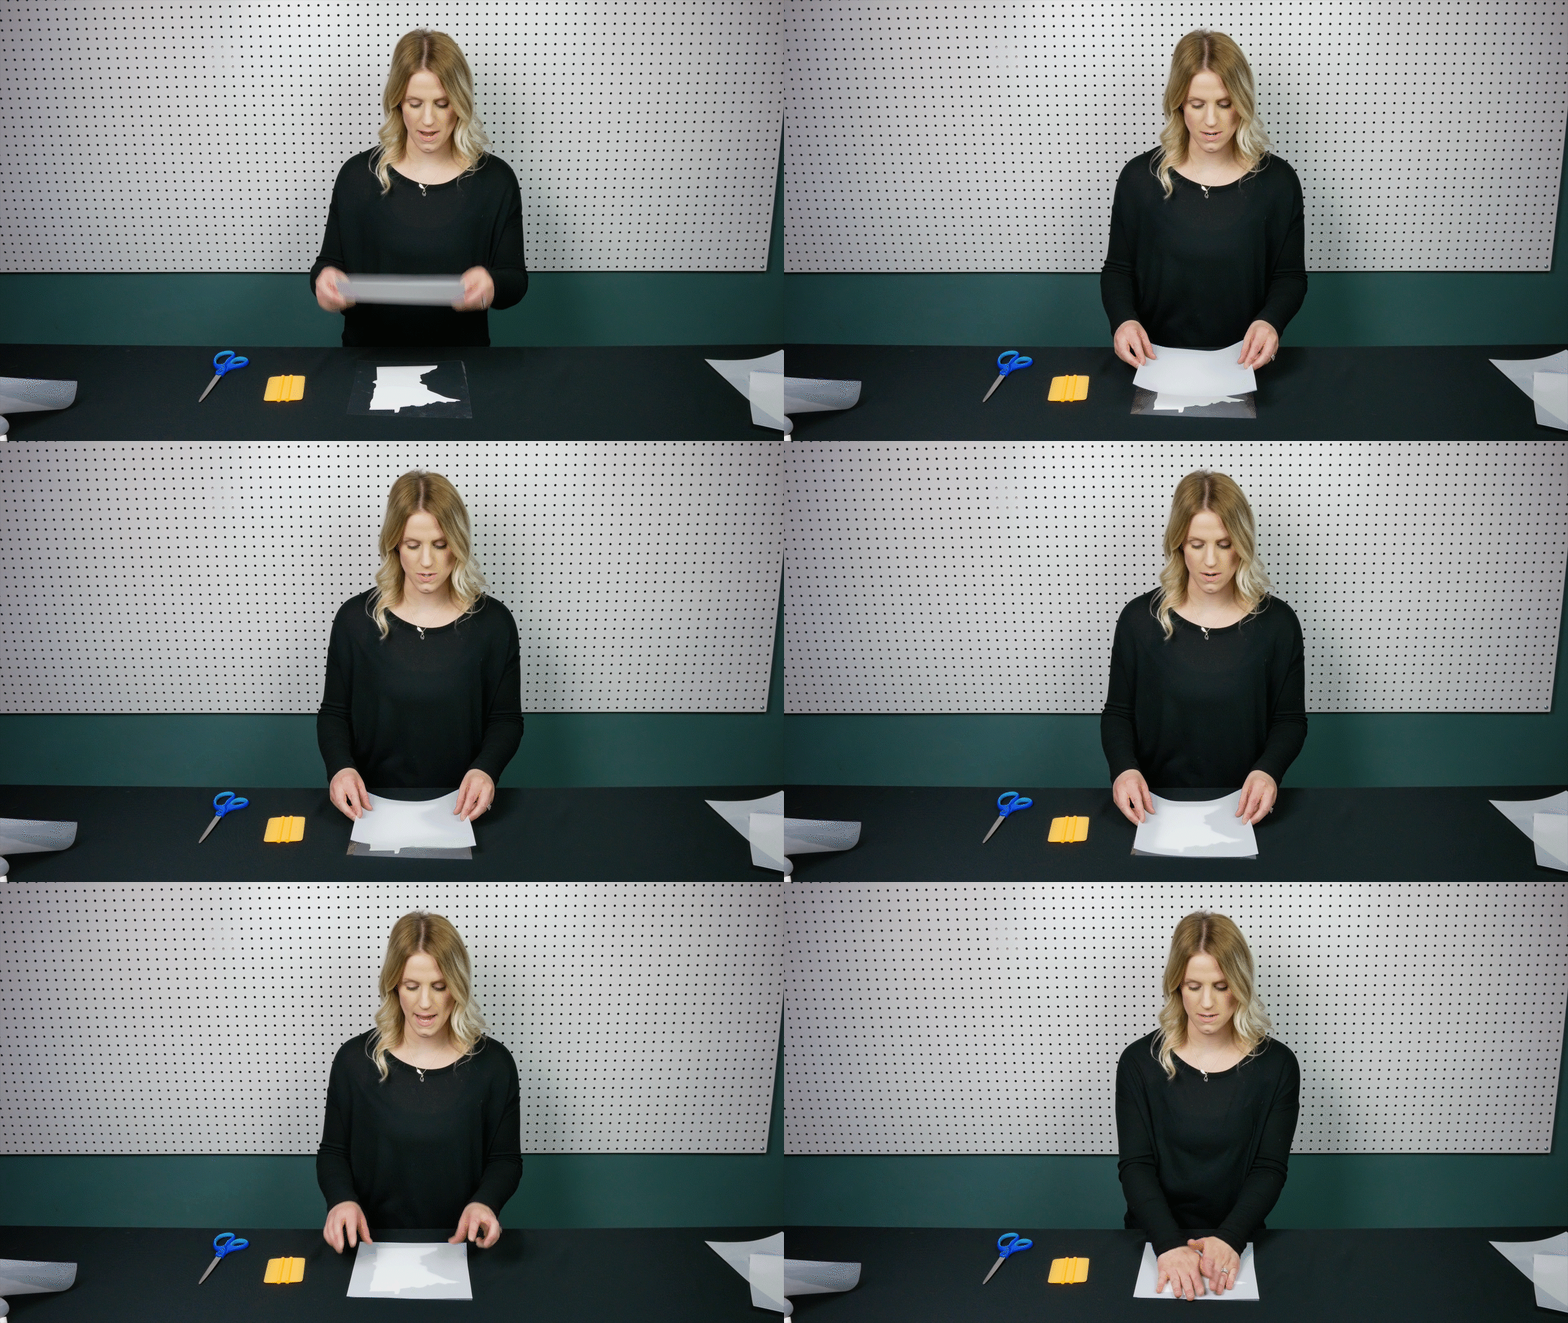
- You are now ready to heat press your design onto your garment or you can place the milky white backing on the mask for later use.
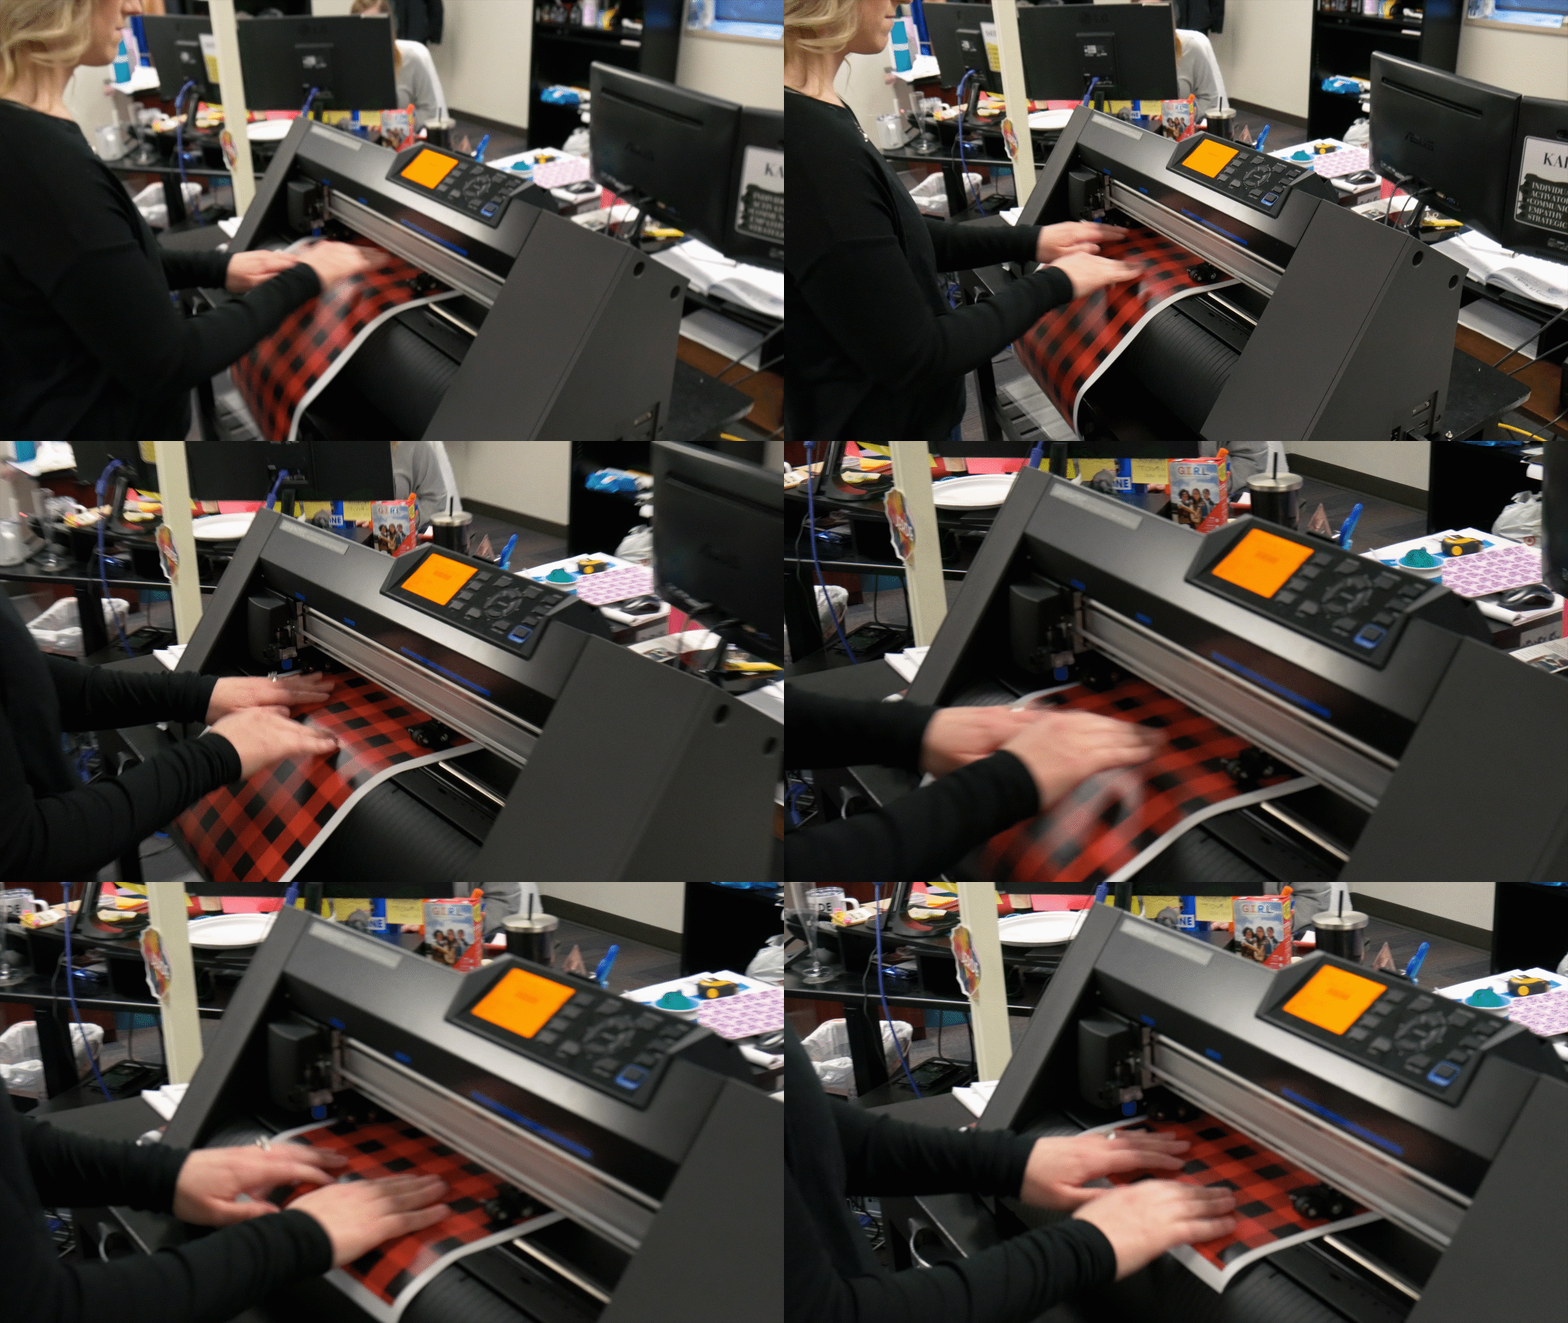
This is printed on a low temp heat transfer vinyl, which means it can be pressed on garments such as nylon. We have three recommended temperatures and times you can press this vinyl at depending on what you are pressing on.
| Garment Type | Press Temperature | Press Time |
| Cotton/Poly/Blends | 266-320 F | 5 sec at 266 or 3 sec at 320 |
| Nylon | 302 F | Pre-press for 5 sec, press transfer for 5 sec |
It is a warm peel when removing the mask. You can either choose to use the same mask a couple more times or throw it away. Be sure to take a look at all of our pattern vinyl categories and even submit your own artwork as a custom pattern.
If videos are more your jam, check out our application video below.

 Custom Printed Apparel
 Custom DTF Apparel
 Embroidered Apparel
 Full Service Customization
 Rhinestone Apparel
 Sublimated Apparel
 Custom Drinkware/Photo Panels
 Siser Sanmar Decoration
 Seasonal Items
 DTF Transfers
 Supacolor Transfers
 Sublimation Transfers
 Rhinestone Transfers
 HTV Transfers
 Custom Patches, Stickers, & Magnets
 Custom Screen Print Transfers
 Artwork & Services
 Custom Banners