Printable Heat Transfer Vinyl vs. Transfer Paper - There's a difference!
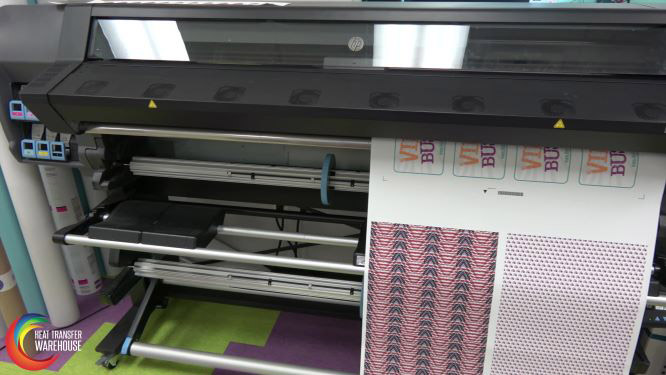
Before we get into the details of Printable Heat Transfer Vinyl (HTV), let’s clear up the confusion with Transfer Paper. The biggest misconception with Printable HTV is that it will work in your desktop printer - such as in inkjet or laser! Printable HTV will not work in a desktop printer, but Transfer Paper will. There is a distinct difference between Printable HTV and Transfer Paper! Printable HTV is actual vinyl, whereas Transfer Paper is… paper! Printable HTV is going to require a wide-format printer.
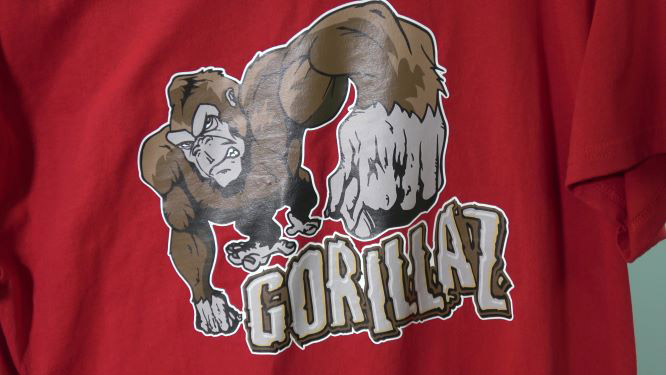
Printable Heat Transfer Vinyl (HTV) is used to create Digitally Printed Transfers. For the purpose of this blog, we will be commonly using the term Digitally Printed Transfers.
Why add Digitally Printed Transfers to your business?
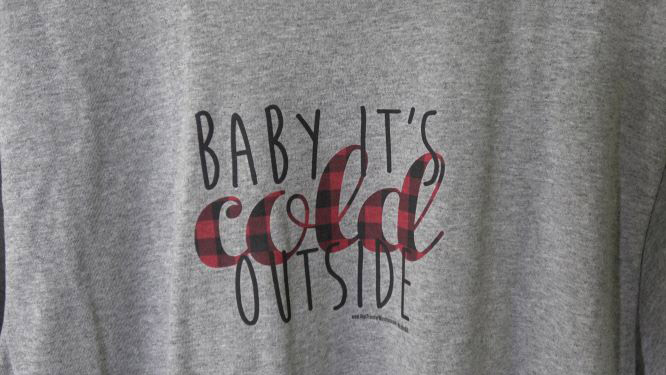
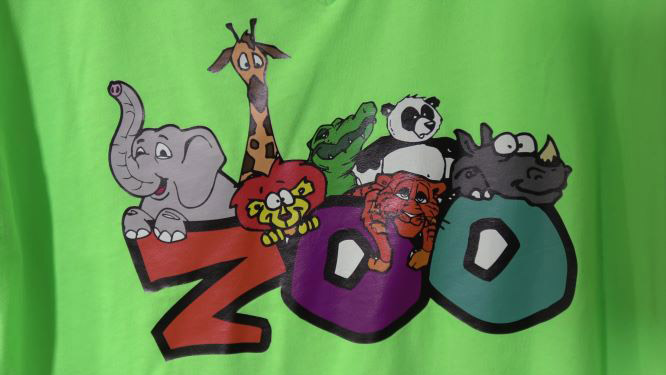
You use Printable HTV to create Digitally Printed Transfers. Digitally Printed Transfers are a great way to add variety if you are looking to expand your business. In comparison to non-printable HTV, you are able to print small detail and larger color ranges. Plus, you don’t have to worry about the hassle of layering vinyl to get multi-colored designs! Digitally Printed Transfers are great for printing custom patterns or even full-color logos. Overall, Digitally Printed Transfers are of greater quality than Transfer Paper, as they are much more durable than using Transfer Paper and will out-live the lifespan of the garment if applied correctly.
What equipment is needed for Printable HTV?
As stated above, Printable HTV requires a wide-format printer. A desktop printer (inkjet or laser) will not work!
Digitally Printed Transfers are often done in a full CMYK color process on wide-format printers that use Solvent/Eco-Solvent ink, but the use of Latex ink is becoming more popular in the industry. Latex ink is especially beneficial because there is little to no dry time needed when printing, therefore increasing the volume of printing that can be done. Wide-format printers are available in multiple widths, ranging from 20” to 60”. The size of the printer will impact the types of transfers that you can make. However, most Printable HTV comes in multiple widths to fit many printer sizes.
What Printable HTV should you choose?
There are many brands and types of Printable HTV out there that can be used to make Digitally Printed Transfers. Like non-printable HTV, Printable HTV offers different types for various purposes. Many factors come into play when making this decision.
One of the first factors to consider is, what type of material is the transfer being put on? The industry increasingly listening to what consumers want, and are tailoring Printable HTV to suit garments better. Many Printable HTVs have different intended uses. If a high percentage of polyester is in the garment of choice, you would want to look at a Printable HTV that can be applied at a low temperature and quick time. The reasoning behind this is polyester materials can burn very easily, creating unwanted “press marks” on your garments if you are not careful. The lower the temperature and quicker the pressing time, the less likely the polyester is to burn.
Another good reason for wanting a low temperature Printable HTV for polyester is you will not have to worry about dye-migration. If the temperature is low enough, dye-migration will not occur to the point where it is reactivating the dyes within the garment.
Additionally, if you are using a nylon garment, awning or even umbrella, you will want to look for a Printable HTV that is designed to adhere to nylon.
Or, if you are using an all-white cotton garment, you may benefit from using a clear Printable HTV. It is going to be higher quality than a regular Transfer Paper, and feel nicer on the garment, as well as have a longer lifespan on the garment.
Overall, there are many factors to consider. Other factors to consider are: finish, thickness, stretchability, opacity and printer type compatibility. There are many different kinds of Printable HTV out there, so research and experiment with what works best for you, your machine and your customer.
How to work with Digitally Printed Transfers
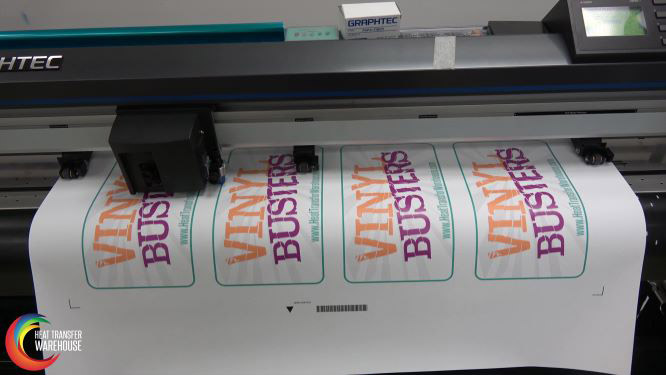
Once you have printed your design onto the Printable HTV of your choosing, the next step in the process is cutting. Digitally Printed Transfers need to be printed in right reading (not mirror image) because you are printing on top of the material.
You will need a vinyl cutter that is compatible with the software you are using to print your design. In your designing software, you will have to format your design to have registration marks along the borders. This is how the designing software communicates with your cutter on where to cut after it is printed. Because you print right reading, you will also want to cut right reading (not mirrored).
After the design is cut, you will need to weed the design. Weeding is the process of taking out all the unnecessary pieces of vinyl around your design. Some Printable HTV will have a sticky liner and some will have a static liner (non-sticky). Anything with a static liner is not recommended for detailed designs, because if small details move or come off when weeding, you cannot easily put it back in its place.
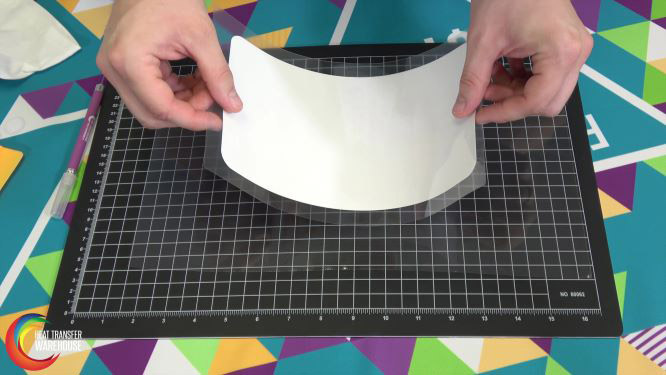
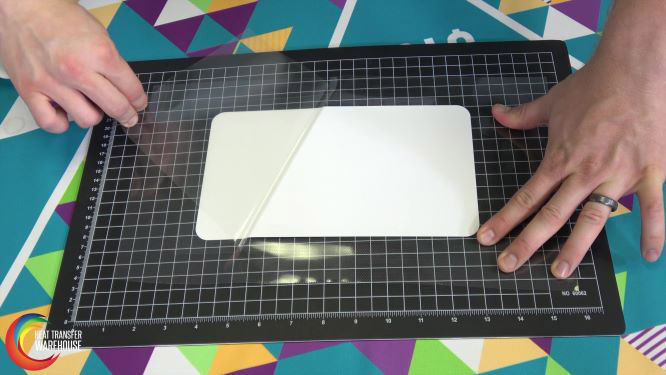
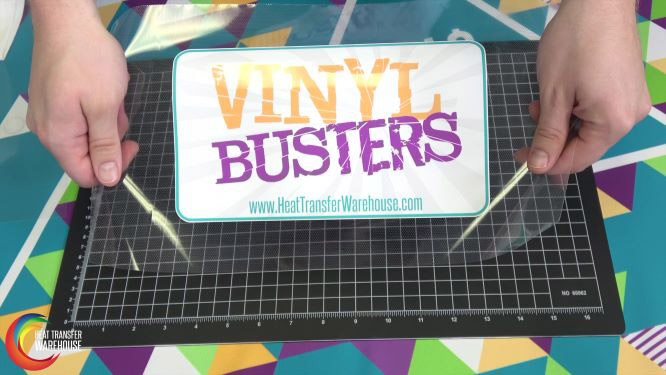
The next step is masking your digitally printed transfer to prepare it for heat pressing. Masking is the process of using a mask on your Digitally Printed Transfer. Some will call it application tape, we refer to it as a mask. All Digitally Printed Transfers will need a mask. Why? Because you’re printing on the vinyl, there is no carrier sheet over the vinyl to protect it when heat pressing. Masking is, therefore, the process of applying a carrier sheet over the vinyl, and removing the original liner (backing) of the Printable HTV.
It is important to note that it needs to be specifically heat transfer mask. Materials like sign vinyl also require a mask but the two masks are far from the same. A mask used for sign vinyl is not designed to work with a Printable HTV.
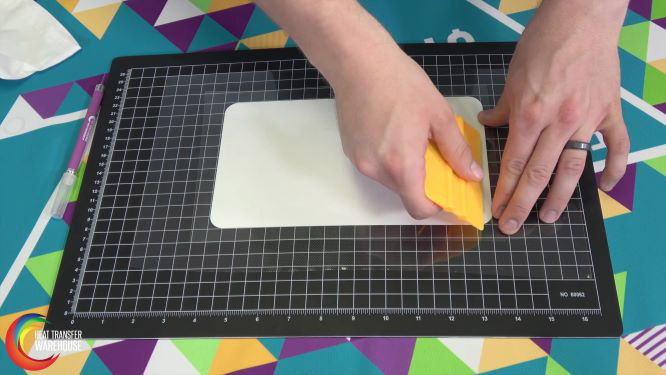
Upon purchasing your Printable HTV, you should be provided with information as to which masks pair best with it. There are going to be different masks that have a different amount of tack (stickiness). Usually, the thinner the Printable HTV, the lower tack needed. Once you have applied the mask, you will want to use a squeegee to make sure the mask is firmly onto your Digitally Printed Transfer. The original liner of the material will need to be taken off before pressing. We recommend keeping the liner on until the Digitally Printed Transfer is ready for pressing (if the transfer is going into storage).
Like non-printable HTV, all Printable HTV will have specific pressing instructions that go along with it. You should be given recommended instructions for temperature, time, pressure and peel. Peel can be more impactful than one might realize, as peeling a “cold” transfer hot could completely ruin the application process. It is crucial to follow the recommended application instructions on any material to ensure the product will work to its best abilities and have a maximum lifespan.
After the Digitally Printed Transfer is fully printed, cut, weeded, masked and finally heat pressed, garment care is the last piece of this puzzle. Garment care refers to how you are washing and drying the transfer on your garment. Some Printable HTV recommends you to wait 24 hours before washing your garments with the transfer on it. This is to ensure that the design is fully dried and will not alter in the wash. Just like the application instructions, it is crucial to follow the recommended care instructions to ensure maximum quality and lifespan.

 Custom Printed Apparel
 Custom DTF Apparel
 Embroidered Apparel
 Full Service Customization
 Rhinestone Apparel
 Sublimated Apparel
 Custom Drinkware/Photo Panels
 Siser Sanmar Decoration
 Seasonal Items
 DTF Transfers
 Supacolor Transfers
 Sublimation Transfers
 Rhinestone Transfers
 HTV Transfers
 Custom Patches, Stickers, & Magnets
 Custom Screen Print Transfers
 Artwork & Services
 Custom Banners