
Last updated 6/16/23
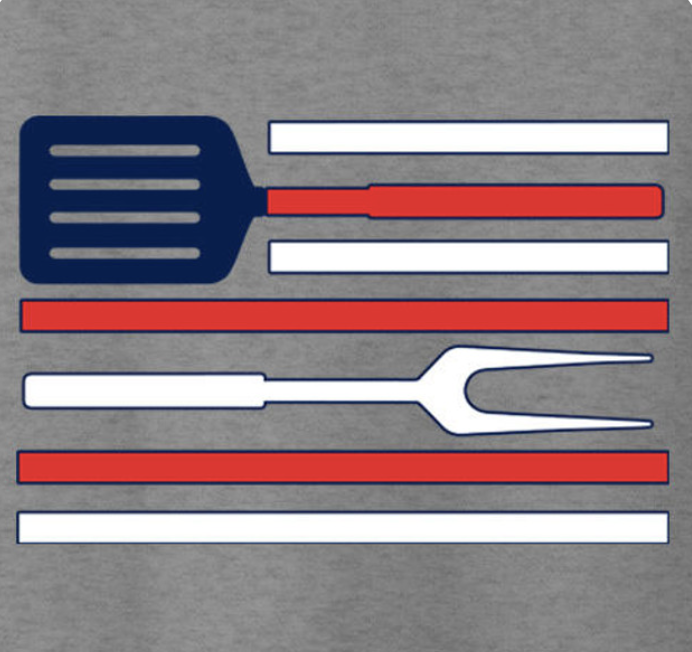
"Oh Say Can You See…" our eye-catching Patriotic HTV and SVG Bundle? This bundle includes four SVG files and one yard each of red, white, and royal blue Siser EasyWeed. Below, we will go through the steps of decorating a tank top and hat that are perfect for summer, celebrating national holidays (or any day) utilizing this bundle’s HTV and SVG files!

Equipment/Materials Used
Silhouette Cameo
Tank Top Steps
Step 1:
Cut the vinyl using a vinyl cutter of your choice. Remember to mirror the design in your design software.
Note: If you are using a Cricut cutter, you will want to attach your design together before cutting. For more tips on using a Cricut cutter and Cricut Design Space, check out this blog " How to Cut HTV on Cricut Using Cricut Design Space“.
Step 2:
Weed out the excess vinyl from the carrier sheet. We typically trim our sheet before weeding so we can save the scraps for future projects.
Step 3:
We chose to put our first design on a District tank top, so we warmed up our heat press to 305 F and did a 5 second pre-press of our shirt to smooth out any wrinkles and remove moisture. We lined up the first layer of the “America” design (EasyWeed Red). We pressed this layer for a one second tack, then peeled the liner off to reveal the pressed layer.
Note: If you are pressing an uneven surface, you can use a heat press pillow to ensure that all parts of the design press evenly.

Step 4:
After completing the first layer, we lined up the second layer (EasyWeed White). We pressed this layer for a one second tack, then peeled the liner off to reveal the pressed layer. If you don’t have an upper platen cover, you will want to use a heat press release sheet to protect the exposed layer of HTV that is already on the garment.

Step 5:
Next, we lined up the third layer of the design (EasyWeed Royal Blue). We pressed it for the full 10 seconds since it was the last layer. When the 10 seconds were up, we peeled the liner and the tank top was finished! You can take a look at the results below:

Hat Steps
Step 1:
A baseball cap seemed like a good choice for our second design, so we warmed up our hat press to 305 F to prepare. Then we lined up the first layer of the rainbow design (EasyWeed Red). We pressed this layer for a one second tack, then peeled the liner off to reveal the pressed layer.

Step 2:
After pressing our first layer, we lined up the second layer (EasyWeed White). As with the first layer, we pressed this layer for a one second tack, then peeled the liner off and were ready to press our third layer. Once again, it is important to note that if you have any exposed vinyl while layering designs, you should cover it with a heat press release sheet to protect it from the heat.

Step 3:
Next, we lined up our third and final layer of the design (EasyWeed Royal Blue). We made sure it was lined up, then pressed it for 10 seconds. When the 10 seconds finished, we peeled the liner and the hat was complete!

Wrap-Up
In conclusion, the Patriotic HTV & SVG Bundle from Heat Transfer Warehouse is a convenient (and cost-effective) way to create unique apparel and home decorating projects, all while showing your support for the red, white, and blue! We hope this blog has lent you some inspiration to create beautiful projects that put your American pride on display!

Additional Products
Looking for more patriotic and American flag themed HTV? We have a number of WALAStock transfers, USA themed patterns, and rhinestone transfers perfect for any patriotic occasion!
If you need more information on pressing HTV, check out our blog “ HTV Time and Temperature Guide” and our video “How to Cut and Use HTV”.