
In this blog, we will provide an easier method to mask transfers for those of you who are struggling with the original method.
Original Masking Method
In past blogs, we have provided steps on how to mask a material, specifically using our KTM Digital Mask. These steps are as follows:
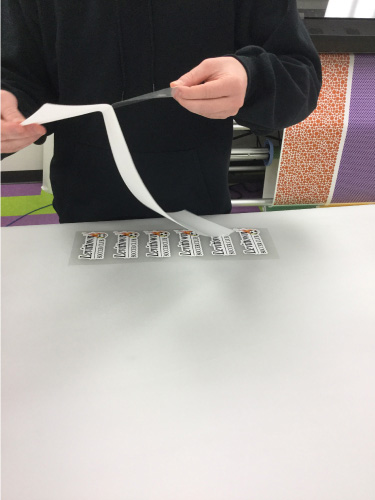
1. Take the mask material and remove it from its liner.
2. Place the mask on over your transfer then use the included squeegee to apply the material and remove all air bubbles.
3. Remove the transfer material from its original liner. Now your transfer should be only attached to the mask material.
4. You are now ready to press your material!
Alternative Masking Method
The alternative masking method is very similar to the original method; however, we have changed one simple step to help eliminate those annoying air bubbles and make the overall process a little easier. These steps to apply KTM Digital Mask are as follows:
1. Take the mask material and remove it from its liner.
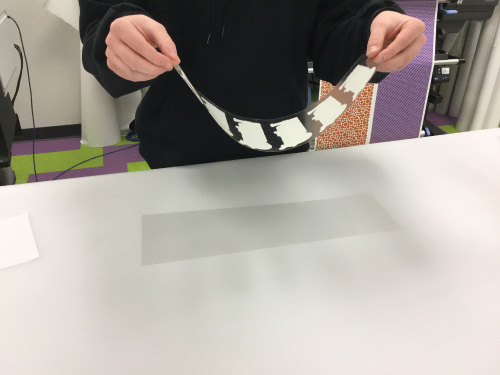
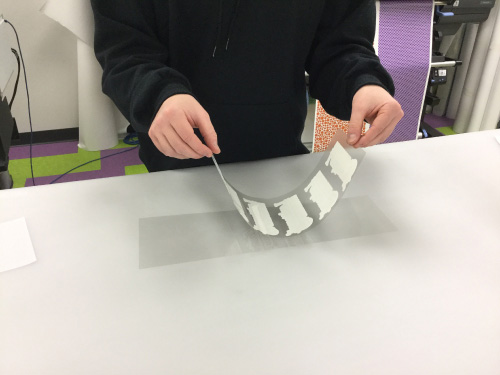
2. Instead of placing the mask over your transfer, switch these two around. Lay the mask down and place the transfer over the mask. Now use the included squeegee to apply the material and remove all air bubbles.
- This way seems to be a little easier in aligning the mask to stick to the transfer.
- It especially helps with aligning big transfers to the mask.
- And we have found that it helps eliminate some air bubbles that are harder to prevent when applying the mask over the transfer!
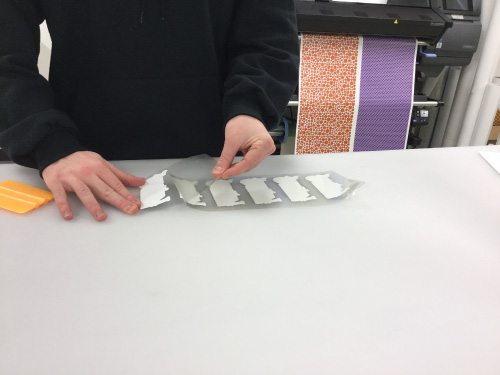
3. Remove the transfer material from its original liner. Now your transfer should be only attached to the mask material.
4. You are now ready to press your material!
This alternative method should work for any type of masking. We want to hear if this makes your masking process easier! Share your thoughts with us on our Facebook page!