
Materials Needed
- Barn wood/reclaimed wood
- Sign vinyl
- Cutting machine
- Weeding Pick/Hook
- Squeegee
- Paper Mask
- Paint supplies
- Measuring Tape
Step 1: Cut your design
Make sure to cut the inverse of whatever you want the paint to appear on. If you want your words or design to be in paint, then you want to cut and weed everything around the design. If you want everything but your design to be painted, then you will weed everything but your design.
Step 2: Weed excess vinyl

Be sure to weed away the vinyl where you want the paint to show on the vinyl. Printing out a picture of what the final product will look like will help you visualize what you need to weed away and what needs to stay.
Step 3: Mask your sign vinyl
Apply the mask to the sign vinyl with a squeegee and remove the vinyl from its original carrier sheet.
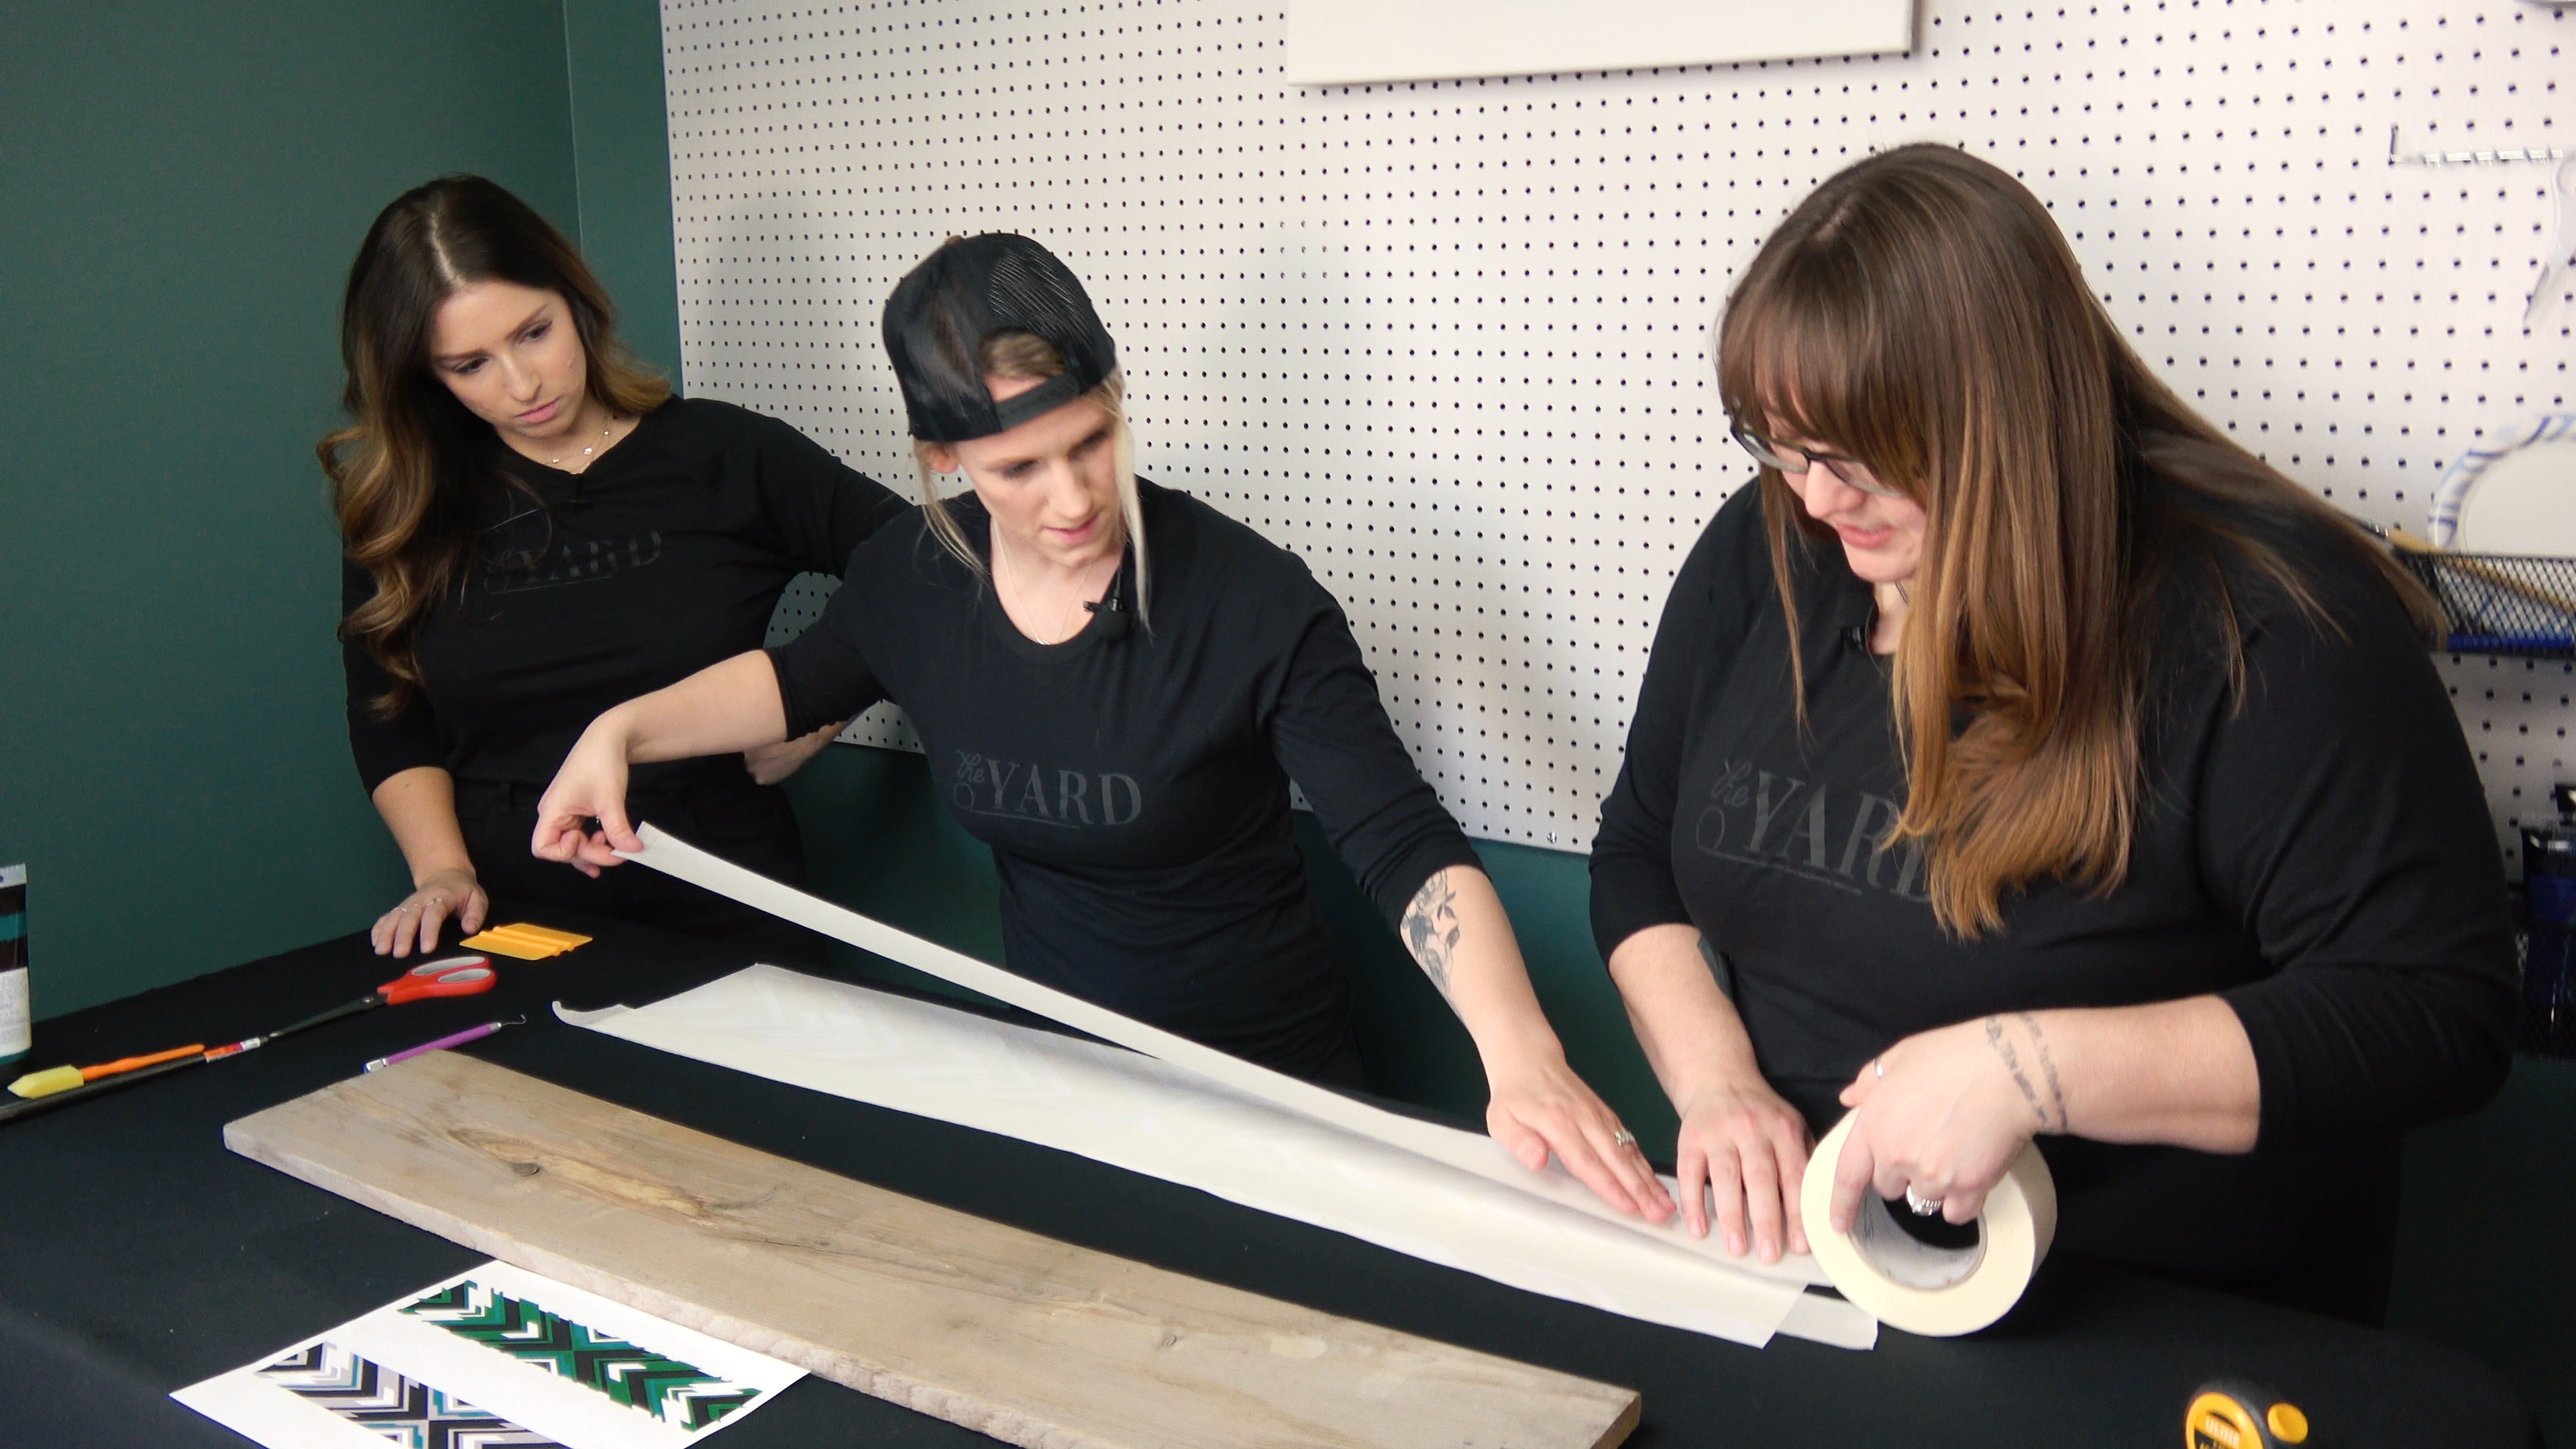
Step 4: Apply to the wood
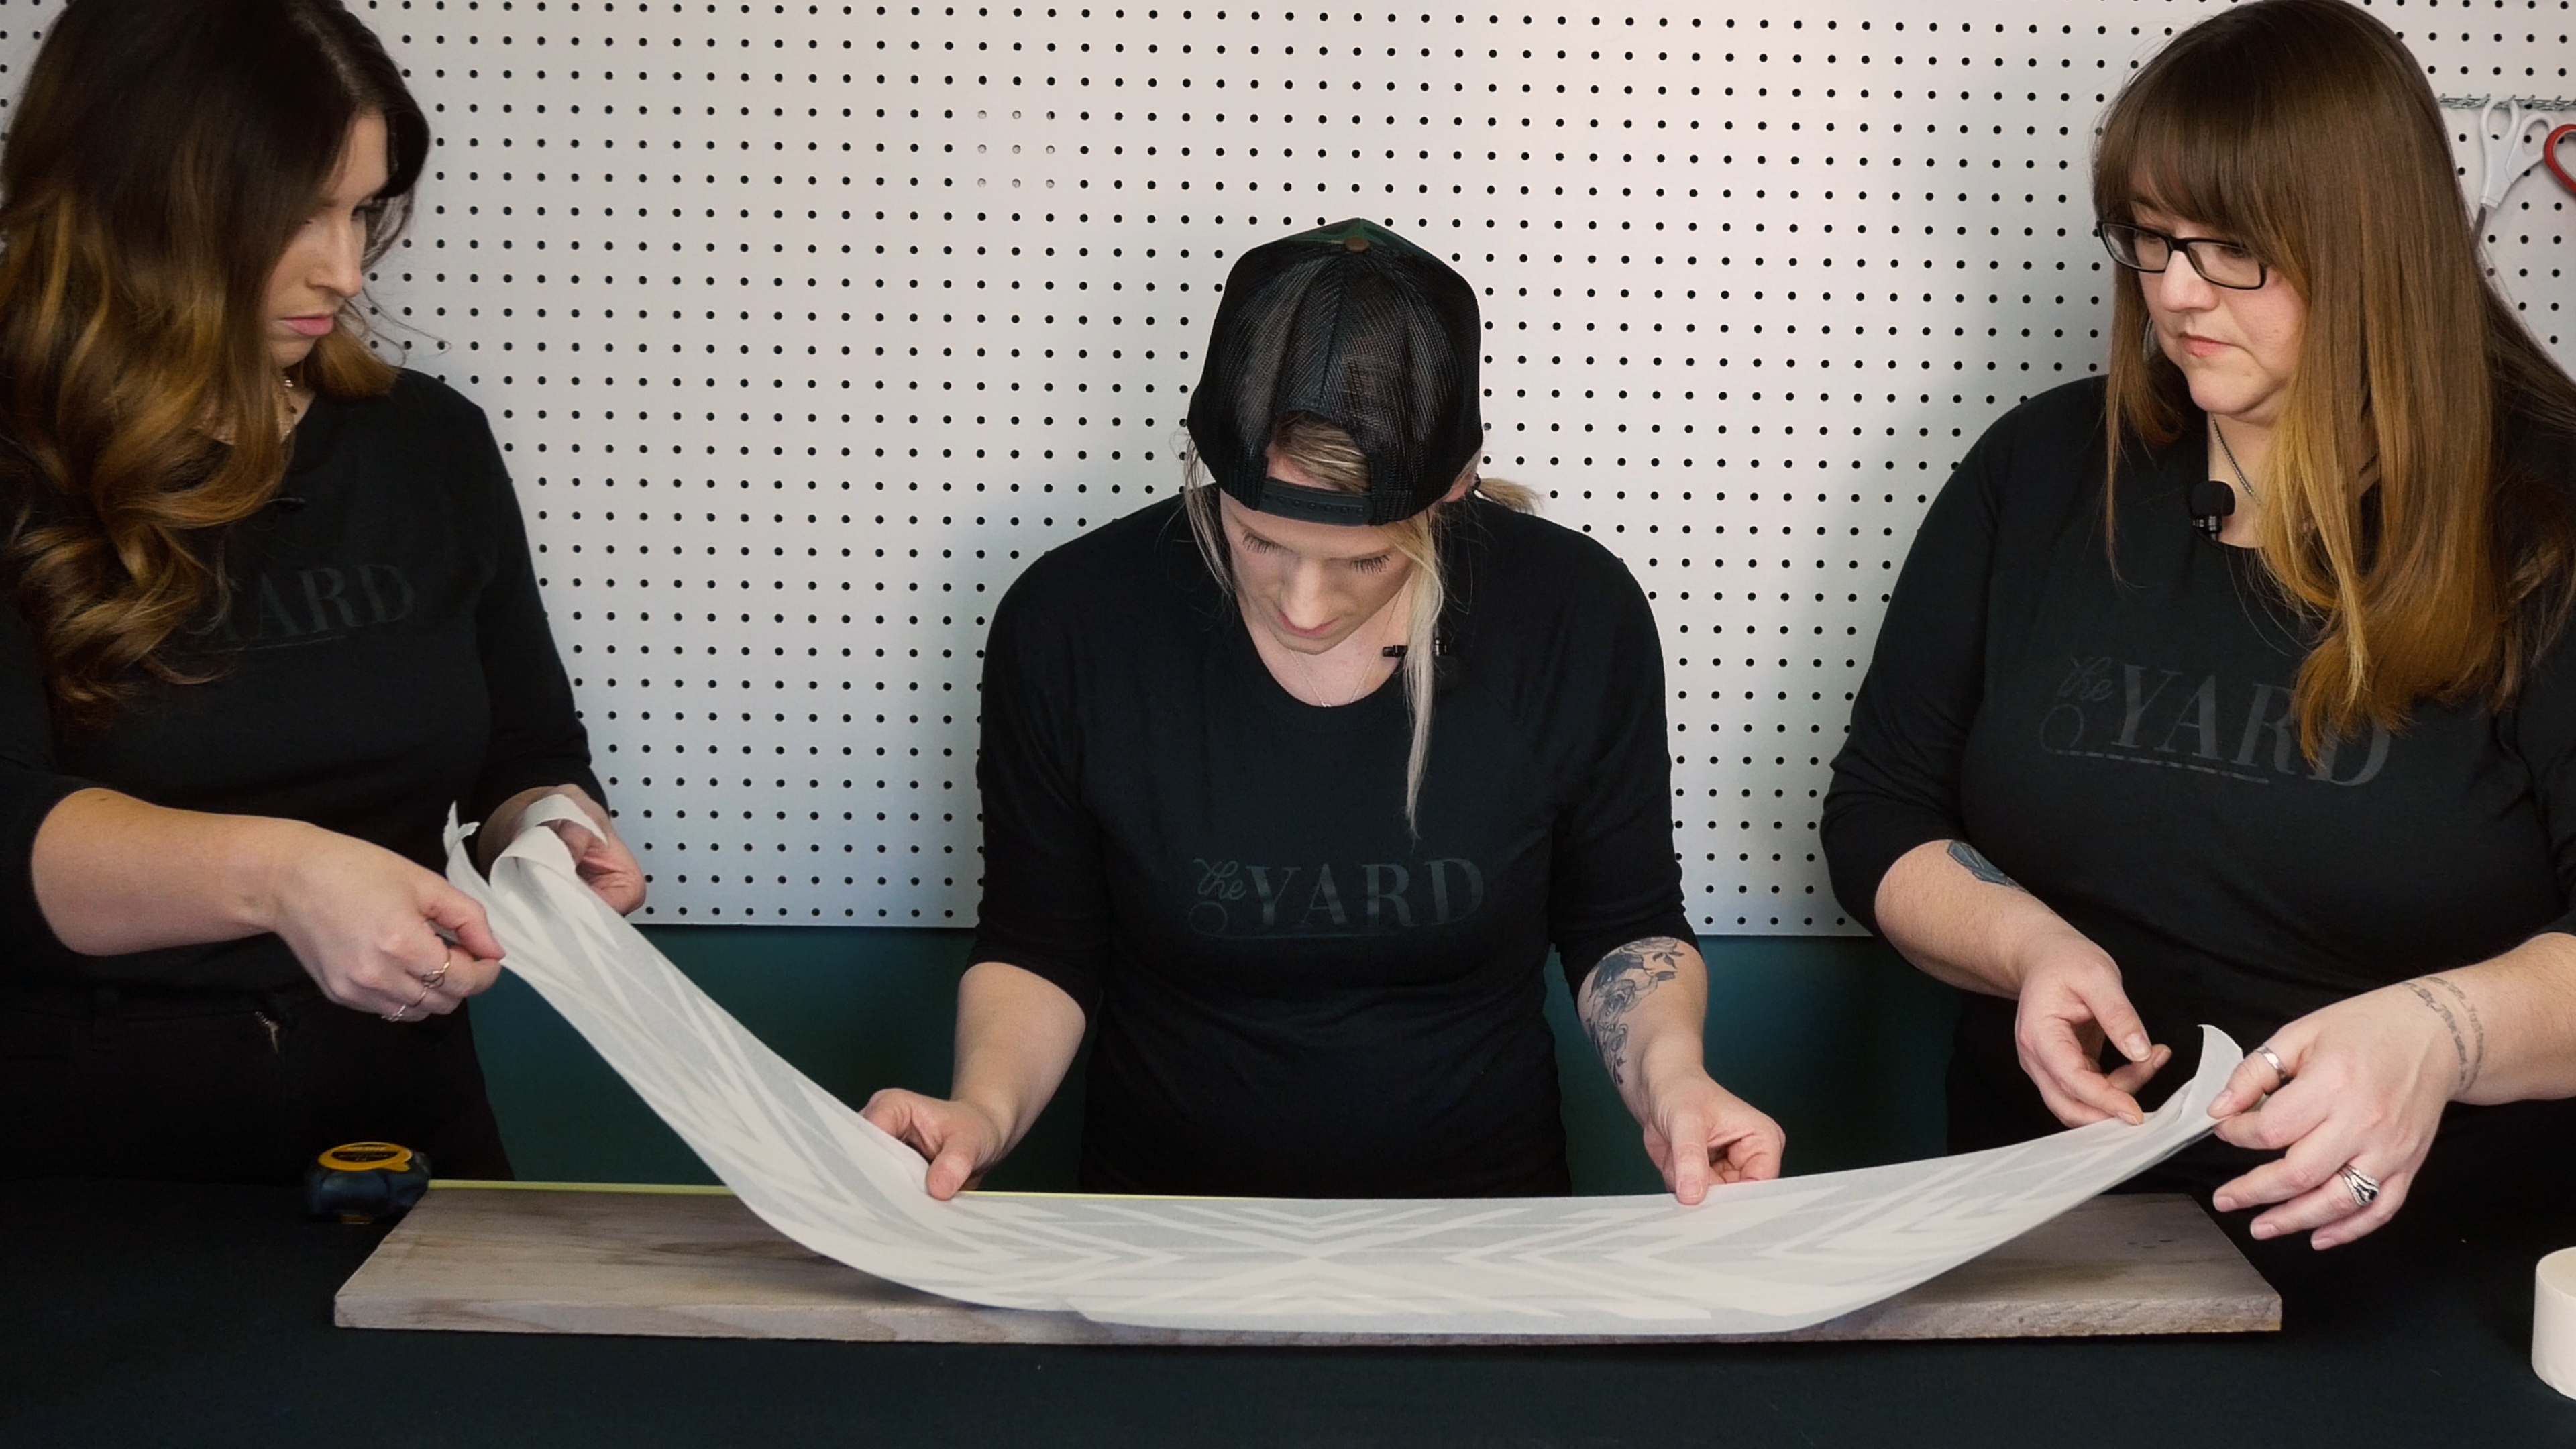
Carefully place your design on the wood. Use a measuring tape to find the center of the board and place your design starting with the center and then moving out to the ends. Remember that barnwood/reclaimed wood can be warped and uneven. Use a squeegee to press the vinyl to the wood and remove the mask. Use the squeegee to make sure the vinyl stays adhered to the wood.
Step 5: Paint over the sign vinyl
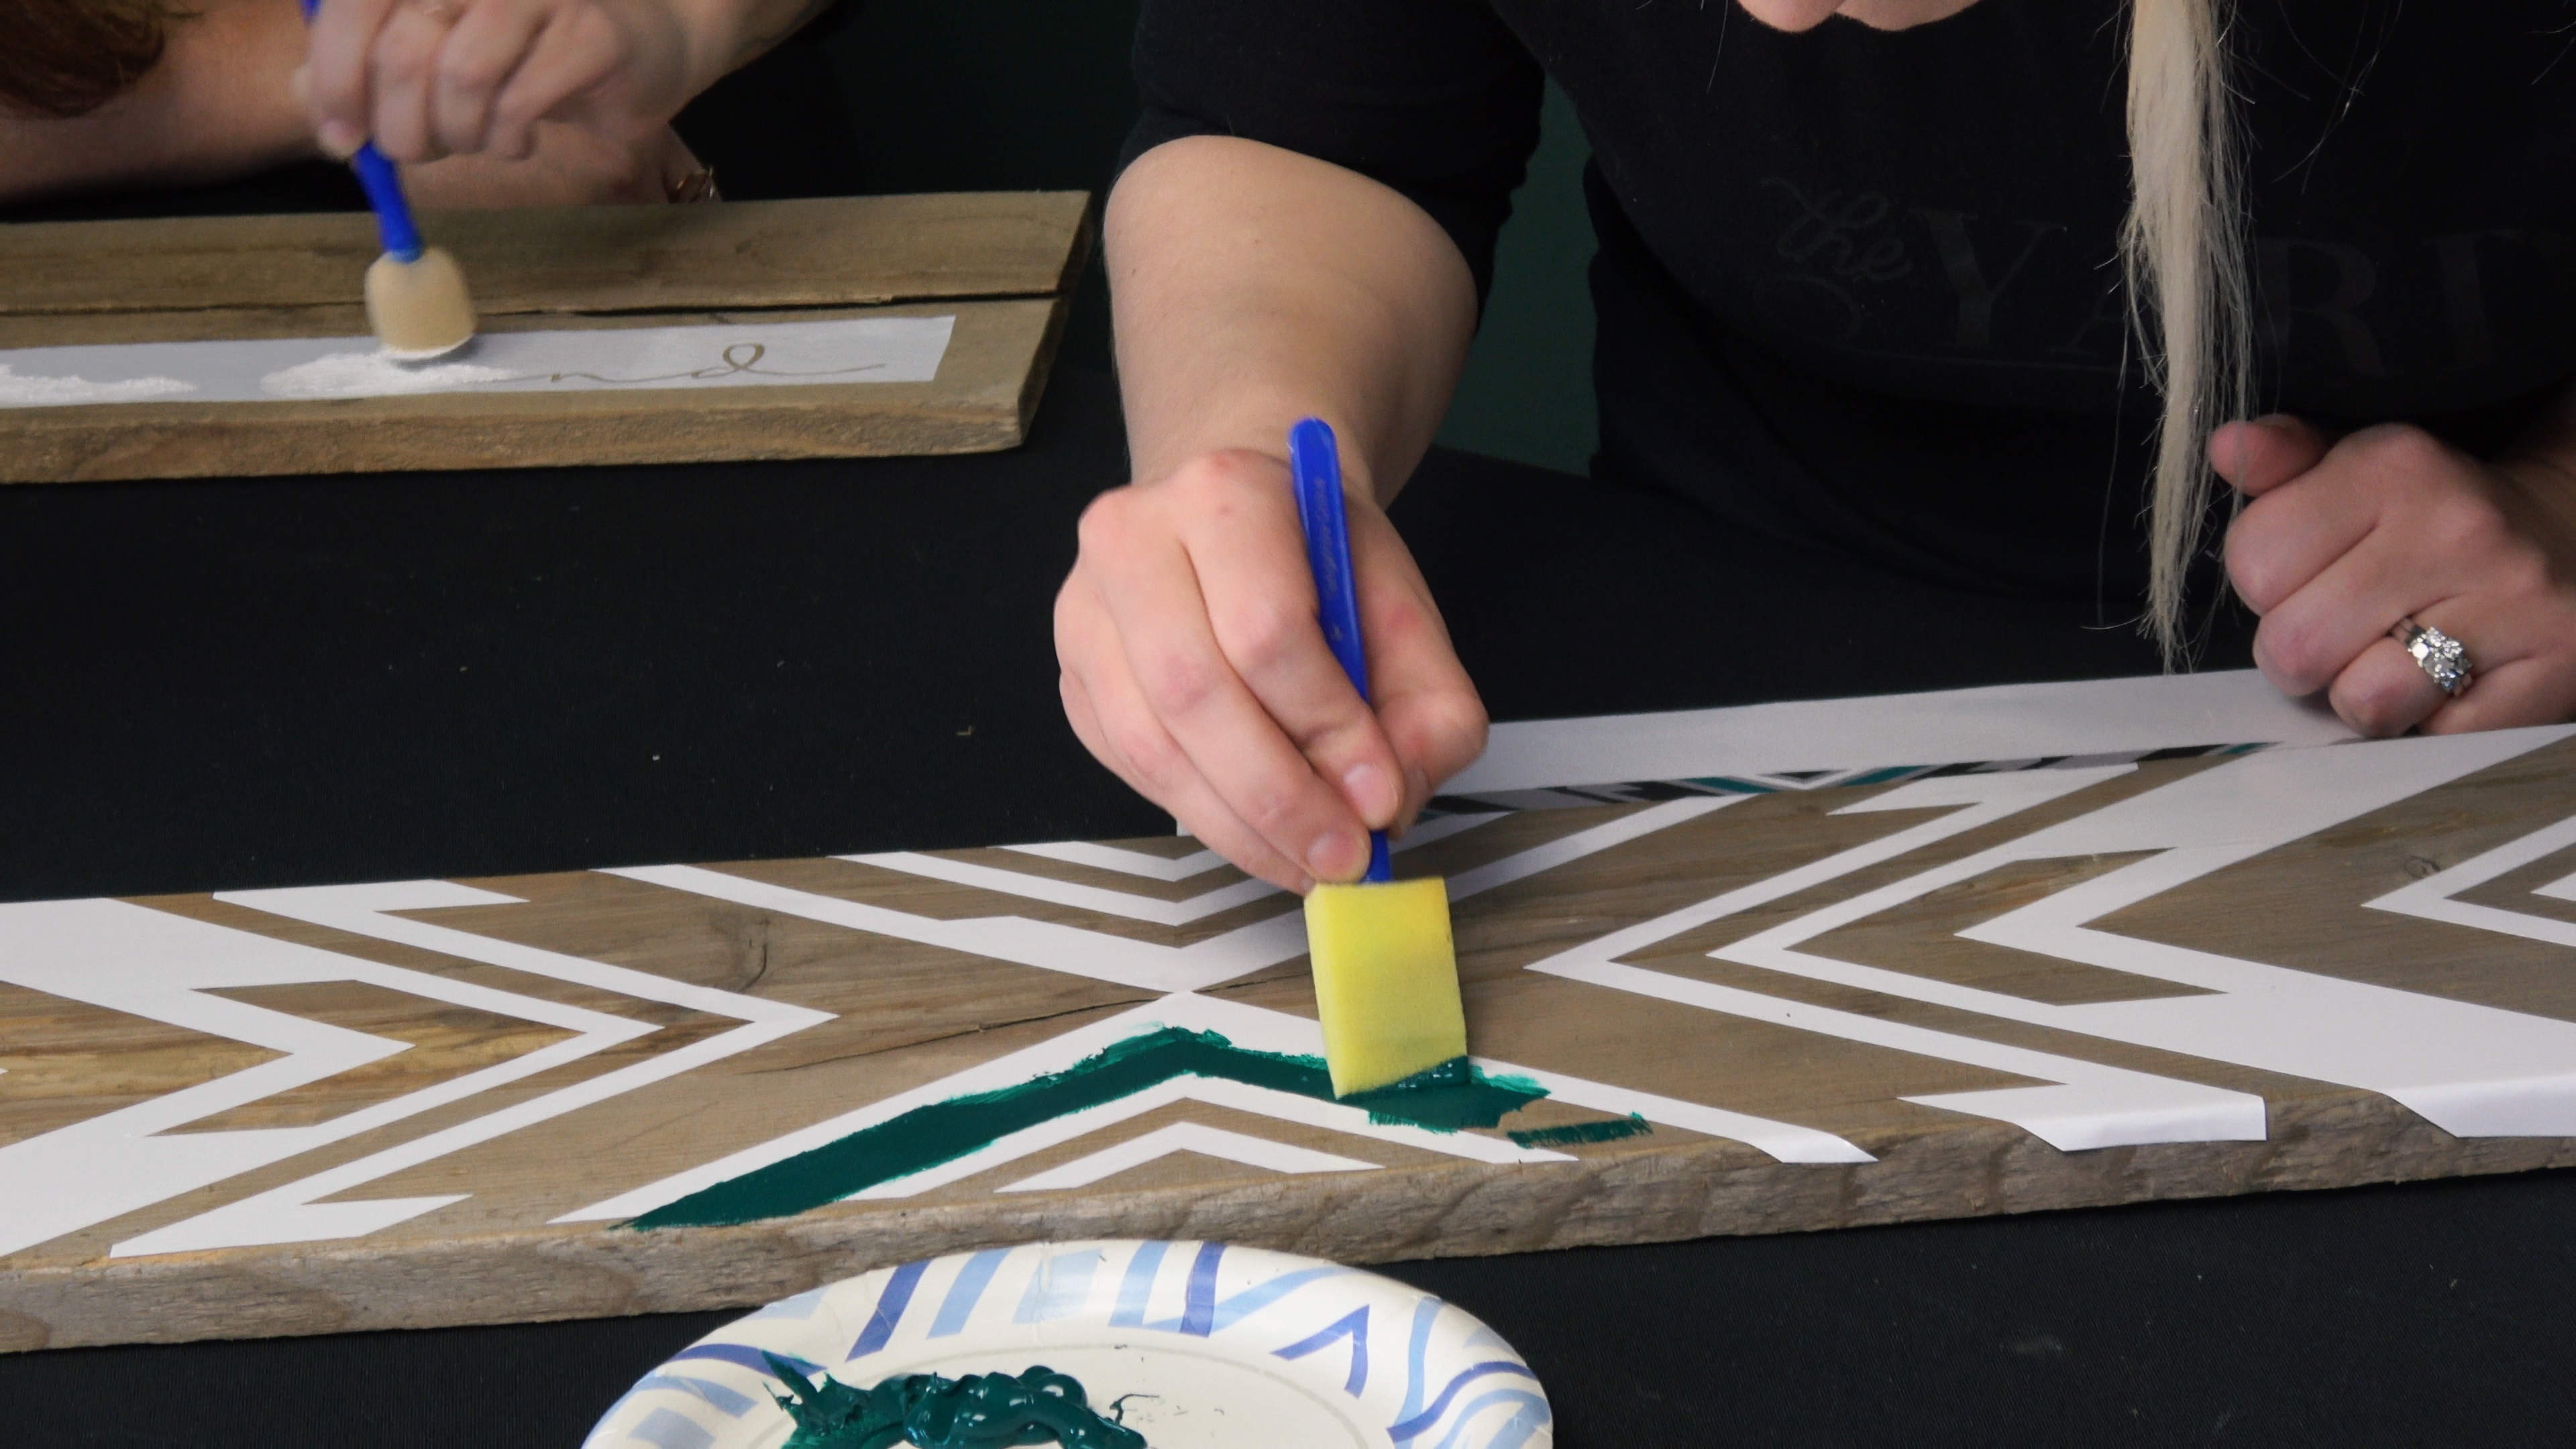
Apply two thin coats of paint wherever your design calls for. Use long strokes to ensure an even coat. If you are using multiple colors of paint, use the printed guide from earlier to know where to place the colors.
Step 6: Remove sign vinyl
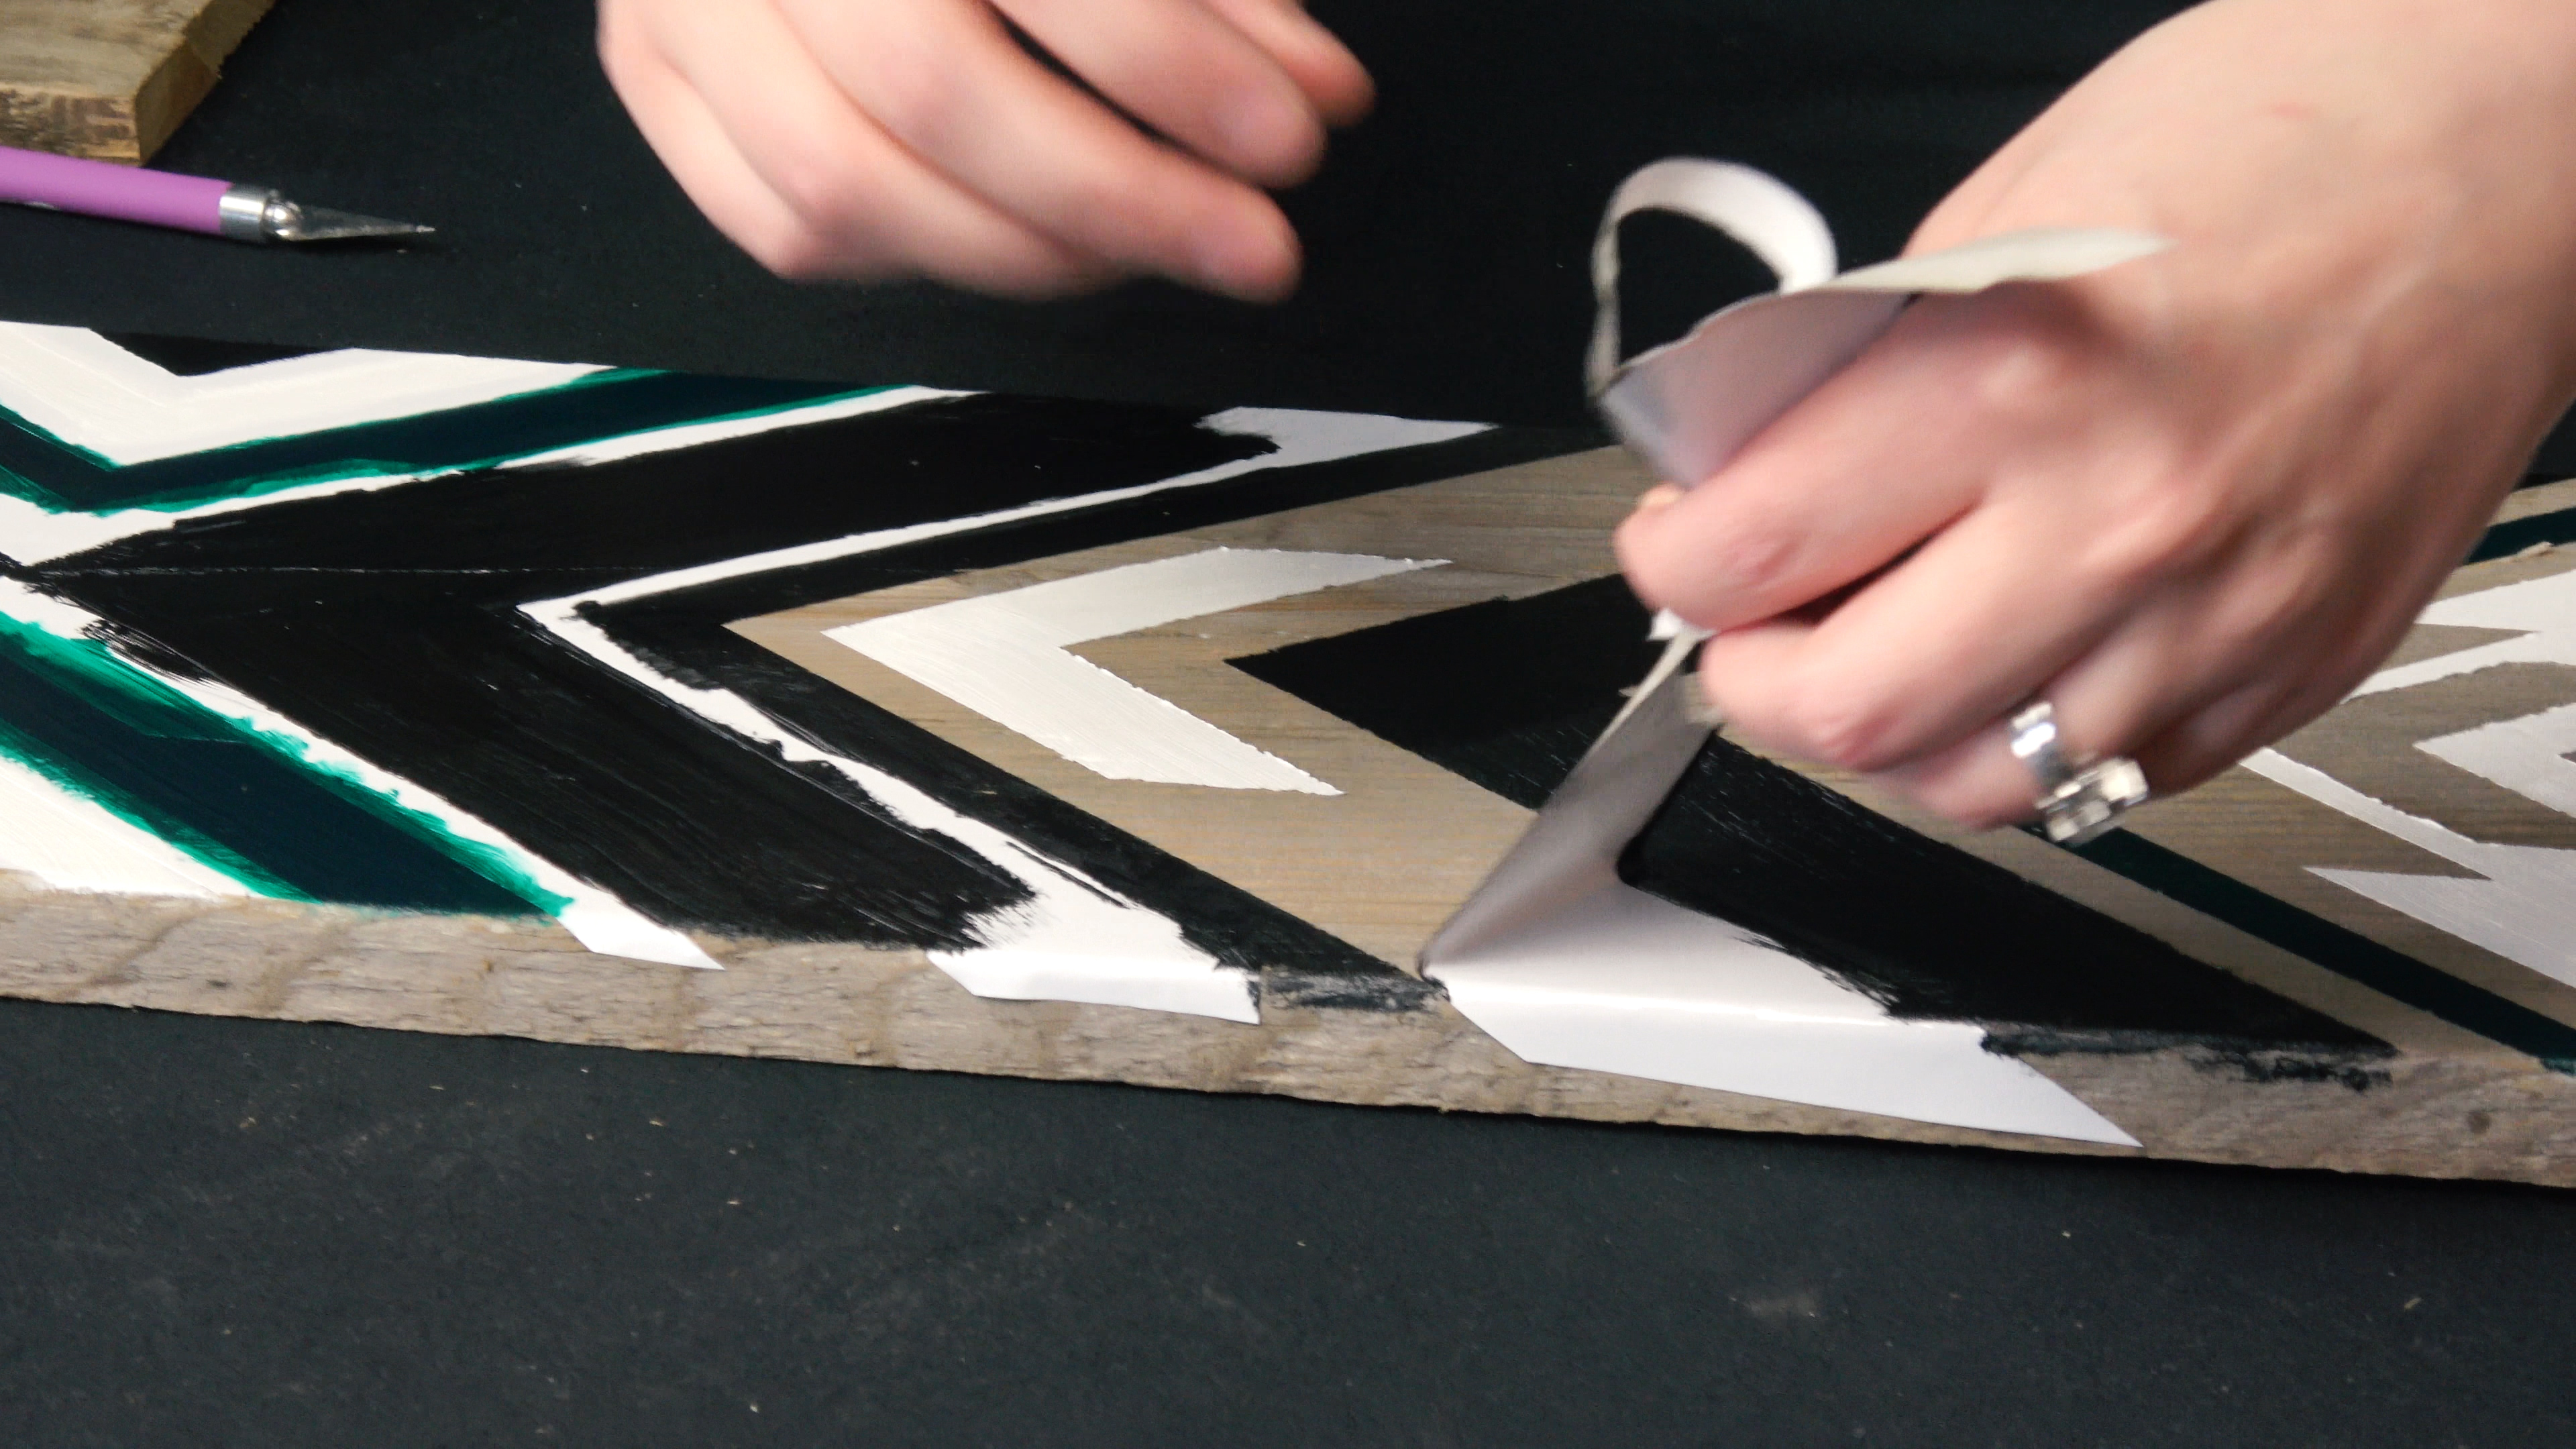
Once your paint is completely dry, carefully remove the sign vinyl. A utility knife can help keep lines clean as you peel away the vinyl.
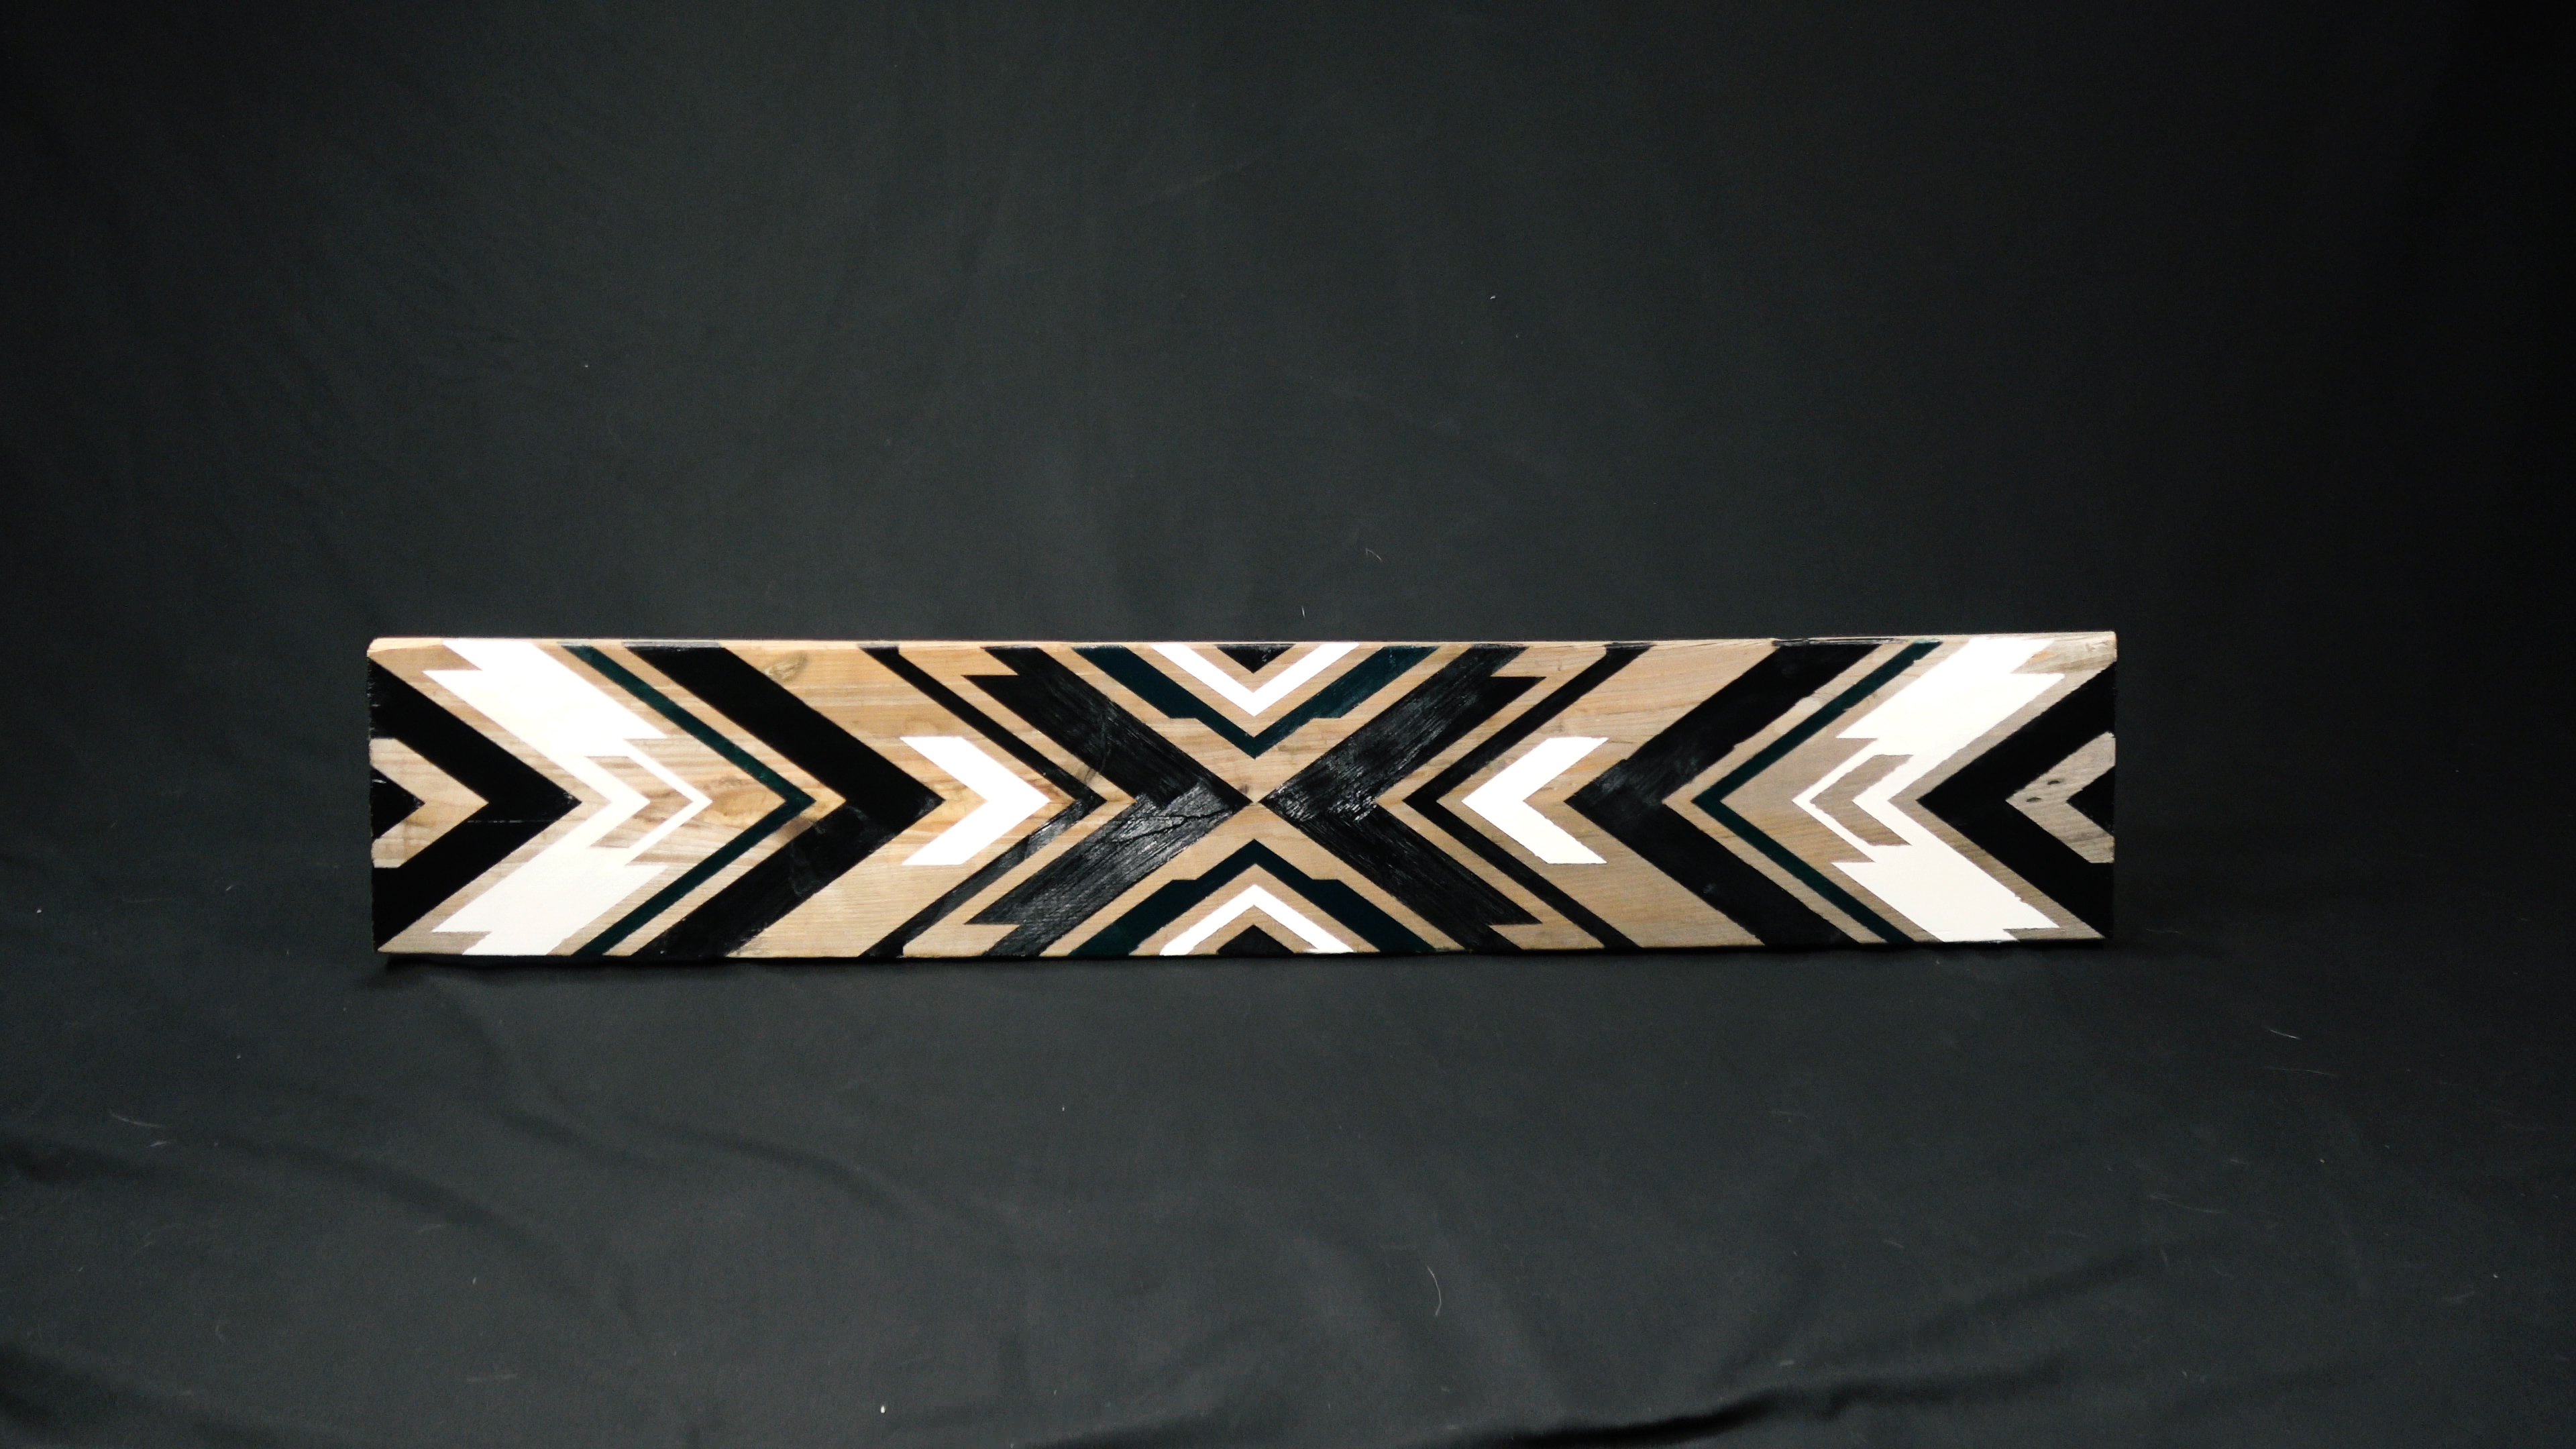
Now your wood sign is completed and ready to display in your home or office.