It is highly recommended to not layer Siser Glitter HTV on top of Siser Glitter HTV. Why? The answer is simple - Siser Glitter HTV is textured and does not provide a good base for the adhesive to stick to.
You can certainly layer Siser Glitter HTV over other HTV such as Siser EasyWeed! Just make sure to avoid putting Siser Glitter on top of Siser Glitter.
Get a layered look with Siser Glitter HTV
Even though you don’t want to put Siser Glitter on top of Siser Glitter, there is still a way to get that “layered” look.
We are going to use the “Inlay” method, which is more commonly referred to as the “Subtract” or “Knockout” method. Just know that all 3 of these terms refer to the same thing! For the purpose of this blog, we will refer to it as “Inlay”.
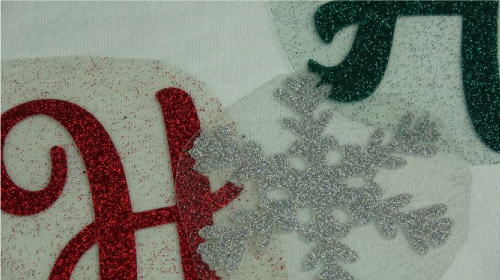
What is an “Inlay”?
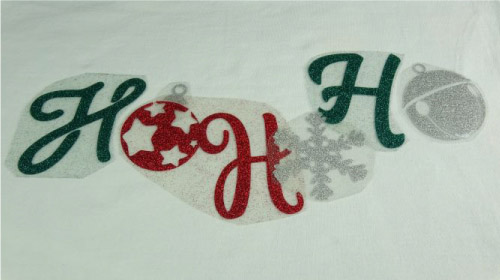
Since we are avoiding putting Siser Glitter directly on top of Siser Glitter, we are going to “Inlay” the glitter. To do so, we will cut out (knockout or subtract) portions of one glitter vinyl, and insert another glitter vinyl in those gaps.
Cut Settings for Siser Glitter HTV
No matter what vinyl cutter you are using, it is always recommended to perform a TEST CUT first!
1) Silhouette Cameo: Silhouette Studio features a Heat Transfer Glitter preset setting. However, Siser recommends different cut settings. Both settings will cut Siser Glitter nearly identical!
Siser Recommended Settings
- Blade: 4
- Material: Heat Transfer, Smooth
- Speed: 8
- Force: 11
- Passes: 1
Heat Transfer, Glitter Preset
- Blade: 3
- Material: Heat Transfer, Glitter
- Speed: 5
- Force: 33
- Passes: 1
2) Cricut
- Set Material: Iron-On
- Pressure: More
- Blade: Fine-Point Blade (Standard)
3) Graphtec
- Offset: 0
- Speed: 25 cm/s
- Acceleration: 4
- Cut Force: 23
**We use a 45 Degree Blade
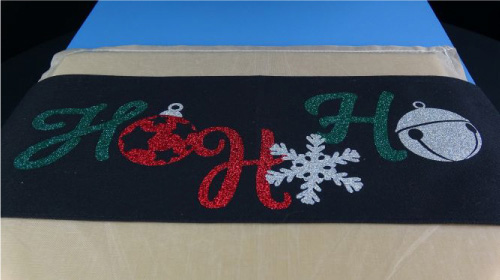
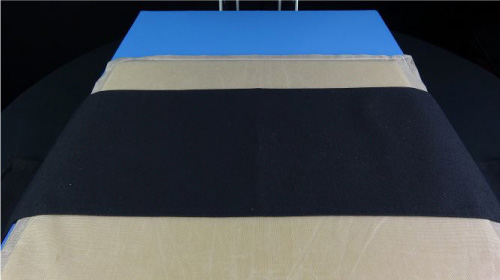
Siser Glitter HTV Inlay Application with a Heat Press
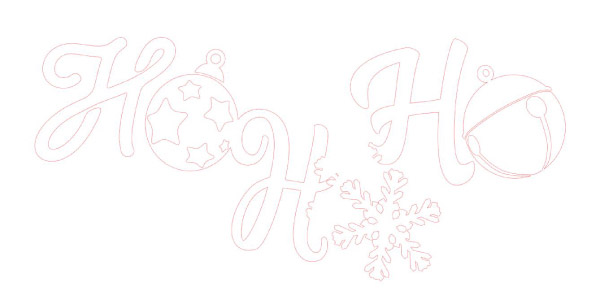
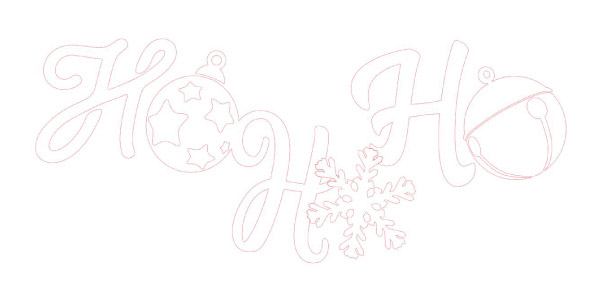
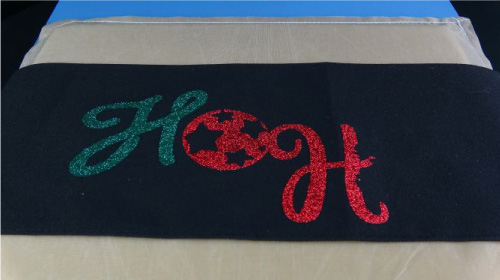
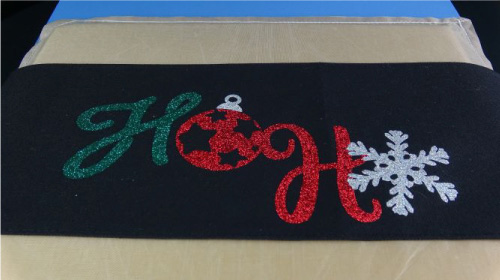
For this tutorial, we are inlaying Siser Glitter HTV on a pillow band! Here is a preview of the design that will be pressed:
1) Set your heat press to 320°F
2) Undo the velcro at the back of the pillow band. Try to avoid having the velcro on your heat press during application.
3) Because the pillow band has thick seams, we are going to use a Heat Press Pillow. This helps ensure that you get even pressure when pressing over the thick seams.
4) Adjust your pressure on your heat press with the Heat Press Pillow on the bottom platen. Siser Glitter HTV requires a medium pressure (3-4 on a heat press with a digital pressure readout). You will notice that a "normal" medium pressure will turn into a firm pressure once you add the Heat Press Pillow onto your bottom platen. In this case, you will likely need to lower the pressure to get a new medium pressure.
5) Pre-press the pillow band (or whatever garment you are using) for 2-3 seconds. This is recommended to remove any moisture out of the garment.
6) Even though we are not applying Siser Glitter on top of Siser Glitter, we are still going to apply this design in 3 separate presses, which we will refer to as layers. It is possible to complete this whole design in 1 press, if the carrier sheet (liner) of the HTV is cut close enough to the vinyl so that all components of the design are not overlapping. You must make sure that every piece of vinyl is touching the garment, and not on top of the carrier sheet! For beginners, separate presses are recommended.
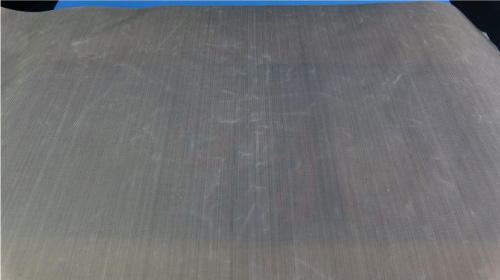
7) The biggest misconception when layering HTV is that you need to apply each layer for the full recommended time. This is far from true! With Siser Glitter HTV, every layer except for the last only requires a 1-2 second press to “tack down” the vinyl. Peel the carrier sheet (liner) hot or cold. If you notice the vinyl is peeling up, re-press for another 1-2 seconds. Always make sure to use a cover sheet when layering HTV! A Heat Press Sheet is recommended to protect your exposed vinyl and your heat press.
8) The recommended pressing time for Siser Glitter HTV is 15 seconds. Because the first layer has already been pressed for roughly 4 seconds, we are only going to press this final layer for 10-12 seconds. This will bring the first layer to about the 15 second mark in total pressing time. It’s recommended to press the whole design with this layer to ensure that the design is thoroughly adhered to the garment. Once again, use a Heat Press Sheet, and once done peel the carrier sheet (liner) hot or cold.