
Everyone is doing tumblers, mugs, and shirts. If you’re looking for a different product to add to your repertoire, look no further! Heat Transfer Warehouse offers a variety of unique apparel blanks that include both socks and underwear. You might be thinking, “How on earth am I supposed to market that to my customers?!” Don’t worry, socks are the gateway and pretty soon people will be asking you for all sorts of oddities. All of these apparel blanks are available here and are manufactured by Silky Socks. To get started dye sublimating socks, you’ll need socks and for the dress socks, you’ll need inserts as well.
Follow along with our simple 8 step process to create your custom dye sublimation socks.
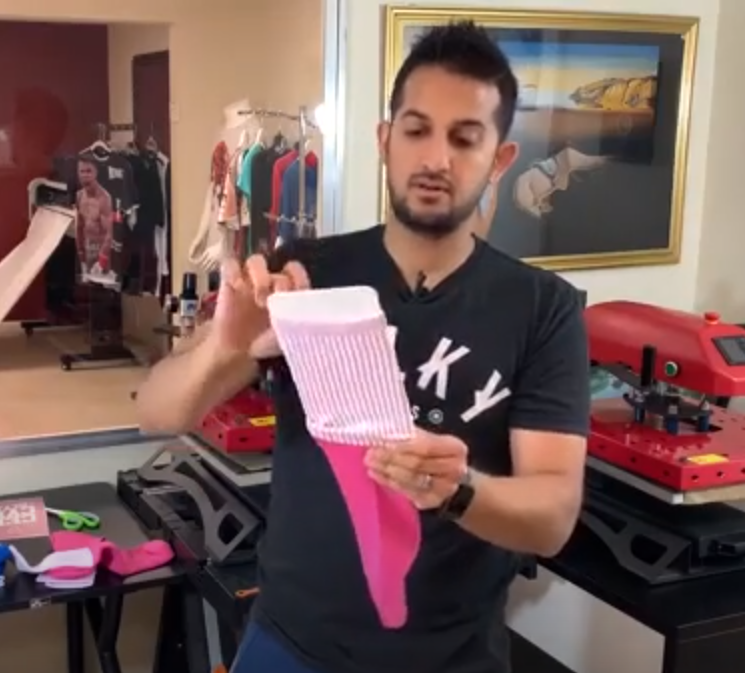
- Slide your sock onto the sock insert, make sure to pull the sock up the insert leaving about a half inch at the top. There are different inserts for athletic socks and dress socks so make sure you have the right insert to match your socks. This insert will help prevent any unwanted bleed as well as provide an easy-to-press surface for your design. Make sure to keep all lines of the sock straight and keep all of the material as flat as possible to ensure the best press possible.
- Place your socks on the press lower surface as close to each other as possible.
- Proceed with lining up your transfer on the sock surface you intend to press. Keep in mind you can do the designs together side by side or separate. Check your design for overlap to prevent any design bleed onto any unintended parts of the sock surface.
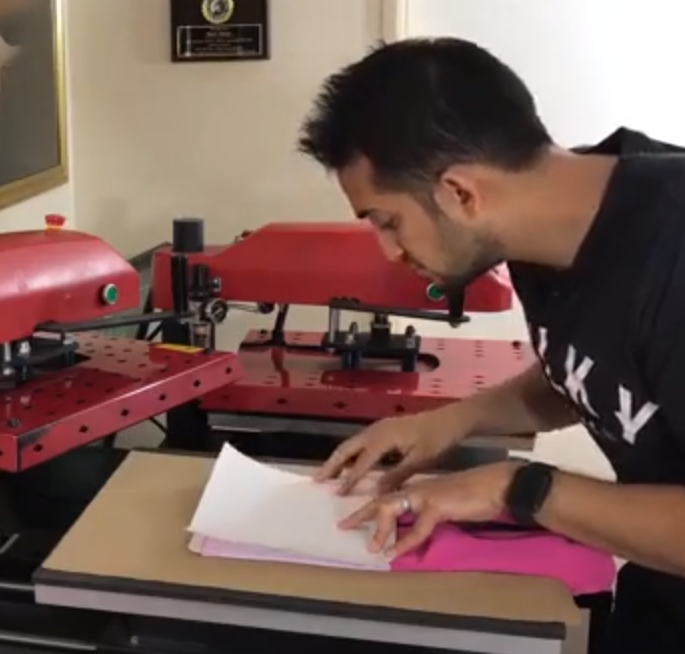
- Press @ 385℉ for 45 seconds, with medium to firm pressure
- When the press is complete, remove the socks ( Do not remove sock from the insert), Allow cool time. If pressing both sides of the sock, proceed to step 6.
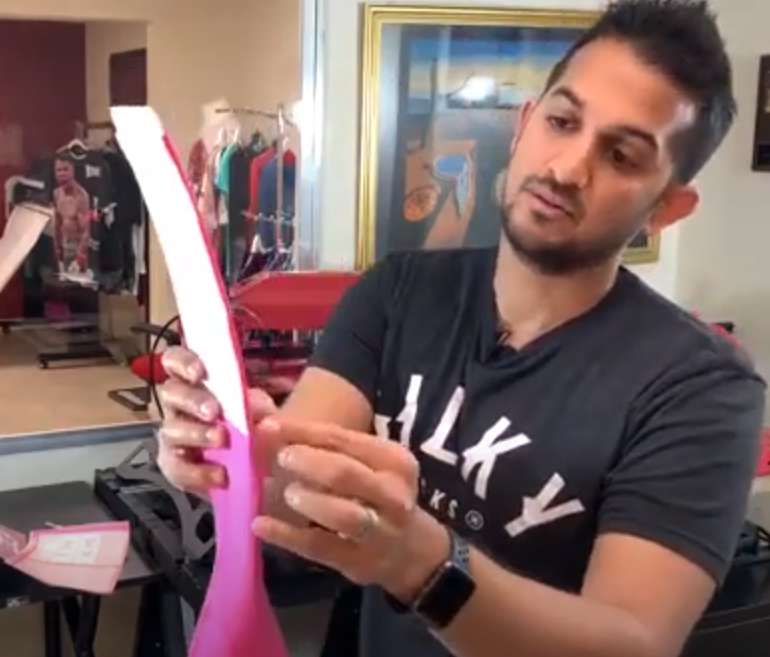
- This is the most important step for pressing silky socks. Flip them over so you are looking at the blank side of the sock. Then roll the edges of the sock so I small bit of the side you just pressed is now on the blank side. This is so that when you press the blank side there will be no gaps in the transfer. Make sure you roll them evenly across the insert.
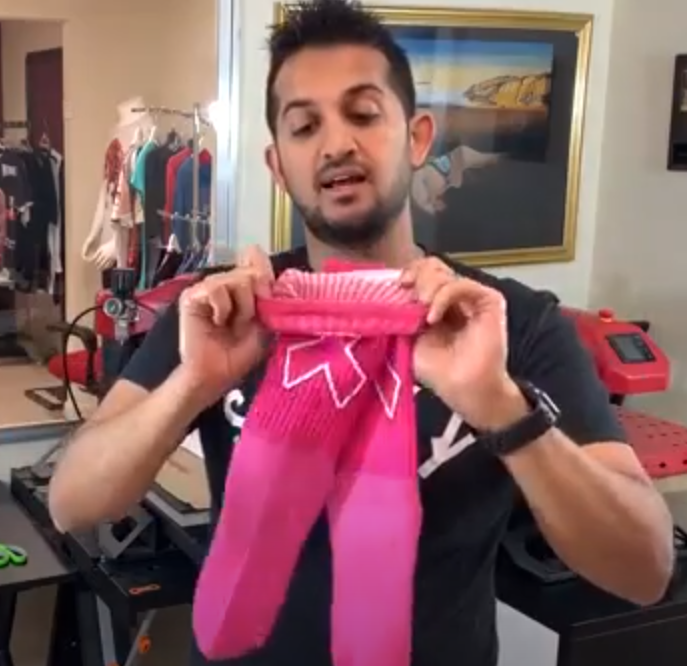
- Flip the socks and place them blank side up on your heat press. Place your transfer on the socks, check alignment and bleed potential.
- Press socks for 45 seconds and remove after a few seconds allowing cool time. Remove inserts and the process will be complete! Your transfer will keep it's color even when stretched because of the insert that was used during pressing.
Watch our Video Guides
How to Press Athletic Socks
How to Press Dress Socks