
*Updated information and photos provided by EllyMae at Silhouette Secrets+
ThermoFlex Plus HTV is offered in 12", 15", 20", and 30" widths. You can cut Thermoflex HTV with most standard vinyl cutters including Cricut Maker, Graphtec, Silhouette, or Siser Juliet and Romeo. In this blog, we are going to go over Thermoflex cutting instructions using a Silhouette Cameo 4 and 5.
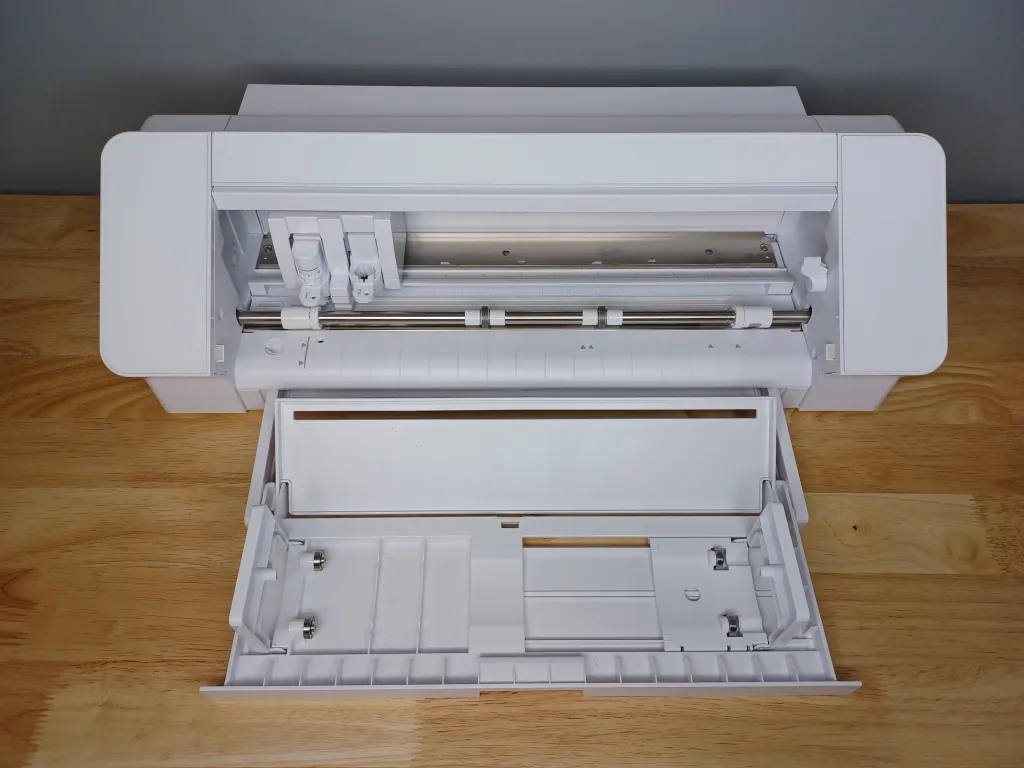
First, you are going to want to load your Silhouette Cameo. If you are using a 12 x 12 sheet, you can use the cutting mat that comes with your cutter, but if you are using a roll of htv, you can load your vinyl directly into the Cameo without using the mat. To do that, you will use the roll feeder in the front!
The main difference, for this project, between the Cameo 4 and Cameo 5 models is the roll feeder and the rollers. Let's take a look at both of the machines.
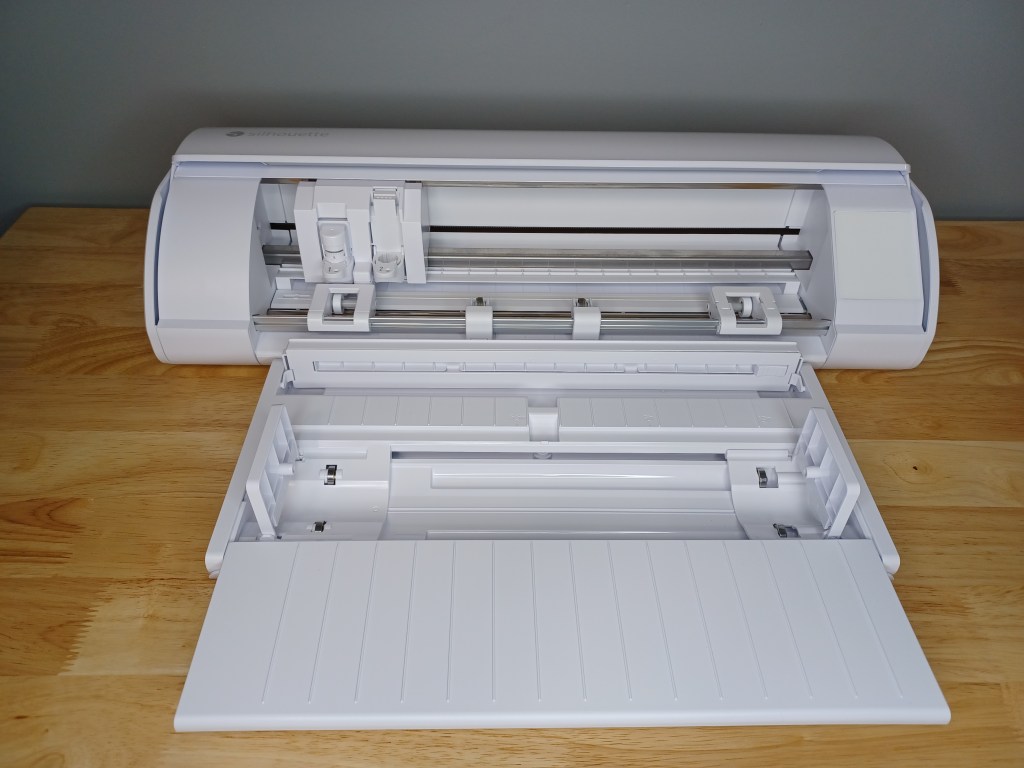
Using the Roll Feeder on the Silhouette Cameo 4
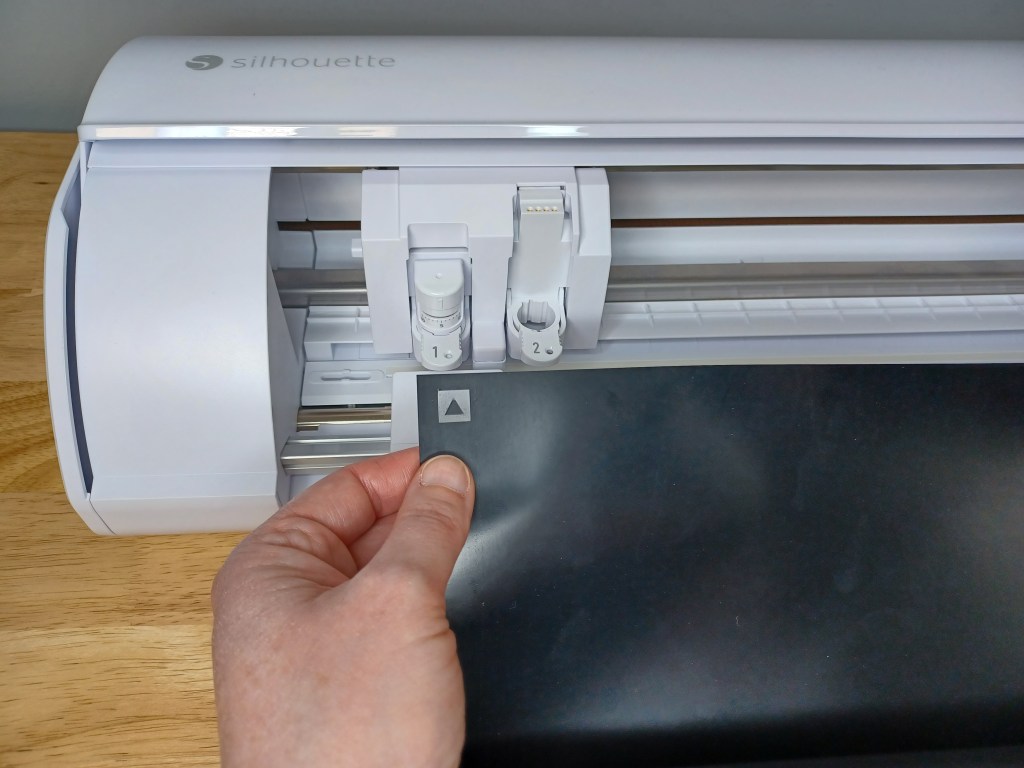
The roll feeder on the Cameo 4 is a pull out tray on the front of the machine. Carefully slide it out and extend the tray to the locking position. Flip the roll feeder parts up from where they are nested in the tray.
Place the HTV roll inside the roll holder with the carrier sheet face down (shiny side down) and feed the leading edge through the roll feeder slot.
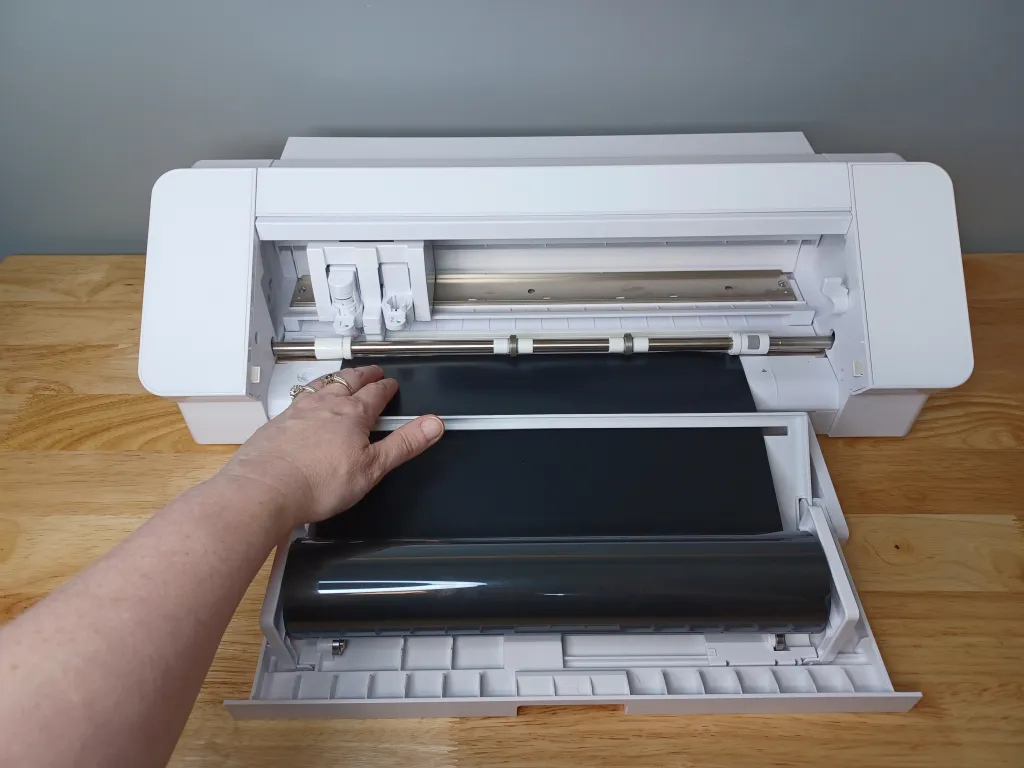
The left edge of the material should be next to the load line on the left that the arrows point to. When cutting without a mat, the right roller should be moved in to securely sit on the edge of the HTV. To move the right roller, flip the roller bar lever down, press the gray button on the right roller, and slide it left to the next groove on the roller bar. Make sure it settles in the groove completely and the gray button pops back out. Then flip the roller bar lever on the right back up to the locked position.
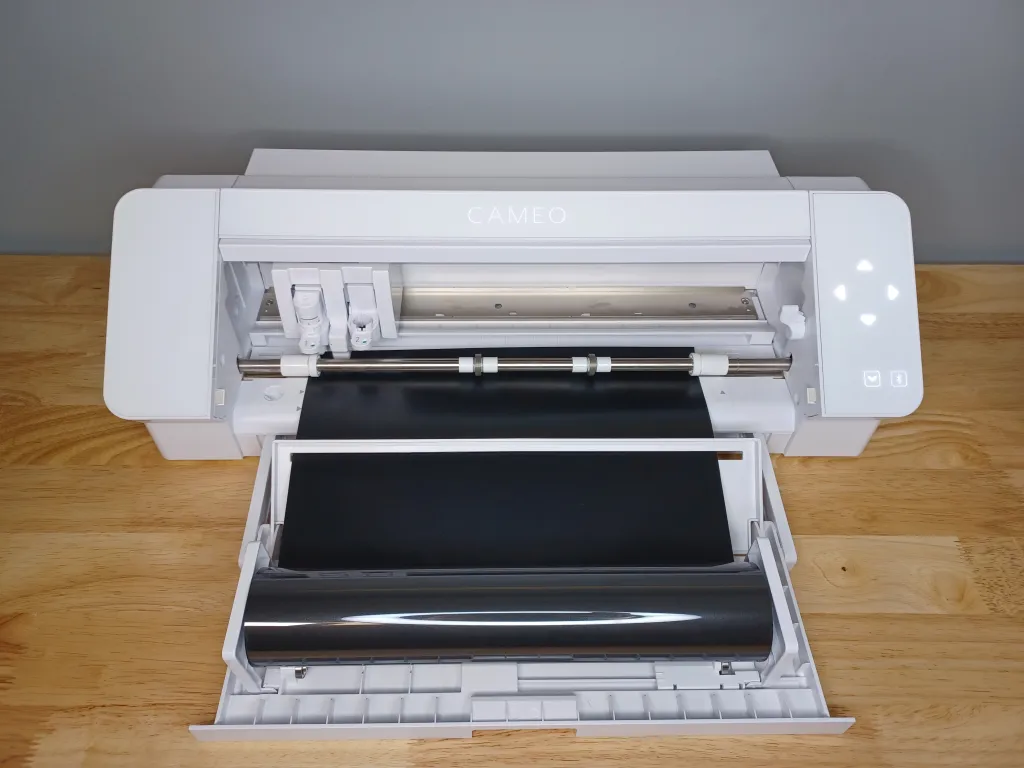
Hold the material up to the rollers evenly and press the load button on the touch panel on the right side of the machine. The Cameo will pull the HTV in the proper distance. If the material catches, curls, or feeds uneven, unload and try again.
If the material is not wide enough for the rollers to securely hold the material during the cut, we recommend using a cutting mat for best results.
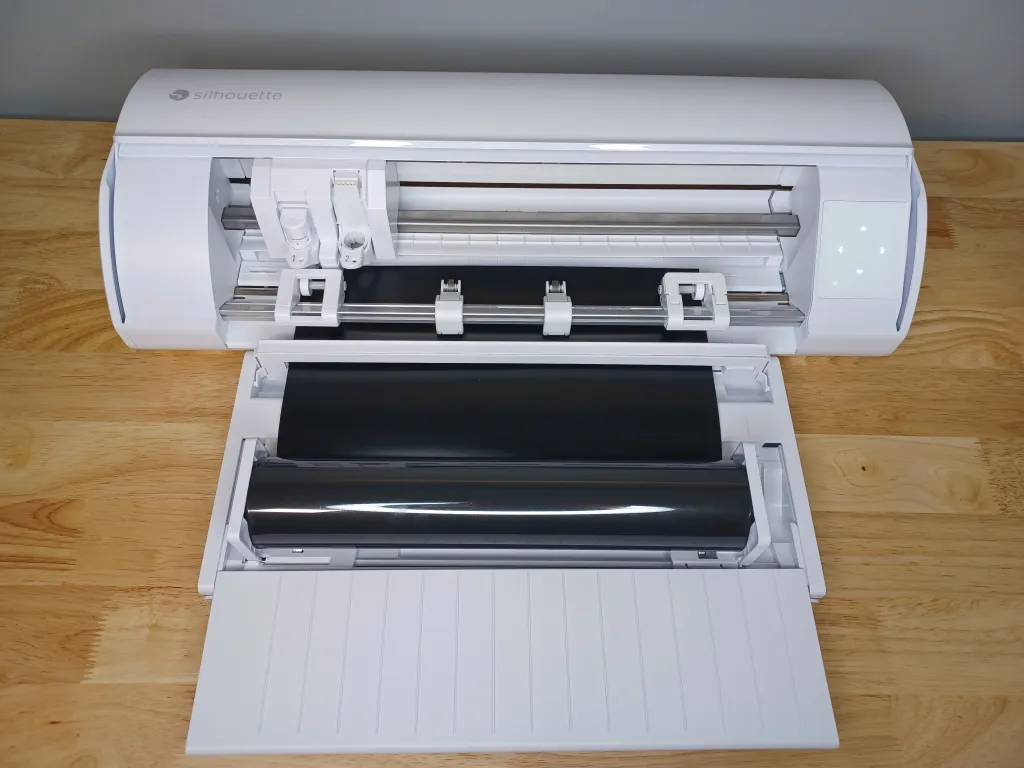
Using the Roll Feeder on the Silhouette Cameo 5
The roll feeder on the Cameo 5 is a separate accessory that is included in the box.

Carefully remove the front cover from the Cameo 5 by tipping it up and sliding the 2 locking clips to the unlocked position, then gently remove the front edge. Keep the cover in a safe location as it is used to protect the front power adapter on the Cameo 5.
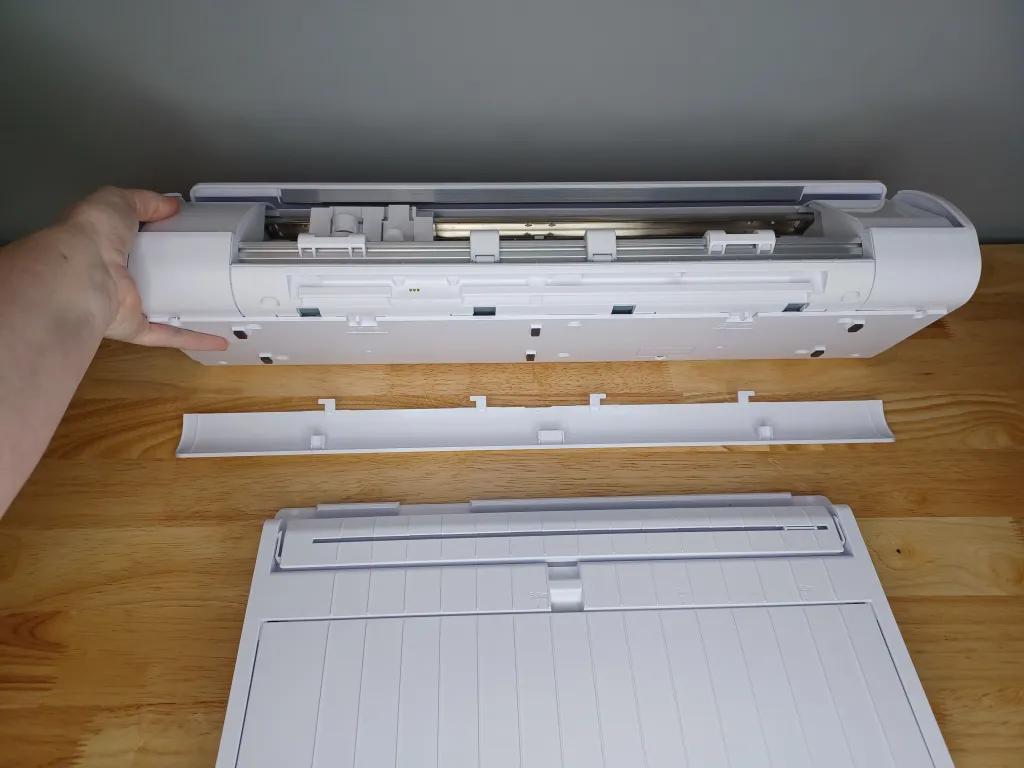
Place the front of the Cameo 5 on top of the lipped edge of the roll feeder and it will sit securely on it. Slide the cover back and flip the roll feeder parts up from where they are nested in the tray. There are 2 ends that hold the roll in place and a media guide that flips up.
Place the HTV roll inside the roll holder with the carrier sheet face down (shiny side down) and feed the leading edge through the media guide slot.
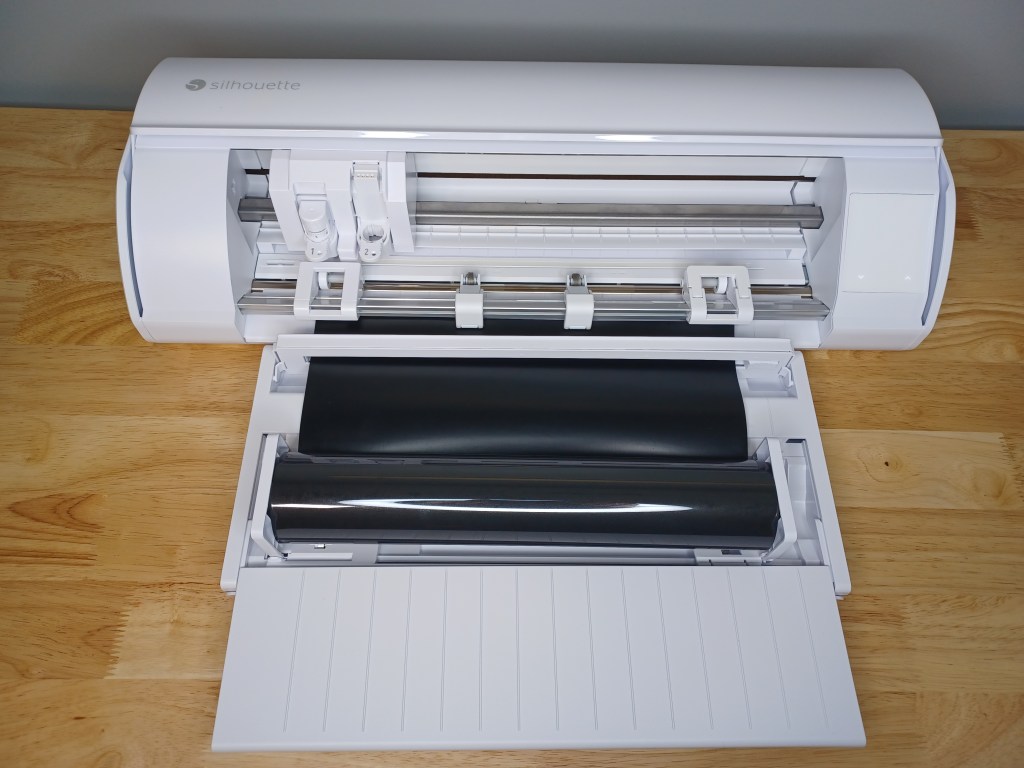
The left edge of the material should be next to the load line on the left that the arrows point to. When cutting without a mat, the right roller should be moved in to securely sit on the edge of the HTV. To move the right roller, carefully lift the latch on top of the right roller and slide the roller to the left. Line the arrow on the front of the roller up with the arrow on the machine on the right edge of where the HTV will be loaded.
Once securely in position, press the latch down to lock the roller in place.
Hold the material up to the rollers evenly and press the load button on the touch panel on the right side of the machine. The Cameo will pull the HTV in the proper distance. If the material catches, curls, or feeds uneven, unload and try again.
If the material is not wide enough for the rollers to securely hold the material during the cut, we recommend using a cutting mat for best results.
Cutting ThermoFlex Plus with Silhouette Cameo
The next steps to cutting ThermoFlex Plus are the same for all models of Silhouette cutting machines.
Now you are ready to cut your design! Make sure you have the right selections for media size and whether or not you are using a cutting mat. For this example, we are using a yard of black ThermoFlex, which can range from 11.8" to 12". We measured our roll, and it was 12" so our dimensions are 12” by 36”.

When cutting HTV, make sure to mirror the design as you are cutting the backside of the HTV (carrier sheet face down). Right click on the design and choose Flip > Horizontal for the best results. Then on the Send tab when asked, choose "Send As Is" if you get a pop up. This ensures that the design cuts in the exact location it's placed on the media.
After that, go to the Send tab in the upper right corner of the screen. There, you will double check your settings to make sure the force, speed, size, etc. are all correct. For Thermoflex Plus, we selected Heat Transfer Smooth and used a blade depth of 3, speed 8, and force of 6.
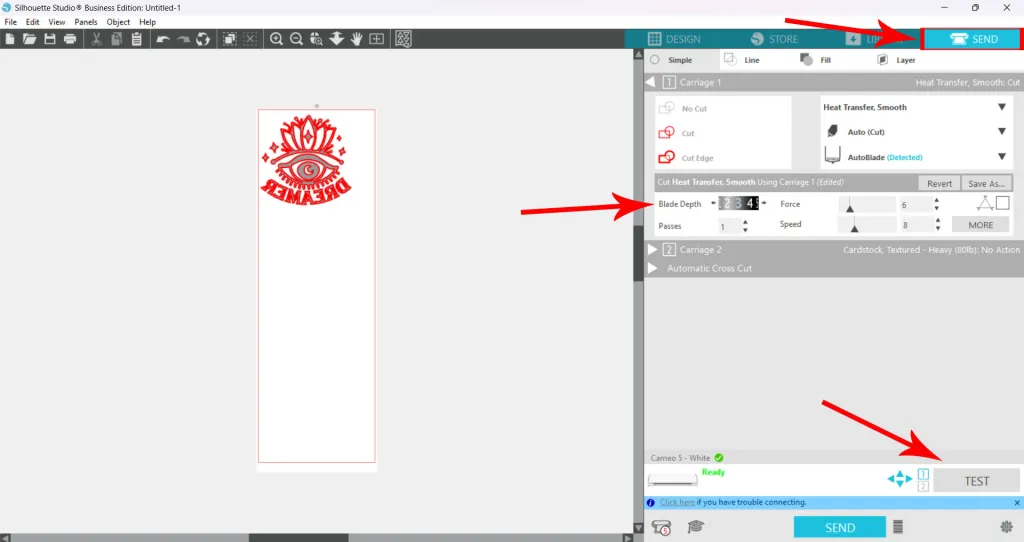
We ALWAYS do a test cut before cutting our whole design, to make sure our settings are correct. Blades can change over time, so it is important to test a corner before fully committing to cutting your design. To do a test cut, you simply press the test button near the bottom of your screen on the right side.
*if you get a message that 12" media is too wide when you go to Send the job, change the width to 11.8" and it should work around that bug
Once your test cut is complete, weed it with your weeding tool. If it comes out clean, you are good to go! If it cut through the carrier sheet, decrease the blade depth or force and test cut until you get a clean cut. If it didn't cut well, increase the blade depth or force and test cut again.
Then, it is time to cut your design. Press Send button on the bottom right of your screen, and watch the Silhouette Cameo work it’s magic!

Carefully weed out the design and apply to your garment using the application instructions found HERE.
If you are having trouble weeding your design, we have a great tip. Get the lower platen of your heat press warm and weed your vinyl on that! The heat helps release some tack from the liner, making it easier to weed!
Please let us know if you have any questions!