
How to Cut and Weed Sublimation Patterns
If you are interested in sublimation, but don’t have a sublimation printer, our new WALASub sublimation patterns are the perfect way for you to dip your toes in the world of sublimation! The WALASub patterns are 11" x 12” sheets that are pre-printed sublimation transfers. These sublimation patterns are great for backgrounds AND can be cut using a vinyl cutter and the proper mask.
Step 1:
Mask your WALAKustom dye sublimation sheet. Peel the backing off the TTD Easy Mask, and place the adhesive side of the mask onto the back of the sublimation transfer. So the plain white side of the sheet is the side adhered to the mask.

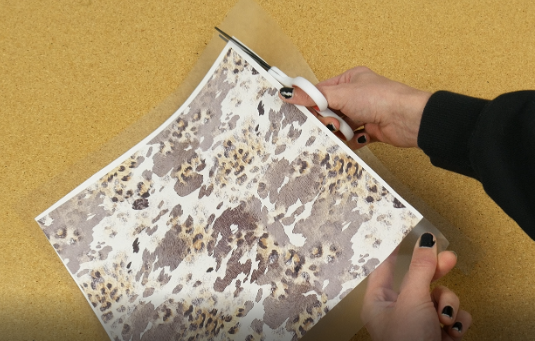
Step 2:
Trim the excess mask from the edge of your sublimation pattern.
Step 3:
Cut out your design according to the application instructions, for our Cricut Maker 3 we used “everyday iron on” as our cut setting!

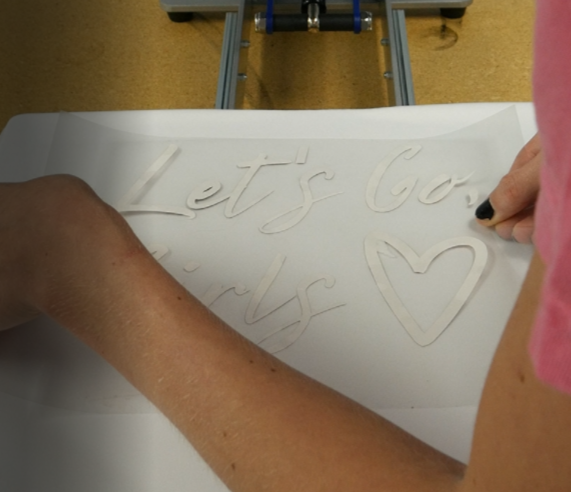
Step 4:
Weed the excess sublimation paper from your design as you would with HTV.

Step 5:
Place your weeded design onto the blank you are pressing. We recommend 100% polyester as that will have the brightest colors, but if you are looking for a vintage look, 50/50 blends are perfect for that.
Step 6:
Press your design according to application instructions, 385 F for 45 seconds. Then, voila! You just decorated a garment using sublimation!

If you have ever used Cricut Infusible inks, it is almost the exact same process!! Sublimation has never been so easy. Make sure you check out our video for more information about how to use these WALASub sublimation patterns: