
Those plain colored chargers are SO BORING. You’re sick of looking at them and always get confused as to whose charger belongs to who? Us too! Time to spice these things up with a little personalization.
To get started you’ll need:
- Your charger
- A design you’d like to put on your charger. Whether it be your name or a shape. The possibilities are endless!
- Sign Vinyl (Regular will do but we wanted to spice it up even more with our Custom Sign Vinyl Patterns)
- Transfer Mask
- A Squeegee
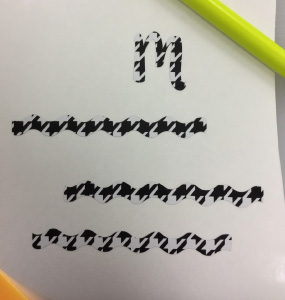
First- Create your artwork in vector form. Load your sign vinyl in the cutter, pattern or color side up, and send the artwork to the cutter. **IMPORTANT-for sign vinyl make sure your cutter is set to cut right reading.**
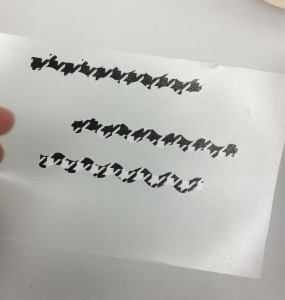
Second- Weed away the excess material from your liner.
Third- Cut a piece of transfer mask large enough to cover your design. Place the mask over your design and use your squeegee to make sure the mask is thoroughly applied to your design.
Fourth- You’ll remove the original backing from your design. Your design should be attached to the sticky side of the transfer mask. **NOTE-if you start removing your backing and notice your design is still sticking to it you will need to use the squeegee again, this time with more pressure.**
Fifth- Place the mask with your design where you’d like it on your charger. Use the squeegee to then apply the design. Again, if you start to remove the mask and you notice your design is still sticking to the mask and not your charger place the mask and design back down on the charger and apply more pressure using the squeegee.

VIOLLA! You now have a customized phone charger that will surely stand out from the others!
