 Custom Printed Apparel
 Custom DTF Apparel
 Embroidered Apparel
 Full Service Customization
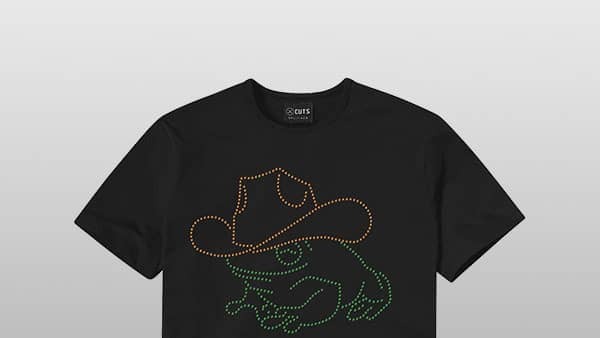 Rhinestone Apparel
 Sublimated Apparel
 Custom Drinkware/Photo Panels
 Siser Sanmar Decoration
 Seasonal Items
 DTF Transfers
 Supacolor Transfers
 Sublimation Transfers
 HTV Transfers
 Custom Patches, Stickers, & Magnets
 Custom Screen Print Transfers
 Artwork & Services
 Custom Banners
So, you’ve designed a really neat pattern and you want to do, well, something with it. We’ll walk you through one idea that’s easy, quick and will add a fun twist to almost any garment.
Step 1.
First, send your image to transfers@heattransferwarehouse.com and we’ll give you a quote per yard (there is a 5 yard minimum for custom prints like this one). Note: Make sure it’s high resolution, unless you’re going for a more pixelated look!
Once we have your image and everything has been approved, we’ll print it for you.
Step 2.
After receiving the digital print from us, you’re on your own – but that’s why we’ve written this post for you. Now, create your artwork (we use Adobe Illustrator). To make things easier on your cutter, make sure your vector artwork isn’t too complex because lots of little cut lines will lead to a messy final product.
Step 3.
Load your cutter and send the rest of your design over using whatever cutting software you typically use at the same pressure you would use to cut vinyl (this varies based on individual software settings). Cut the design.
Step 4.
Begin weeding. Remember to be careful with thin edges or you could compromise the entire design (especially when weeding letters).
Step 5.
Mask the design using the mask that came with your digital print. Use a squeegee to smooth it out.
Step 6.
Peel the mask and place the design on your garment.
Step 7.
Press your garment at 330 degrees (F) for approximately 15 seconds. Peel warm.
Done!
We told you that it was quick and easy, right? Now that you’ve officially completed a custom digital print transfer, we’d love to see what you created. Feel free to comment below or send it to us via FB.