We’ve had numerous people inquire about applying Heat Transfer Vinyl (HTV) to glass. As many of you likely already know, it’s heat that activates the adhesive glue on HTV. That being said, it’s reasonable to conclude that HTV will adhere to anything that conducts heat (with exceptions to certain fibers and coated materials). Being that glass conducts heat very well and is not coated, it’s totally possible to apply heat transfer vinyl to glass!
In fact, we went ahead and tested this ourselves. In this blog, we’ll walk you through a step-by-step tutorial on how to apply Heat Transfer Vinyl to glass!
Materials Needed
- Heat Transfer Vinyl (HTV): We used HTV-Textured Glitter
- Vinyl Cutter/Plotter
- Glass large enough for your desired design
- Towel
- Oven Mitt
- Heat Press Sheet (cover sheet)
- Heat Press (or iron)

Steps
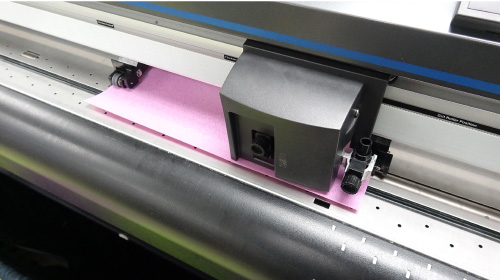
1) As with any HTV, create your design and send it to your cutter.
2) When using HTV-Textured Glitter, make sure to cut your design in reverse (mirror image).
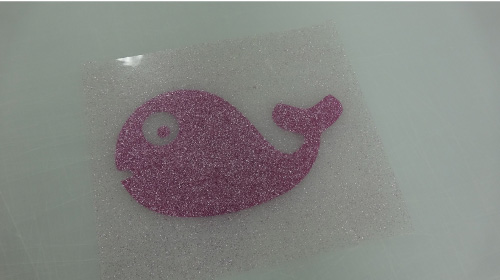
3) Weed away the excess vinyl from your design. From this experience, we suggest cutting around your design as close as you can. This will help eliminate the carrier sheet press marks that can show up on glass (we did not do this, but we should have).
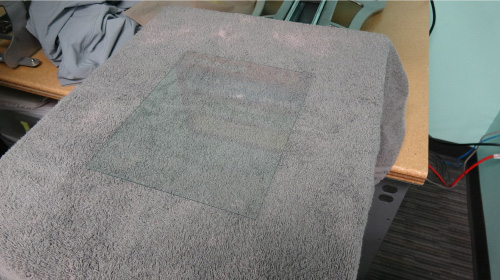
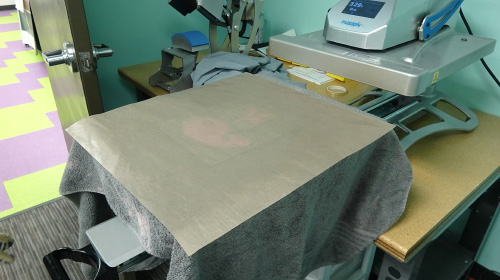
4) Glass can break very easily when it’s heated and pressure is applied. We suggest placing a towel under the glass while pressing to help provide cushion.
5) Place your design on the glass and cover with a Heat Press Sheet (or parchment paper).
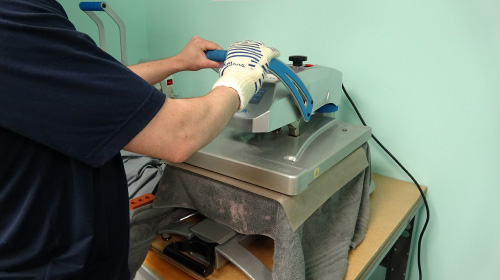
6) Set your heat press to the appropriate temperature (330 degrees F for HTV-Textured Glitter). Make sure your heat press is set at ZERO pressure. As already mentioned, glass can break very easily when heated. If you are using a Clam Shell heat press, be very careful when you are closing the upper platen at an angle. Also, make sure you are wearing an oven mitt. Glass gets very hot, and can take a long time to cool down!
7) It is very important that you DO NOT close the heat press handle down into the locked position. Simply close your heat press so that the upper platen is very gently laying over the glass. Press for a little under the appropriate amount of time. For example, our HTV-Textured Glitter is normally pressed for 15 seconds. We pressed it on this glass for only 10 seconds, which was plenty of time!
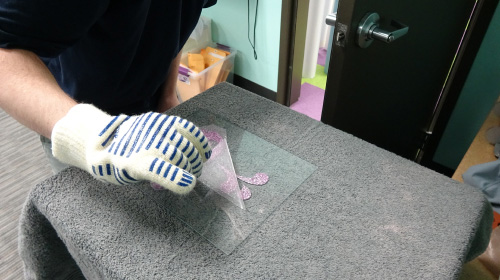
8) Remove your Heat Press Sheet, and of course, remove your the liner of the HTV. HTV-Textured Glitter is either a hot or cold peel. While keeping the oven mitt on, we peeled the liner hot - we were too impatient to see the results!
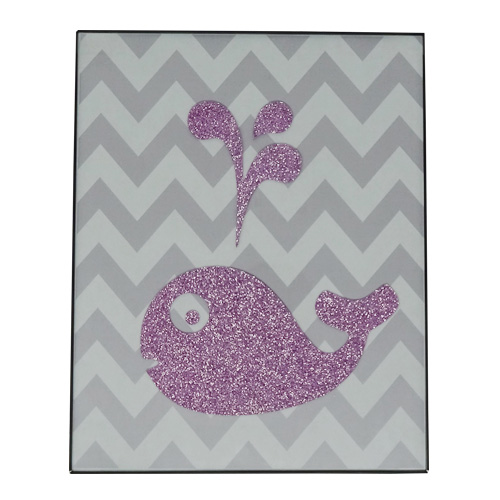
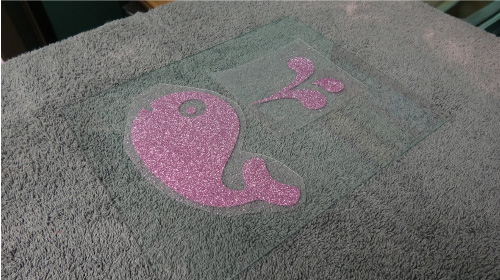
9) And… it worked! In fact, this process went more smoothly than we had anticipated!
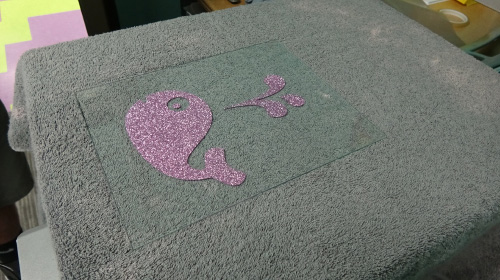
To finish it off, we placed the glass panel back into it’s original picture frame. And if you want to spice your picture frame up a little more, you can cut out a piece of vinyl to place behind the glass! Give this a try for yourself, and let us know how it worked for you. As always, we’d love for you to share your final projects with us on social media!