
Heat transfer paper is a great way to provide full color designs for garment decorators using your own desktop inkjet or laser printer. With transfer paper, gradients, multiple colors, drop shadows, and photos are able to be used in the designs and will show up well! Cutting these transfers out by hand can be a hassle, but if you add registration marks to the transfer paper, intricate designs are a breeze. The process of adding registration marks is quick and easy, to get started you will need the Silhouette Cameo 4, your transfer paper, a blank garment, and a heat press.

In Silhouette Design Studio, set your canvas to the dimensions of your transfer paper, in this case we were using 8.5 x 11 inch paper so we used that for our measurements.

Then, center your design into the middle of the canvas. If you are using light transfer paper, you will have to reverse your design. If you are using dark transfer paper, right reading is the correct way to cut.
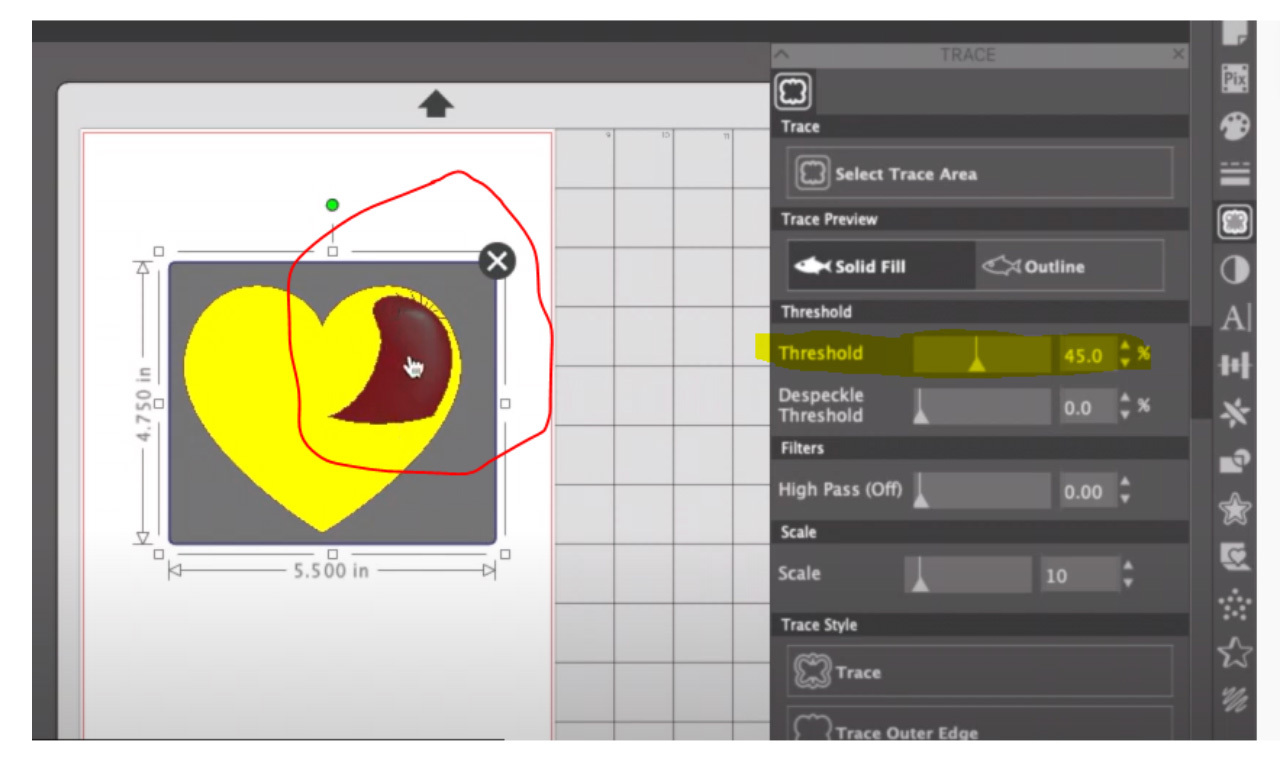
After that, you need to trace the artwork in order for Silhouette Studio to cut. trace your design by clicking trace, then “select trace area.” Select the whole image, if your whole image isn’t selected, raise your threshold.
Then select trace under trace style, after you select trace, try not to move your design to make sure the cutter picks up all registration marks and is correctly aligned.

After you have made it the desired size and traced it, now we add registration marks. Go to the top icon on the right side of the screen, the page setup panel, then select the far right image from the top row for registration marks, and turn them on. If the image is too big, it will be outside of those markings that just appeared.

Select restore defaults on the page setup panel just to ensure the registration marks are where they are meant to be. Next, send to the Cameo.

From there you will enter what material you are using, and if the fabric is light or dark. Also, make sure you double check your force, speed, etc.
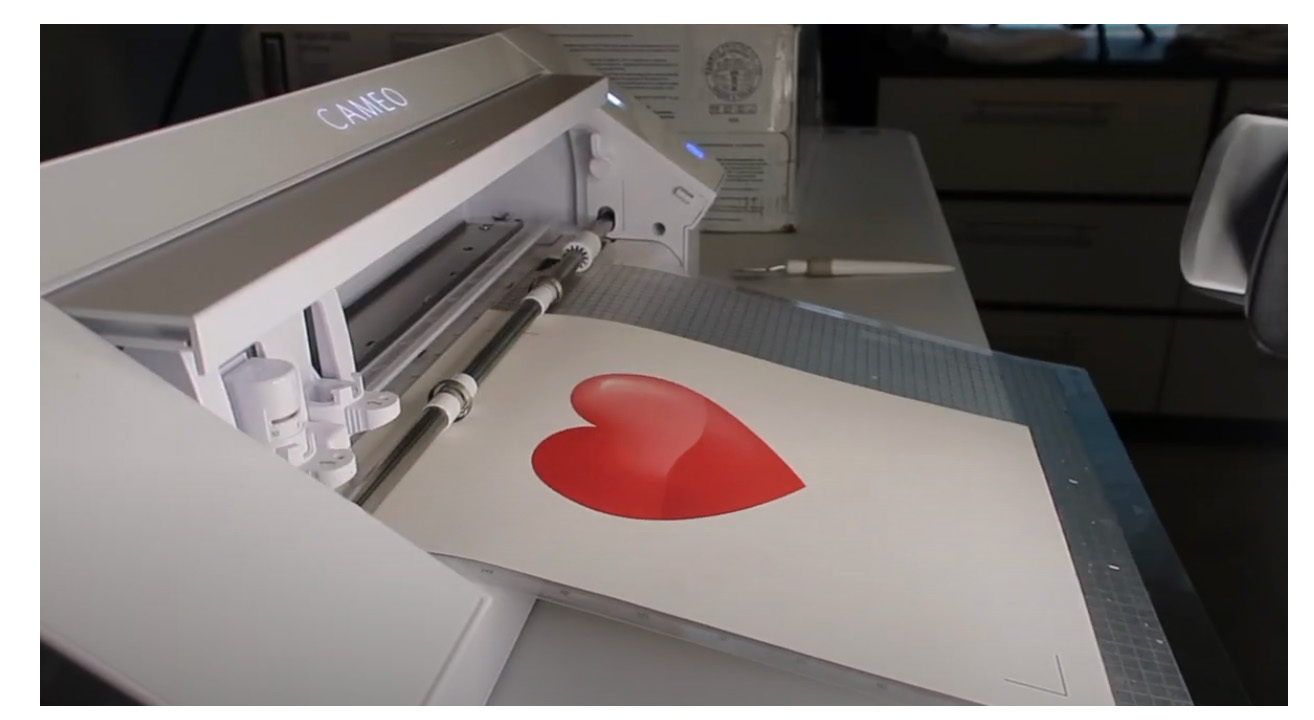
Use a well lit area when placing your transfer paper on the mat, because light is how the sensor picks up on registration marks. Then, place the transfer paper onto the cutting mat and align it correctly. After that, cut your design out!

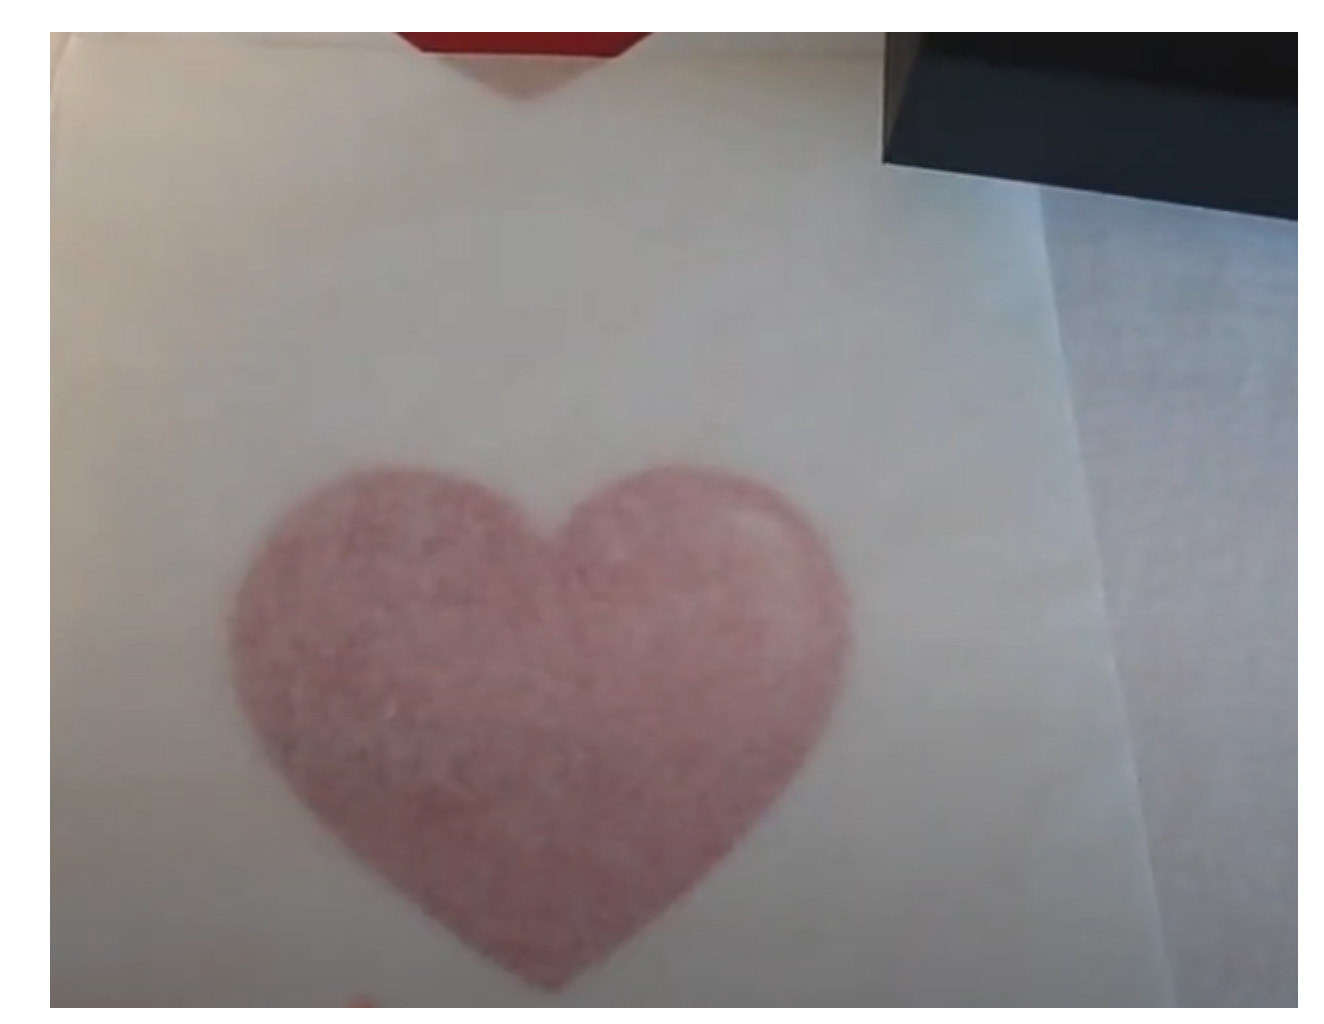
Use a spatula or other tool to scrape off the white paper surrounding your design.
Then, gently use your tool to lift your design from the liner, place on shirt and press! If you are using our light transfer paper, you will place the design face down onto your garment. If you are using the dark transfer paper, you will place it face up onto your blank. Make sure you use craft paper or a teflon sheet to protect your design!
If you are looking for clothing recommendations, we have great options for cotton, polyester, and blends on our website. Don't forget to order the correct transfer paper (light or dark) that will work with your clothing.
Here is a video from DefinedbyAlex to show the process of creating registration marks in Silhouette Studio: