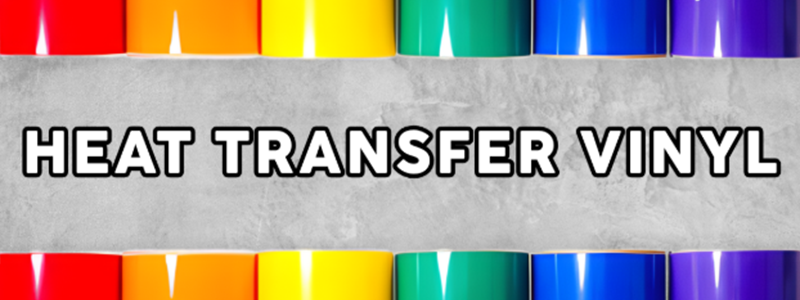
Discover the endless possibilities of Heat Transfer Vinyl for your creative projects. Choose from a wide variety of vibrant colors, textures, and finishes to personalize t-shirts, apparel, and accessories. Whether you're crafting for fun or running a business, our premium HTV helps your designs stand out with professional results.
Just getting started with HTV? Check out our resources, guides and FAQs below to learn tips and tricks for perfect application every time.
Create and apply custom vinyl designs to shirts, apparel, and more.
Heat Transfer Vinyl, also often referred to as HTV or Iron on Vinyl, is a simple, easy to use, durable and cost-effective way to get started creating professional designs, shirts and garments with less overhead than other design methods.
You can easily create a variety of t-shirt designs, logos, styles and apply to many fabric types, without any production run requirements. These can also be applied quickly to t-shirts, allowing you to apply designs as needed. HTV is easy to work with and to remove excess material, and easy to apply to garments with a heat press.
It is also very versatile and it's great for a variety of garments beyond t-shirts including pants, backpacks, athletic shorts, and more. It can also be applied to a variety of fabrics and garment types as well, including cotton and poly/blends. One major advantage of Heat Transfer Vinyl over other garment decoration methods is the flexibility to make designs as needed, without requiring a minimum print run like with some other methods, allowing for a lot of versatility in your own creative process and coming up with fun, unique designs.
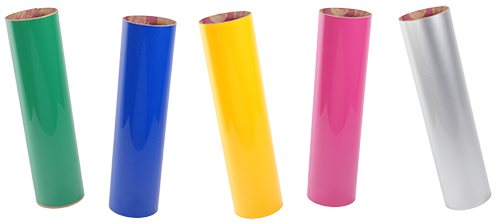
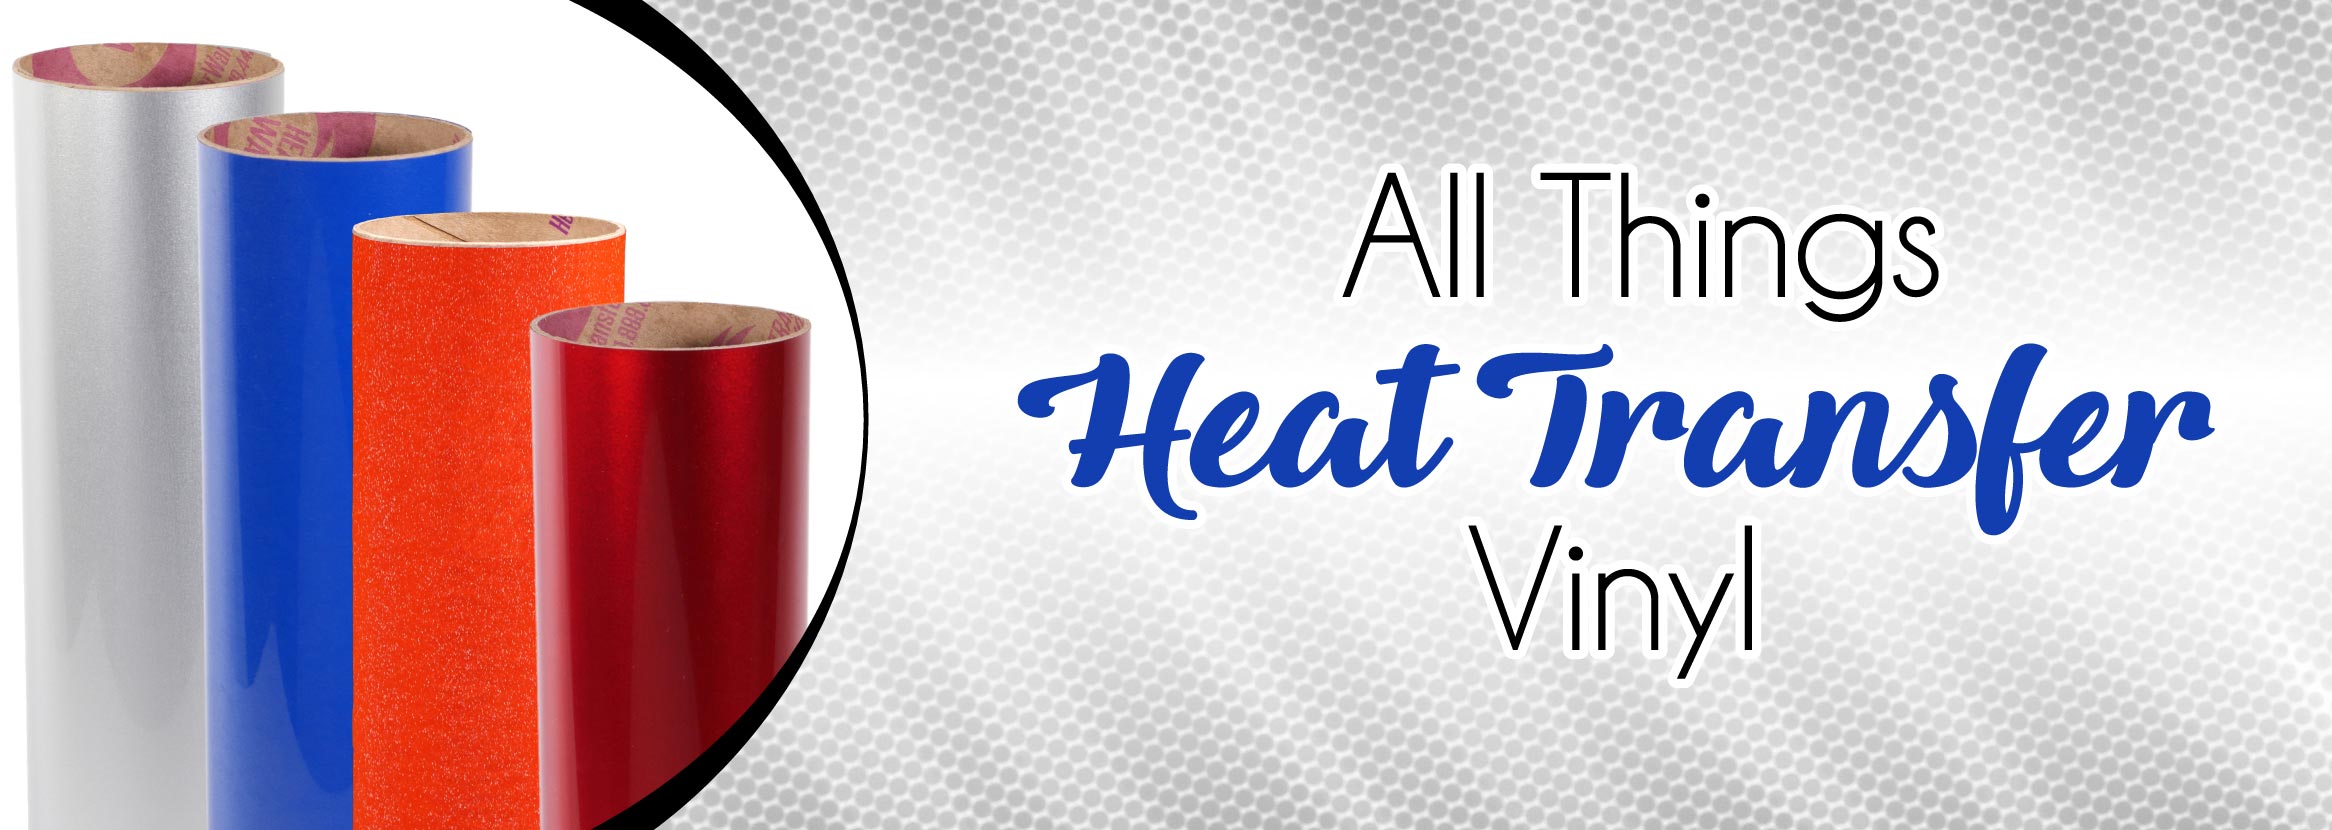
We carry a large selection of colors and styles in popular, high-quality HTV materials including Siser EasyWeed, Thermoflex, Politape, and HTW. We also offer a variety of specialty vinyl to enhance your designs, including glitter HTV, printed pattern HTV, neon colors, metallic HTV and more!
Looking for regular craft vinyl instead of HTV? We also carry a variety of adhesive craft vinyl.
Heat transfer vinyl, or HTV, is a type of vinyl material that is used to create designs or graphics on fabrics. The vinyl is cut into the desired design using a vinyl cutter. Then the excess vinyl that is not part of the design is removed, or “weeded” away, and finally the vinyl is applied to the fabric using a heat press. The heat and pressure cause the vinyl to adhere to the fabric, creating a permanent and durable design
Heat transfer vinyl comes in various colors, finishes, and textures, such as matte, glossy, metallic, glitter, and more and allows for intricate designs and vibrant colors. It is a popular choice for creating custom designs on t-shirts, hats, bags, team uniforms, personalized gifts and promotional products.
Yes, the term Iron-on vinyl refers to heat transfer vinyl, often shortened to HTV. The phrase Iron-on is often used in the crafter and hobby community as this material can technically be applied with an iron instead of a heat press as a way to get started using HTV – however there can be downsides to using irons rather than a heat press designed for this application. It is often difficult to apply enough, consistent pressure, or high enough temp which can result in adhesion issues, and for best results we recommend a traditional heat press.
Craft vinyl, adhesive vinyl or permanent vinyl generally refers to “sticker” vinyl with an adhesive backing. While the process of creating designs and cutting the vinyl is similar, craft adhesive vinyl is intended to be directly applied to materials like a sticker decal, without applying heat.
Heat Transfer Vinyl does not have an adhesive backing, and heat is required to apply the material. HTV is also mostly geared towards application on fabric and garments, where craft vinyl is often used for hard surfaces for decorative purposes.
Printable vinyl is a printable HTV that either you can receive with already printed designs, ready to be pressed, or as the blank materials to be printed on with specialized printers and Ink. The printable vinyl we sell is typically used and designed for high end commercial printers, and not for consumer inkjet printers.
For standard desktop laser or inkjet printers, you can use Heat Transfer Paper, which can be good for one-off quick projects or hobby craft projects.
If you are looking for printable HTV, check out our selection of ready to press patterns, or our custom transfers and print on demand service.
HTV can technically be applied with an iron instead of a heat press as a way to get started using HTV, however there are downsides to using irons rather than a heat press designed for this application. It is often difficult to apply enough, consistent pressure, or high enough temp which can result in adhesion issues.
Yes, it is possible to remove HTV from a shirt using HTV Vinyl Remover. To do so, turn the garment inside-out, apply the remover to the backside where the vinyl is adhered, and let it soak through. Flip the garment back to normal, and stretch the garment in 4 directions which should begin to loosen the material. You should not be able to peel off the vinyl.
Yes, each material has a recommended temperature, time needed for the press, level of pressure, and whether it should be peeled hot or cold.
See the application instructions on our product pages, or view our HTV temp and time guide.
If your vinyl is peeling, it can be from not enough time/heat/pressure, too much heat, or if the vinyl was applied to a seam or uneven area.
Too high of a temp or too long of an application can overheat adhesive and cause adhesion issues, and too much pressure can squeeze out adhesive making it less effective. Any seam or unevenness can also cause the possibility of the material not laying flat and having a gap underneath the vinyl. An uneven area can also include if the shirt is not laid even on your heat press, where material could be bunched underneath.
For the most part, HTV properly applied with a heat press will outlive the length of the shirt. The key here is to make sure you are using the correct amount of pressure and heat and following the appropriate instructions for the material. Often where there are peeling or other life issues, it is a result of applying the material incorrectly with too little pressure or too much heat. This can be a common result of using a handheld heat press or iron, rather than traditional heat press and why we recommend investing in a quality heat press.
Everything vinyl and garment will have a little bit of stretch to them and does not mean you require a stretch HTV. Most shirts will stretch about 10-20%, and most vinyl will have some stretch and work perfectly fine for these types of garments. Stretch is more often suited towards highly stretchy materials with lots of rebound, such as stretchy athletic shorts, yoga tights and pants, and compression shirts. However you can definitely still use stretch htv on most regular standard garments if you prefer and don't want to worry about it.
One recommendation if you are applying HTV to a stretchy garment like the above is to consider applying the design with a little bit of stretch to match the state the garment will be in when worn to avoid the design being deformed. Otherwise, if you apply a design in a non-stretched state, and when worn is always stretched as in the case of yoga pants, your design may look deformed and stretched out.
If you don’t have a vinyl cutter, you can technically use a scissors or hobby/exacto knife to attempt to manually cut a design if you are able to draw or cut a design directly onto the vinyl, however using a vinyl cutter designed for cutting digital designs is highly recommended. The process of trying to hand cut an HTV design is tedious, prone to error or unclean cuts, and not feasible for many types of designs.
Yes, the clear backing is your carrier that is used to help feed the material through your cutter, and you always want the carrier side down so your vinyl surface is on top and the cutter is cutting through the HTV surface and not the carrier backing. This keeps the design together upon cutting.
We always recommend doing a test cut to ensure you're not cutting through the carrier material and are comfortable with the process before cutting multiple quantities or a large design.
Parchment paper or non-stick sheet will not hurt, however you often do not need parchment with the carrier sheet backing on your HTV if this is intact and fully covers your design.
If you are doing multiple layers, be aware that it can cause your vinyl to have an unnecessary shine that you may not like, due to the glossy side sometimes imparting on the vinyl through multiple presses. If you would like a protective layer between your heat press or are worried about it, you can also always purchase a teflon cover for your heat press.
Yes, you can definitely layer HTV designs. There are a few things to be aware of that we’ve listed below, but if you want more information on layering please see our layering htv guide.
A few big things to be aware of are compatible materials, considerations for Inlay vs layering, and application.
See our layering/inlay guide for more details and a project walkthrough.