
Whether you are just starting out in the world of Heat Transfer Vinyl, or you are a garment decorating guru who wants a refresher of the basics of HTV, this blog will go over everything you need to know. Let’s get into the information you will need for cutting, weeding, and pressing heat transfer vinyl.
Equipment/Materials Used
Graphtec CE7000 vinyl cutter (professional grade cutter)
Silhouette Cameo 4 vinyl cutter (craft cutter)
Siser Easyweed Black Heat Transfer Vinyl
Port & Company Long Sleeve Core Blend Tee
Cutting Heat Transfer Vinyl
Make sure you are cutting on the vinyl side of your material. If you are unsure which side that is, peel back a corner of your HTV, and the colored side is your vinyl. The clear side is the adhesive liner. Typically, the shiny side of your HTV is the liner and the dull side is your vinyl. Once you know which side is the vinyl, place that side up into your vinyl cutter.
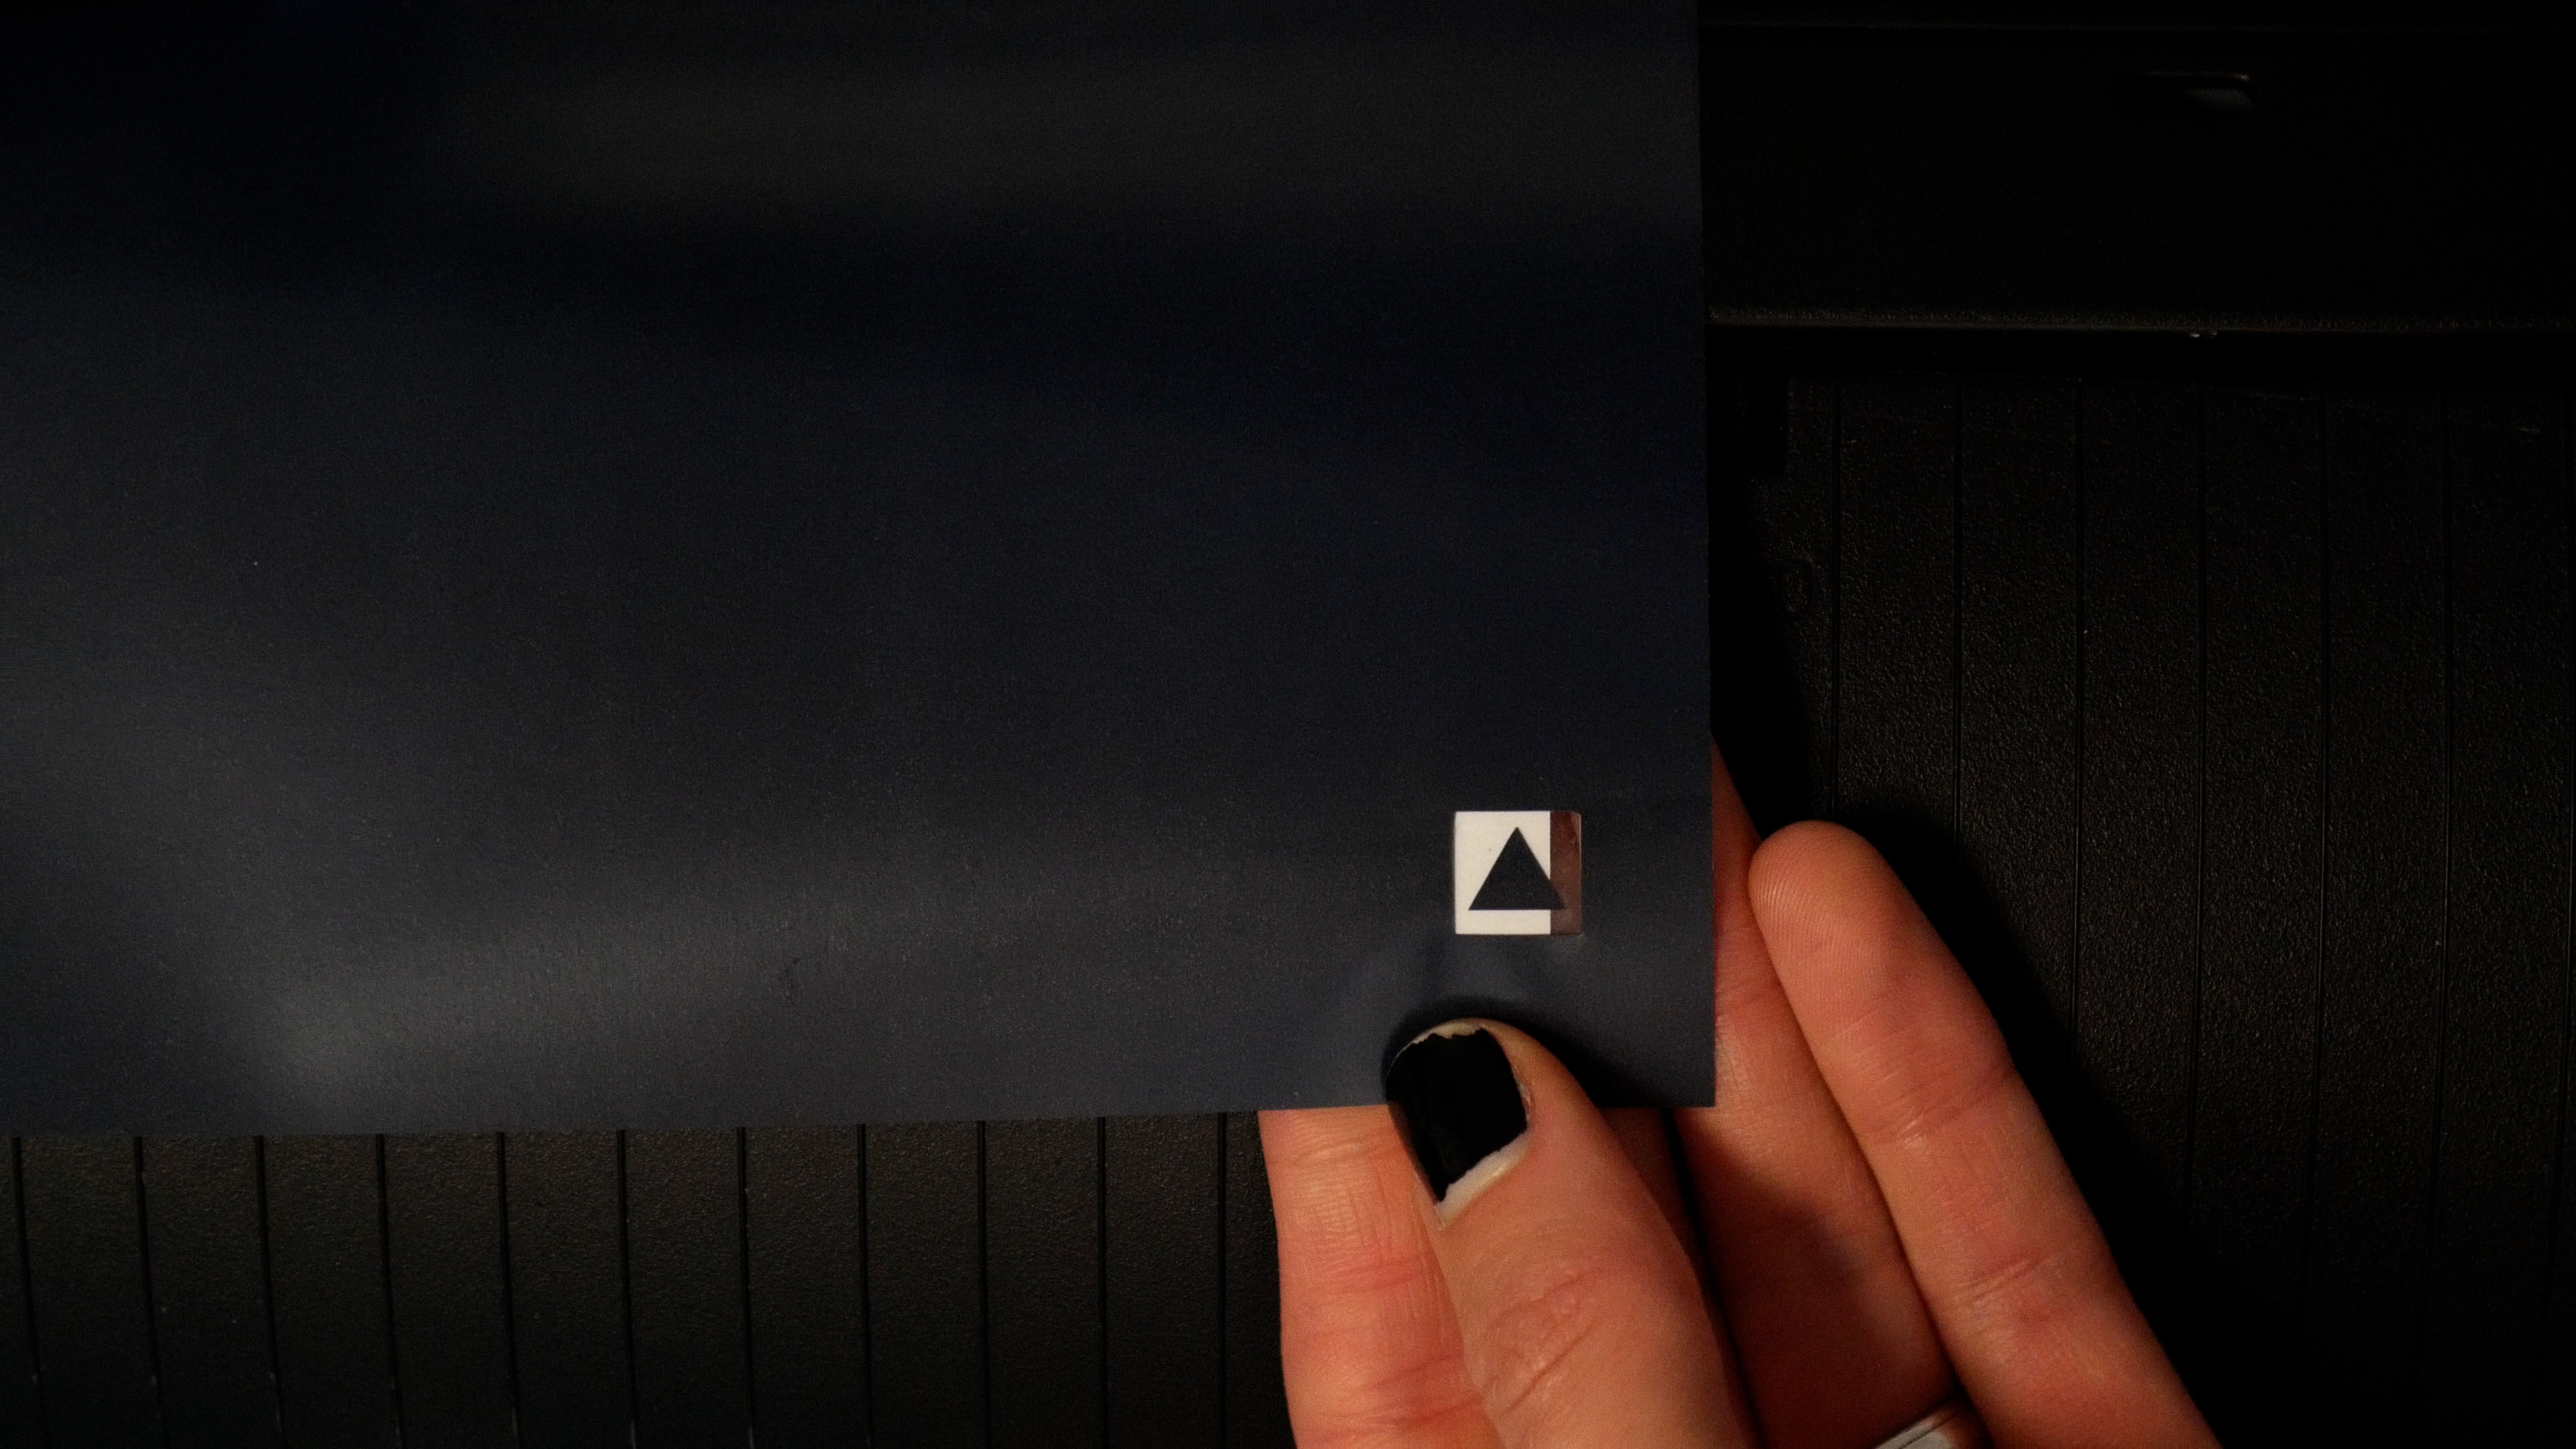
It is vital to do a test cut before cutting your full design. Depending on which cutter you use, there may be an option to do a test cut straight from your machine! If not, you can create your own test cut in your design software. To do this, make a small square with an even smaller triangle inside of the square. The whole design should be around ½ inch wide. Once you have created your test cut shape, move the shape to the corner of your HTV and send it to the cutter. If you are able to weed the square, but leave the triangle still on the liner, your cut settings are correct.
Once you have successfully done a test cut, you are ready to cut your design. To find cut settings for your specific vinyl, go to the product page on our website and click the tab Application Instructions. For Siser Easyweed, we used a speed of 25 cm/s and a force of 16. Always remember to mirror your design when working with HTV.
Weeding Your Material
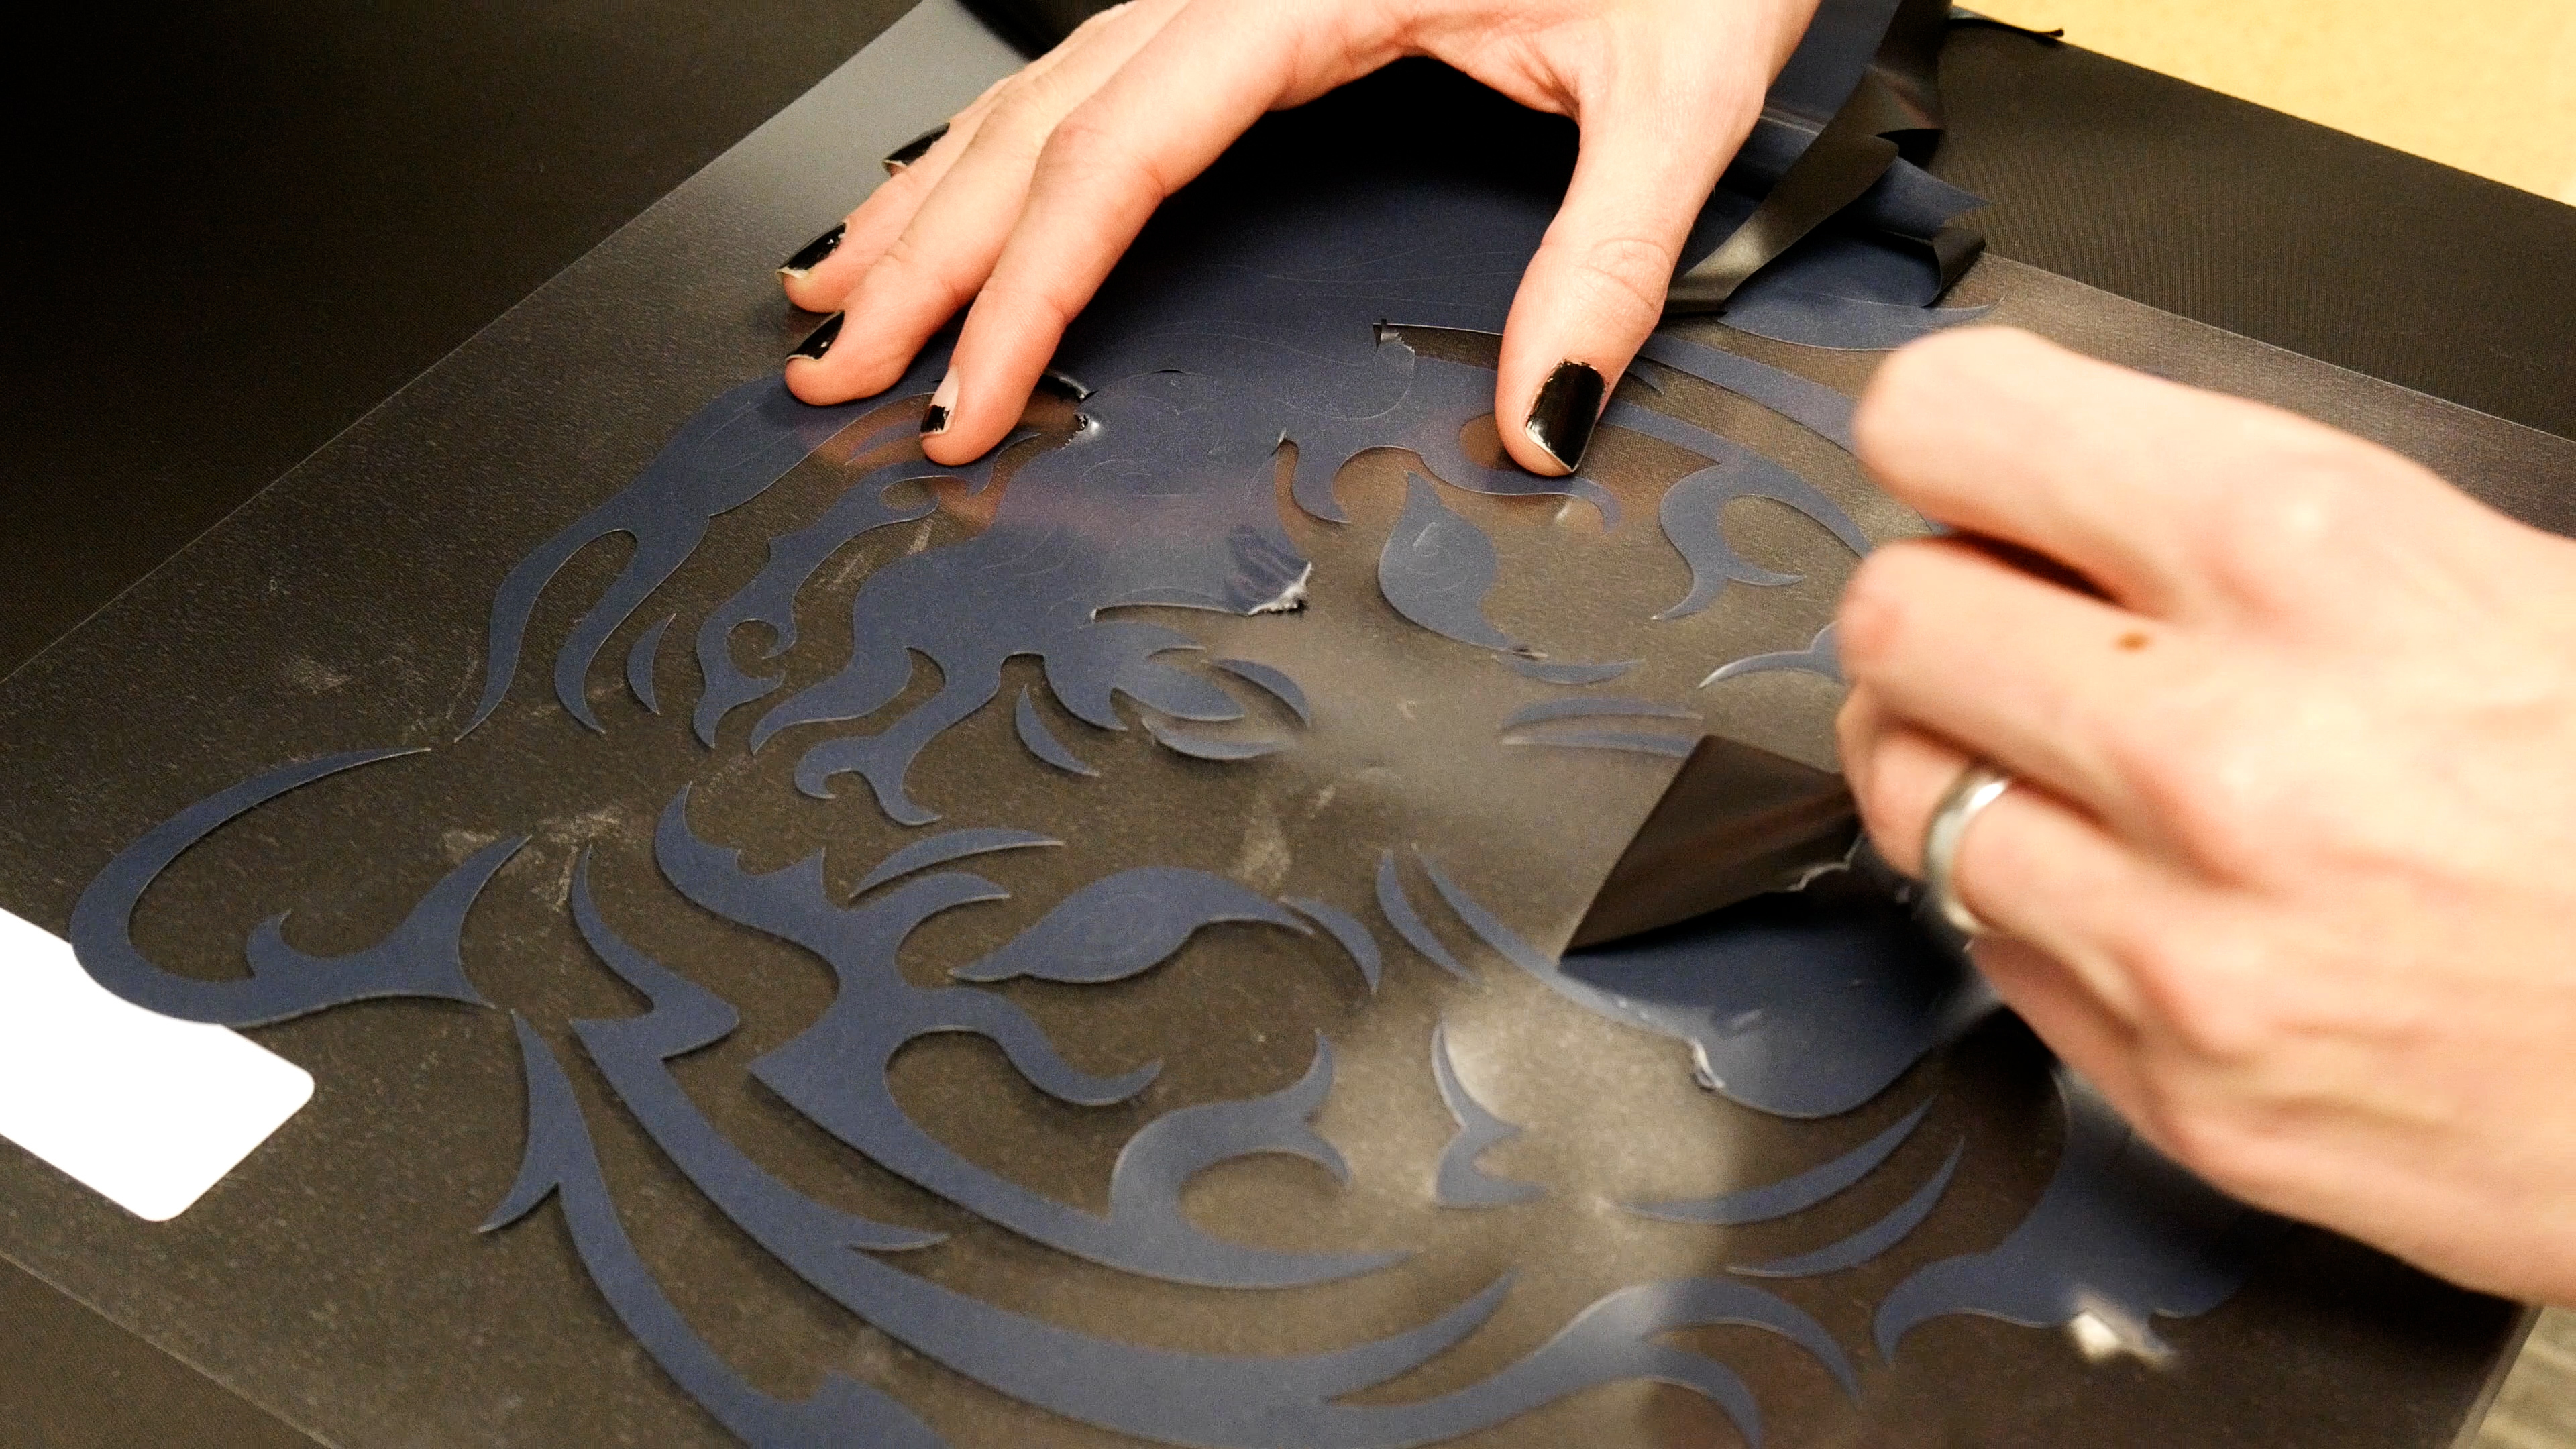
Using your weeding tool, with the vinyl side up, start from a corner and weed the excess vinyl from the outside in. Weeding on a warm heat press platen can help speed up the process.
Heat Pressing Your Design
To find the pressing instructions, check the product information on the website. For each product on Heat Transfer Warehouse, there will be a tab titled “Application Instructions,” there you will find pressing temp, time, pressure, and peeling instructions for your HTV. You can also visit our Heat Press Temperature and Time Guide for HTV article.

Before pressing your material to your garment, we recommend pre-pressing the garment to remove any excess moisture or wrinkles. Then you can line up your design to get it ready for pressing.
We typically use a heat press ruler to make sure the transfer is lined up and centered on your garment. If we don’t use that, it is a good idea to create a crease in the middle of your transfer to make sure it is centered. To do that, fold the transfer in half to make a faint line. Then, for front chest transfers, we line up the vinyl so that it is approximately four fingers down from the collar of the shirt.

Press your HTV to the shirt. For Siser Easyweed, we pressed at 305 F for 10 seconds. Then, peel the liner from the shirt to reveal your vinyl. Peeling instructions will also be under the product info on the website.


That is the beginner’s guide to HTV and the basic steps of how to get started.
Video Guides for Cutting Heat Transfer Vinyl
Looking for additional tips and examples? Here are a couple of great videos walking through this process if its helpful to see additional examples.