Heat Transfer Paper: Inkjet vs. Laser
Heat Transfer Paper is a great option for anyone that is wanting to create custom full color transfers for their customers that does not require a wide format, high end printer. In this blog, we will briefly discuss the two main papers available to you, dive into the difference between light and dark papers and when to use each, and finally, really dig into the Forever FlexSoft No Cut Laser Paper.
Different Kinds of Heat Transfer Paper
So what is the difference between all of these papers? There are a lot of different options so let’s keep things simple and put them into two categories: inkjet and laser paper. Inkjet heat transfer paper is compatible with most standard inkjet desktop printers and laser paper is compatible with either a black or white toner printer depending on the paper. Within the category of inkjet or laser there is one other subcategory to take into consideration when choosing a paper and that is the color of the garment to which you are applying the heat transfer paper. There is light heat transfer paper for light colors such as white, yellow, and light greys. Dark heat transfer paper is for colors such as red, blue or black and has an opaque backing on it to prevent dye migration, which is more common with highly saturated colors.
Laser Paper: Black Toner vs White Toner
For the rest of this blog we will discuss laser paper and the differences within that category. Laser heat transfer paper can be a bit intimidating but once you know what works with your printer, it will be pretty easy to get started. There are two types of laser printers, white toner and black toner. Neenah Techniprint EZP (Light) Paper and Neenah Dark Laser 1 Opaque Paper are compatible with black toner printers while Forever Laser Dark Paper and Forever Laser Light Transfer Paper are compatible with white toner printers. Forever Flex-Soft (No Cut) is compatible with both black and white toner printers with the exception of Metallic Silver, Metallic Gold, and Black which are only compatible with black toner printers.
Product Feature: Forever Flex Soft (No Cut)
Forever Flex-Soft is probably the unsung hero of transfer paper. This is a single color, self-weeding paper for use with black or white toner printers (with the exception of Metallic Silver, Metallic Gold, and Black for use with black toner only). This heat transfer paper offers users many advantages over vinyl including no cutting or weeding, a soft touch, bright color options, the ability to use vector or rasterized images, durability, and the ability to achieve a vintage or distressed look without hours of weeding which makes this paper fast and easy to use! Another awesome advantage to using this no-cut paper is that it will adhere to garments including nylon as well as hard surfaces such as wood and paper making this one of our most versatile heat transfer papers.
Adhesive Application Process
(Transfer B-Paper to A-Foil)
Step 1: Print the A-foil in mirror image using only black toner. Be sure to set the paper type to “Transparency/Glossy” and turn up the toner so you can maximize the amount coming out of the printer. Be sure to print on the matte side of the paper
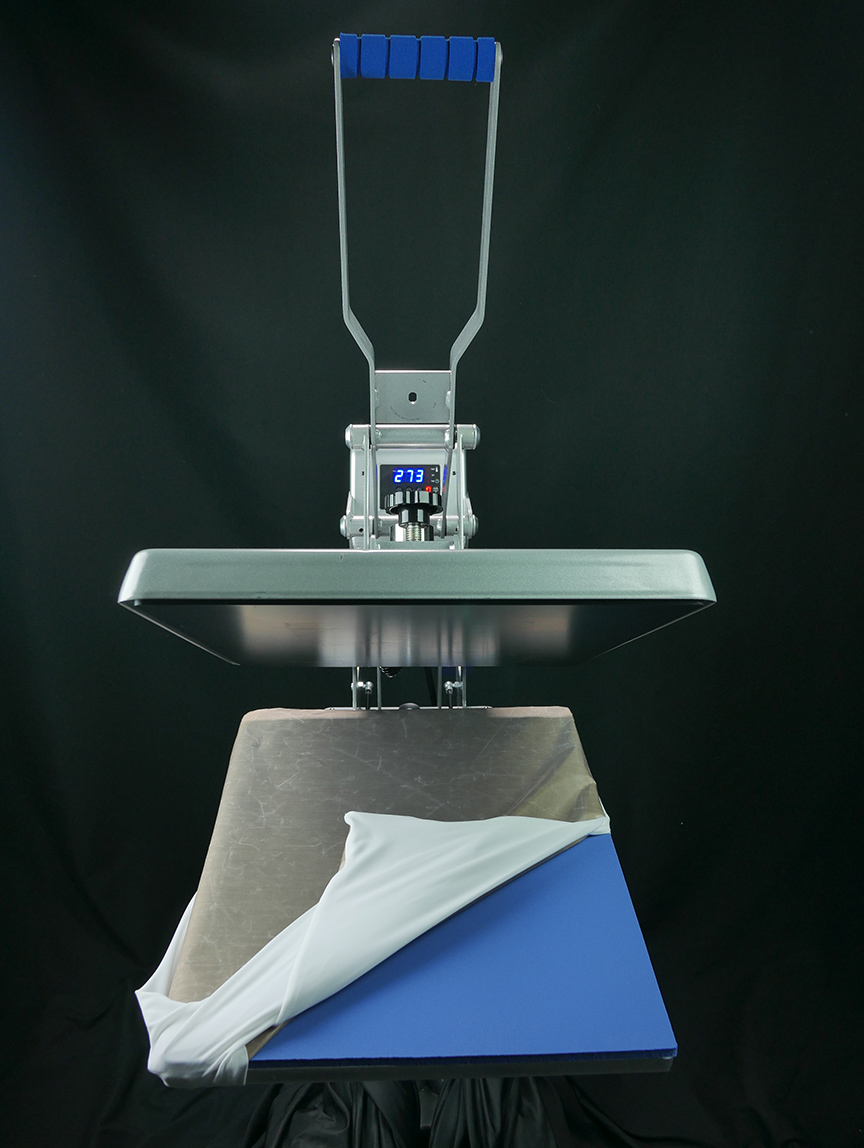
Step 2: Be sure to remove ALL teflon products from your heat press and pre-press the lower platen for a few seconds so it is hot before proceeding to step 3.

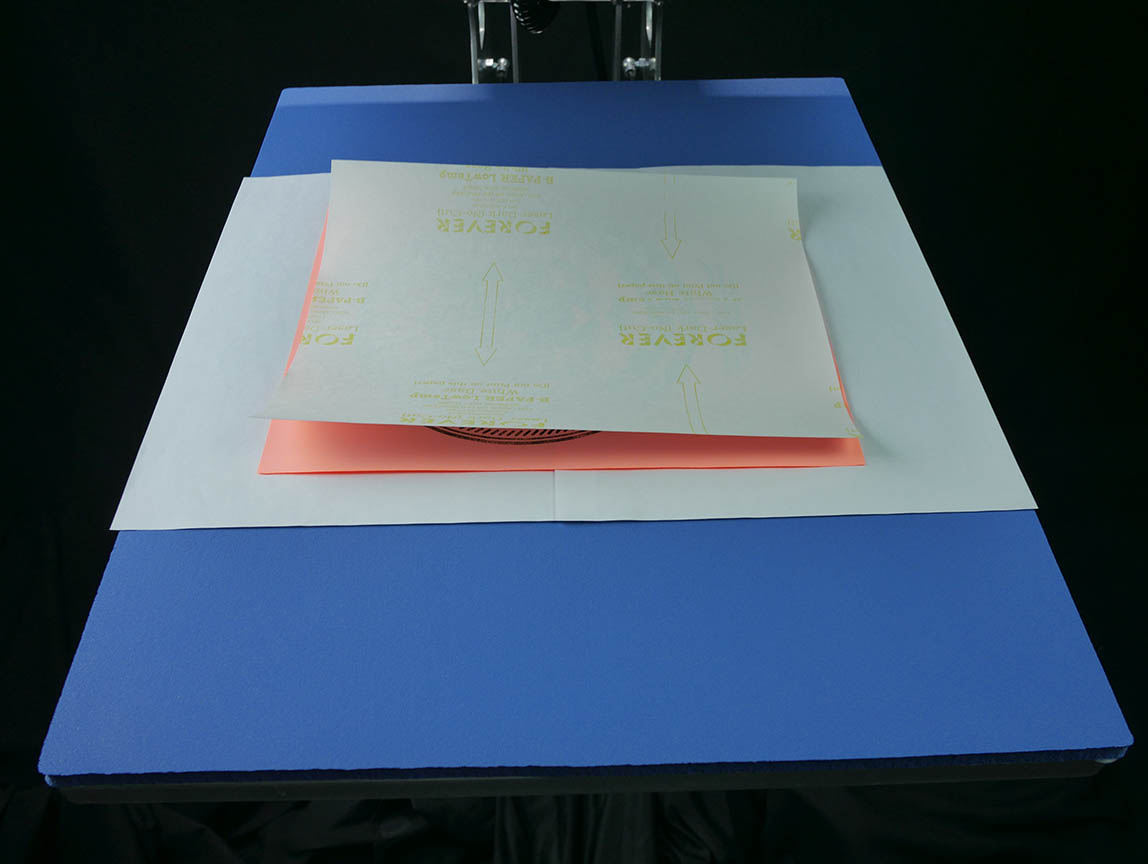
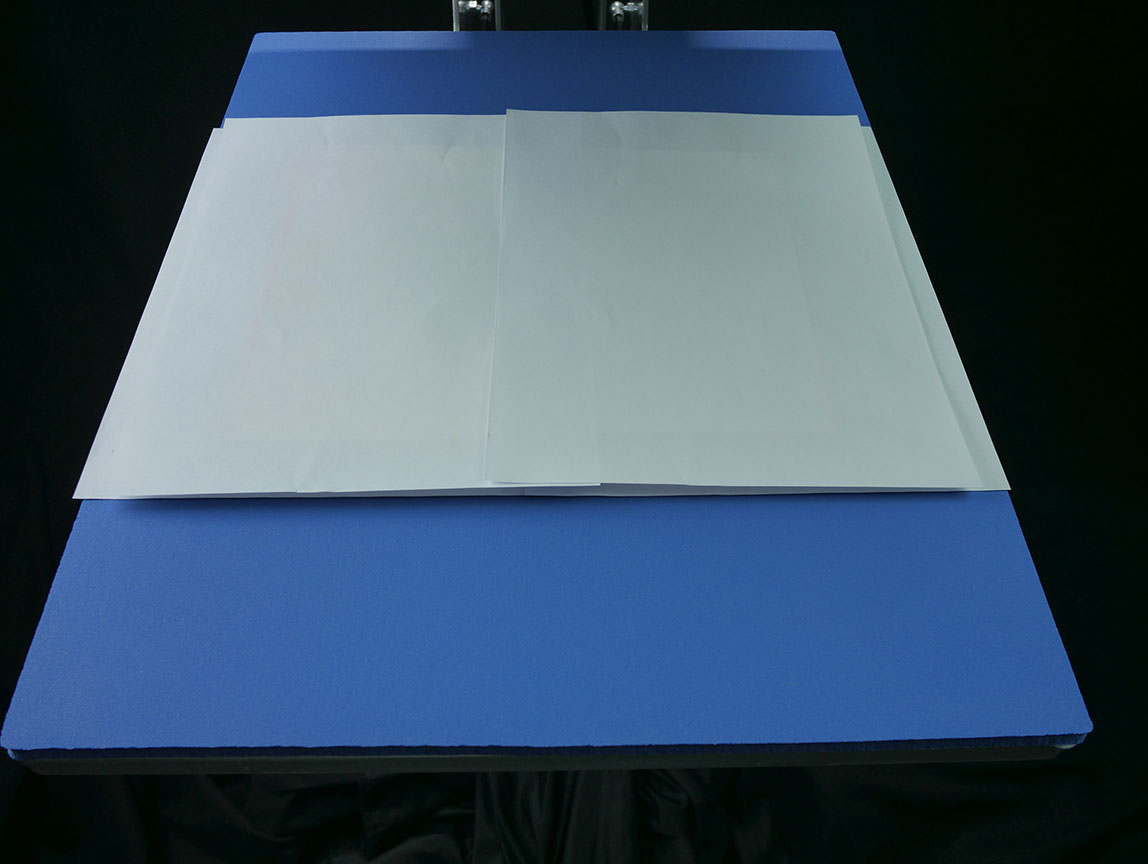
Step 3: Place the A-foil on the heat press, image facing up and cover it with the B paper.
- You will realize that this paper is a little smaller than the Sheet A, which is what you want as the adhesive will smudge out a little onto Sheet A when pressed.
- A swing away press is recommended for ease of pressing.
- It is recommended to put two sheets of regular copy paper under A-foil as well as on top of the B paper for a total of 4 layers.
Step 4: Press between 266 and 293 degrees F for 90s (8.5x11) or 120s (11x17) with medium (2-3 bar/30-40 PSI) pressure.
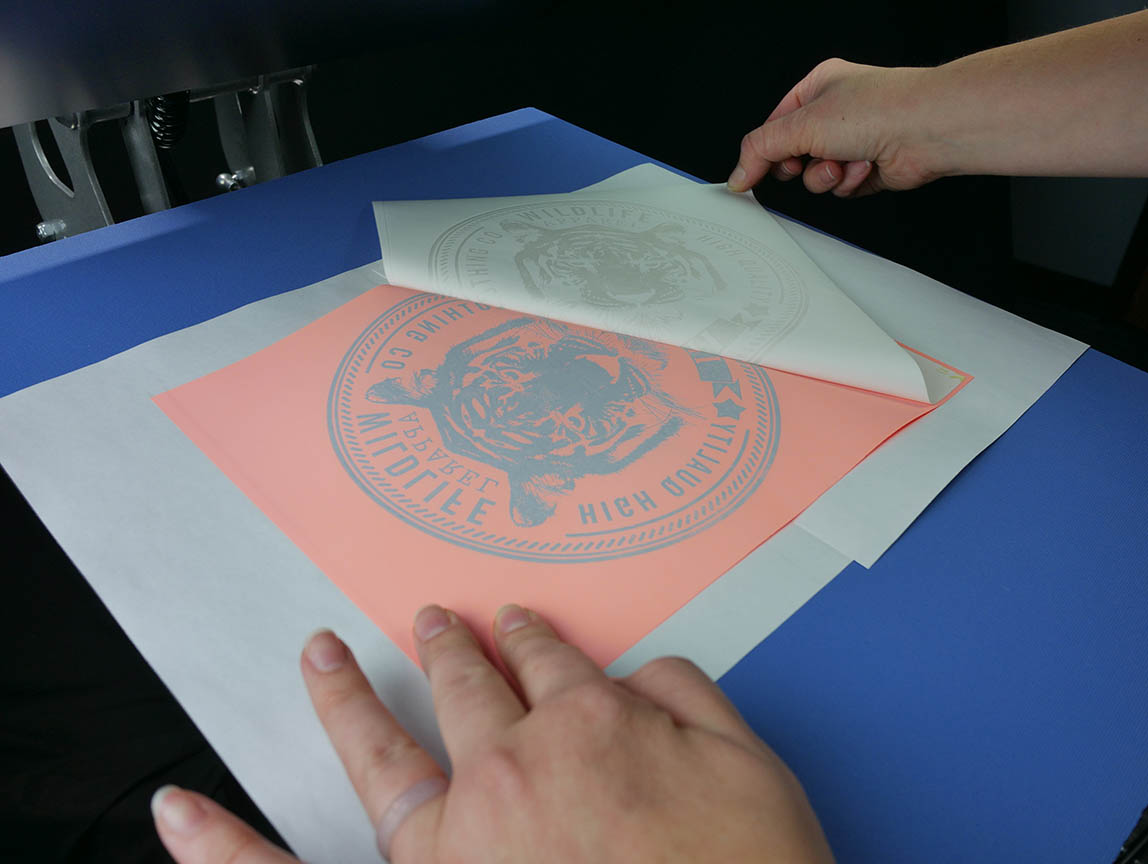
Step 5: When the press is complete, open the press and rub the B-paper with a cloth for 5 seconds. This is a warm peel. While still on the lower heat press platen, peel back the B paper in one slow fluid motion.

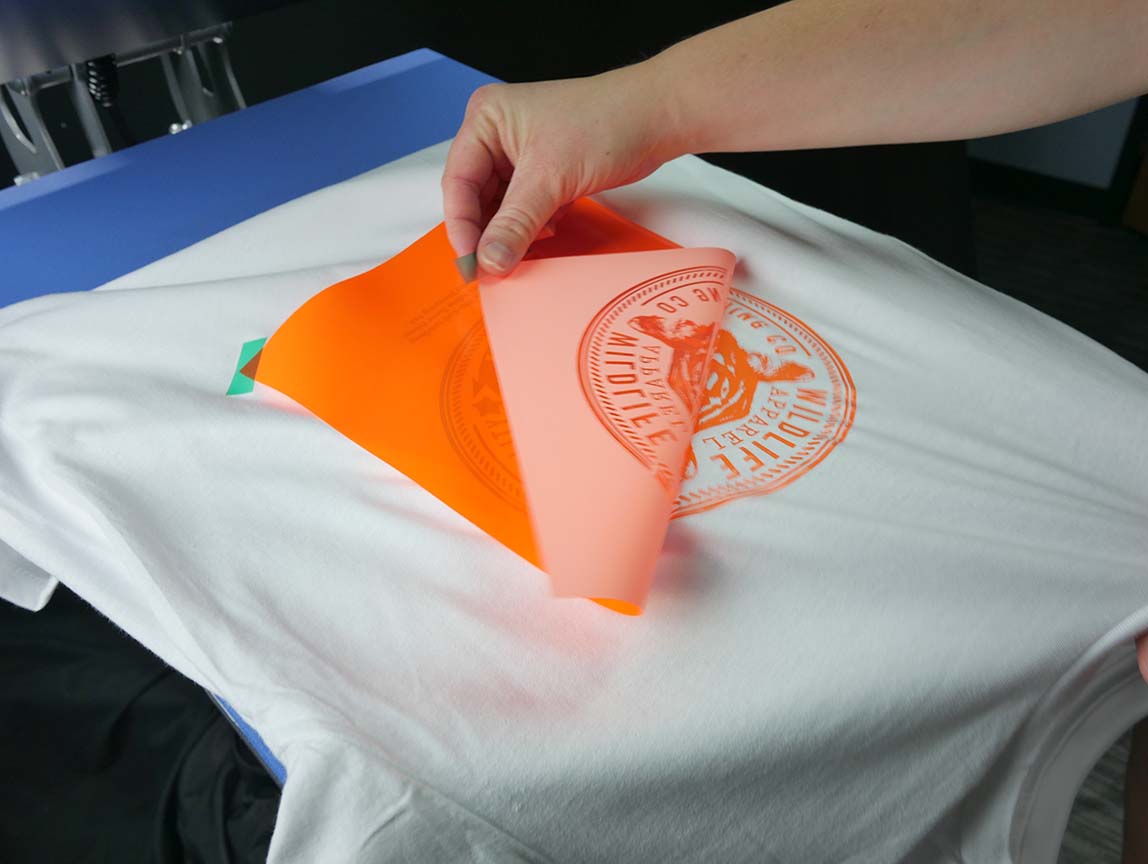
Application to Garment
Step 1: Place your garment on the lower platen of the heat press.
Step 2: Place the A-foil sheet on the garment, image side down.
- Tape corners with thermo tape

Step 3: Cover with a sheet of kraft paper for a matte finish.
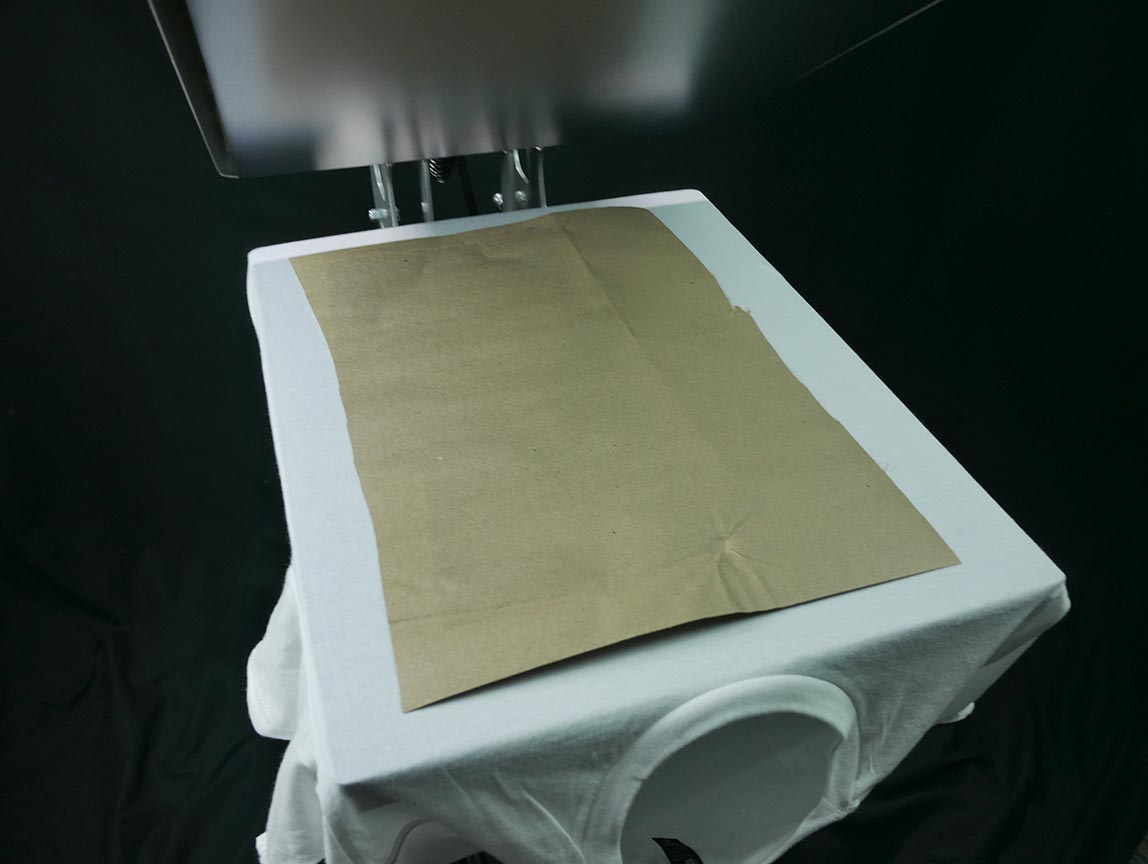
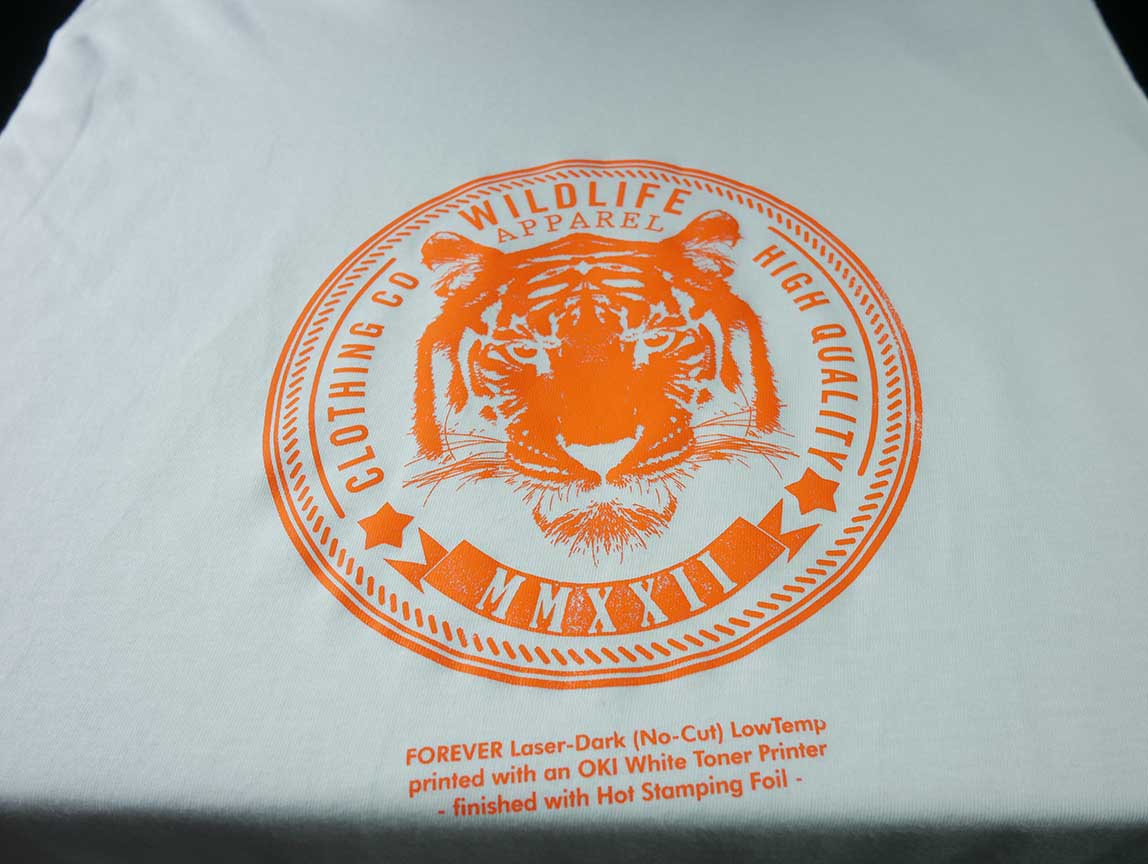
Step 4: For the purpose of this blog, we pressed a cotton shirt. We pressed between 275 and 310 degrees for 30 seconds with medium pressure.
- Press times vary depending on the substrate you are pressing to so please be aware of the differences.
Step 5: Peel paper after the transfer has cooled completely.
- For extended life of the transfer and good washability, cover the transfer on the garment with kraft paper and repress for the same amount of time as the first transfer (dependant on substrate).