Interested in customizing a toothbrush holder using sign vinyl? It's super easy! We’ll teach you how to in this easy step-by-step tutorial!
Materials Used
For the making of this creation, we used Sign Making Materials. Specifically, we used:
- White and Sunbeam Yellow FDC Sign Vinyl
- Damask Black Sign Vinyl Fashion Prints
Steps
1) As always, create your unique artwork in vector form. Once your artwork is ready, send it to the cutter! In your cutter software, make sure to format the artwork in Right Reading (no in reverse).
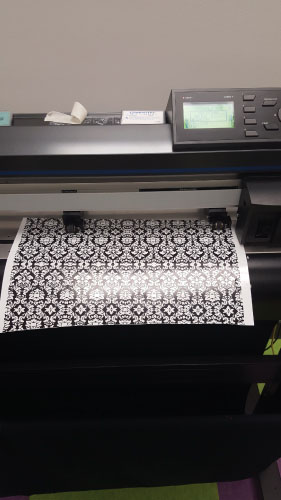
2) Cut your design given the appropriate material cut directions. The cut settings for our products using a Silhouette Cameo and a Graphtec CE6000 are listed on our website. We used Graphtec CE6000 with the cut force set at 16 for both of these sign vinyls. We recommend using a 45 degree blade when cutting these.
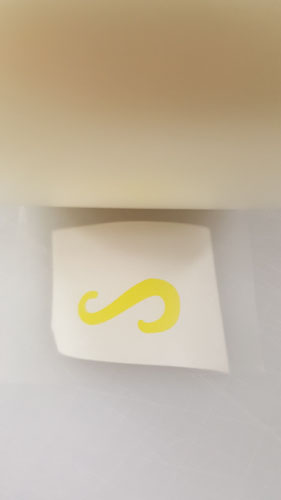
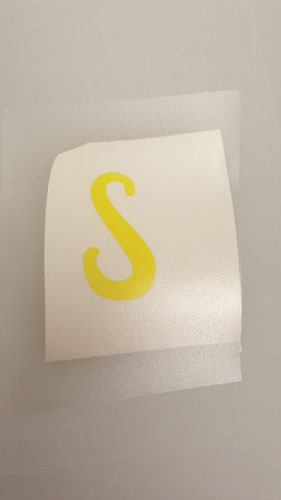
3) Once you have all of your design(s) cut, weed the excess material away from the liner. When weeding smaller, intricate designs, you may find that part of the design will lift up along with the excess material (as shown below).
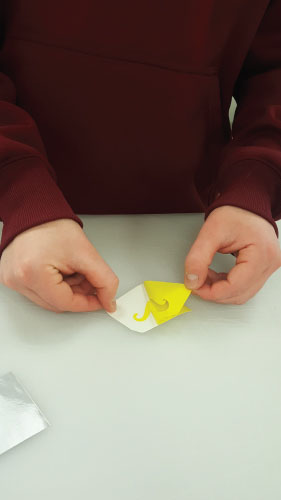
4) When weeding, you can simply apply pressure to your design using a tweezers to ensure that it doesn't lift. Alternatively, if your design mistakingly does lift, you can use a tweezers to help position it back in place.

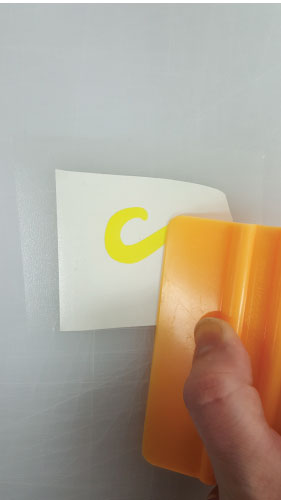
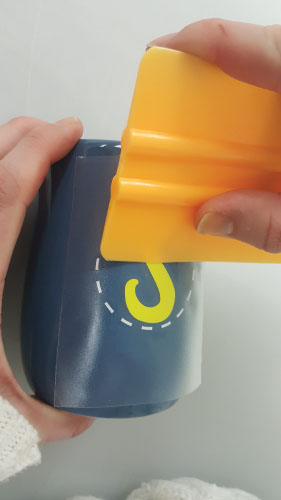
5) Now take a clear transfer mask and place it over your cut-out design(s). Alternatively, if you have a large design that you need to mask, to make the process easier you can refer to our past blog Masking Made Easy. Then use a squeegee to make sure the transfer mask is thoroughly applied to your design(s).
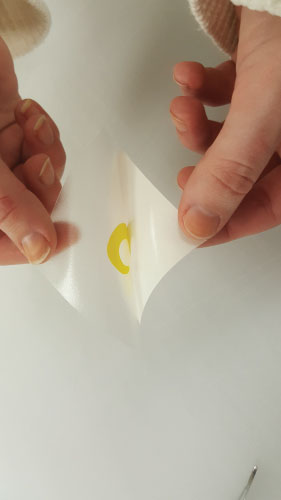
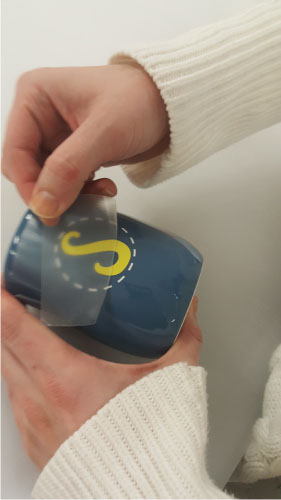
6) Remove the original white backing of your design(s). You should now only have your design(s) attached to the sticky underside of the transfer mask.
7) Place your design(s) in the desired position on your toothbrush holder. Use a squeegee to thoroughly apply your design. Keep applying pressure with the squeegee until you are able to remove the transfer mask off your design, without lifting up the design.
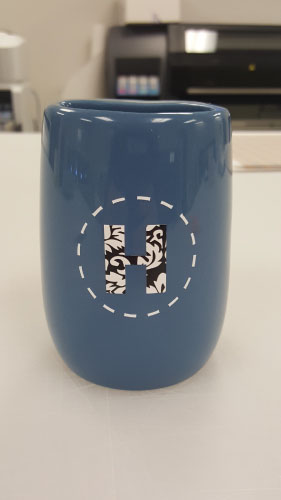
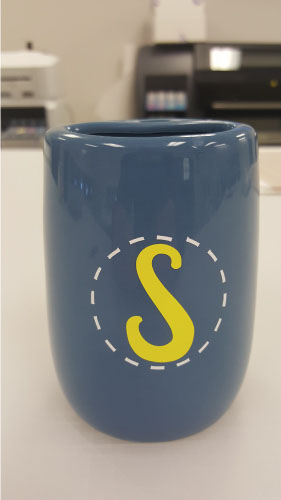
8) You’re done! As shown below is our final creation. Make sure to share your final creation with us on our Facebook group page!