Want to add some color or patterns to your plain keyboard keys? Ever thought about using sign vinyl to do so? Well we did! In this blog we’ll talk about this easy way to make your keyboard stand out in the office or at home.
First, you will need to gather everything needed for this process. This includes:
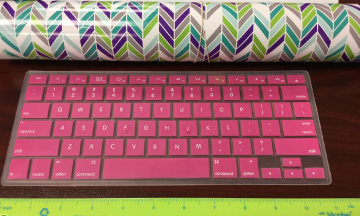
- Sign Vinyl (we are using our Sign Vinyl Fashion Prints in Herringbone Cool and Oracal 651 in white)
- A ruler
- Your keyboard
- Clear application/transfer mask
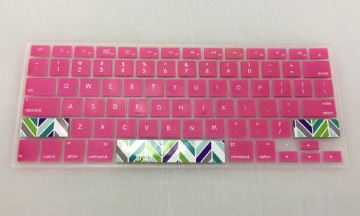
Next, you will need to measure out your keys that you’d like to cover with sign vinyl. We did this then made boxes in Adobe Illustrator the size of our keys and also typed out the words/letters/numbers we wanted to put over the patterned vinyl so we could still know which key was which.
You will then cut out your designs. Make sure you cut RIGHT READING. Then, weed away the excess material. And measure out and cut your transfer mask. You will need enough mask to cover each design completely.

Place the mask over the sign vinyl and use your squeegee to apply pressure while moving it back and forth. This will make the transfer mask stick to the sign vinyl. You can then peel the transfer mask away from the sign vinyl carrier backing and place your designs on the keys you would like them on.
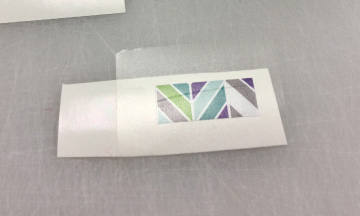
Use your squeegee to then again place pressure while moving it back and forth over the design. Once you have done that you can begin to peel back the transfer mask, if the sign vinyl is coming off with your mask you will need to place it down again and apply harder pressure.
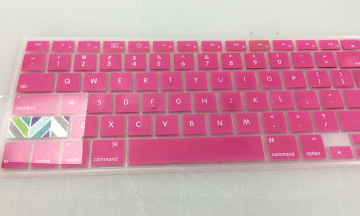
Repeat this process with all of the keys you’d like to decorate.
There you have it! A quick and easy way to make your keys different than the rest!