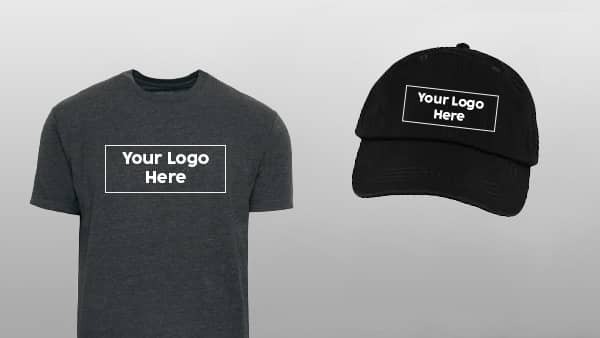
 Custom Printed Apparel
 Custom DTF Apparel
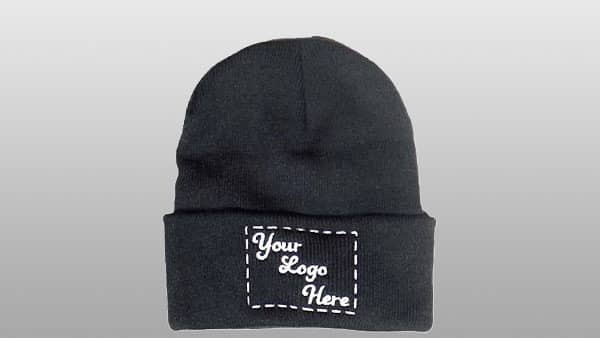 Embroidered Apparel
 Full Service Customization
 Rhinestone Apparel
 Sublimated Apparel
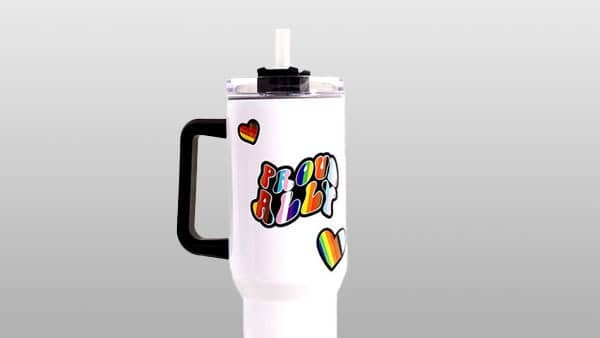 Custom Drinkware/Photo Panels
 Siser Sanmar Decoration
 Seasonal Items
 DTF Transfers
 Supacolor Transfers
 Sublimation Transfers
 HTV Transfers
 Custom Patches
 Custom Stickers
 Artwork & Services

How to Use Iron on Vinyl
Jan 9th 2020
How to Use Iron On Vinyl
We were absolutely astounded when we found video tutorials from our own vendors on how to properly apply their HTV using a hand iron, before finding these videos we didn't know it was even possible!! So we thought we should try this process for ourselves, and we were SUCCESSFUL!
Materials Used
HTV
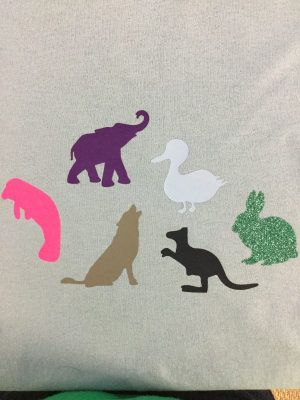
- Siser EasyWeed - Minnesota Purple
- ThermoFlex Plus - Matte Vegas Gold
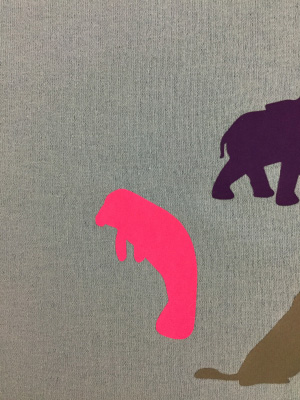
- Hotmark Revolution - Fluorescent Pink
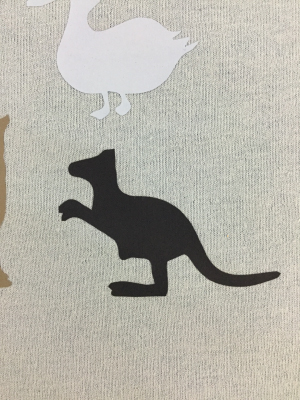
- Turbo Low Temp - Black
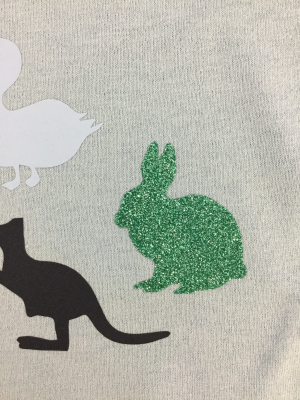
- Siser Textured Glitter - Jade
Shirt
- 50% cotton/50% polyester
Iron
- A common household Black&Decker hand iron
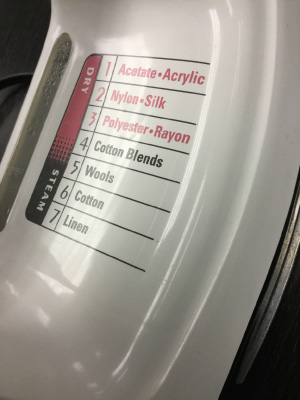
For the use of all 6 HTV's, we kept the iron set at the Cotton Blends temperature setting.
**If you have a steam iron, it is very important to remove all the water in the iron. You DO NOT want to apply moisture while pressing HTV**
Heat Press Sheet
- We used used a heat press sheet to cover our vinyl
We focused on following the directions provided in this video by Siser:
- The only adjustment that we made was the pressing time - which of course depends on what HTV is being used.
- Even though we did use some low temperature HTV (Hotmark Revoultion and Turbo), we still had success in keeping the iron temperature at the Cotton Blends setting.
Application Steps
As mentioned, the video above pretty much breaks down all the steps we followed. But for your ease, here are the steps for how to use iron on vinyl:
- Cut and weed your design
- Set your iron to a setting between polyester and wool. We were fortunate enough to have the setting Cotton Blends, which falls between polyester and wool.
- Pre-iron your garment in the areas that you will be applying HTV to. This will help eliminate any wrinkles, and most importantly, it will eliminate any moisture in the garment (which will make the HTV apply easier).
- Place your HTV design on your garment.
- Place a cover sheet over your HTV design.
- Apply the HTV with the iron, beginning with light pressure and increase to firm pressure. Depending on what HTV you are using. try to keep the iron over the HTV for the recommended pressing time. We found that with some HTV you may need to add about 10 seconds.
- Carefully remove the liner either warm or cold. We found the best results, (no matter the HTV) were when peeling COLD. If you find that the HTV is lifting up with the liner, simply place the cover sheet back over your HTV and press for a few more seconds (or until you can remove the liner).
- Don't worry if the edges of the HTV are still not completely adhered to the garment! After you peel the liner, place the cover sheet back over the HTV and go back and forth with the iron as if you were ironing your clothes. This will ensure that all edges of the HTV design are getting firm pressure. Do this for about 5-10 seconds or until you visually notice that all edges of the HTV seem to be fully adhered to the garment.
It's that easy!!! The iron worked well with all 6 HTV materials!
**Note that all of our designs were much smaller than the base of the hand iron. This made the process much easier as well**
You can't even tell the difference between using a hand iron versus a heat press with our results! Check out all our high-quality finished products below:
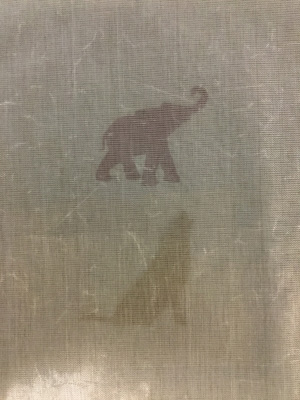
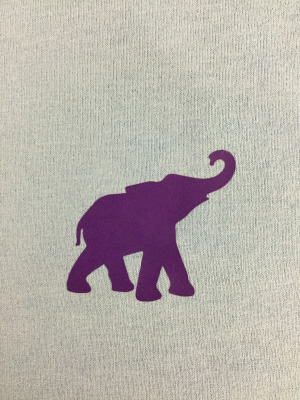
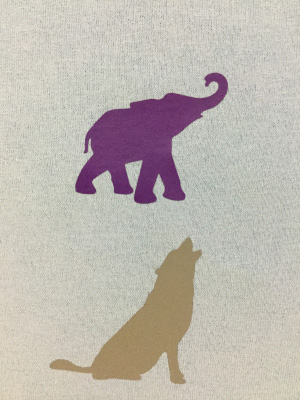
Siser EasyWeed - Minnesota Purple
ThermoFlex Plus - Storm Grey
Hotmark Revolution - Fluorescent Pink